Headlight Conversion to Bi-Xenon – Audi TT Mk1 - Retrofit Guru

Headlight Conversion to Bi-Xenon – Audi TT Mk1

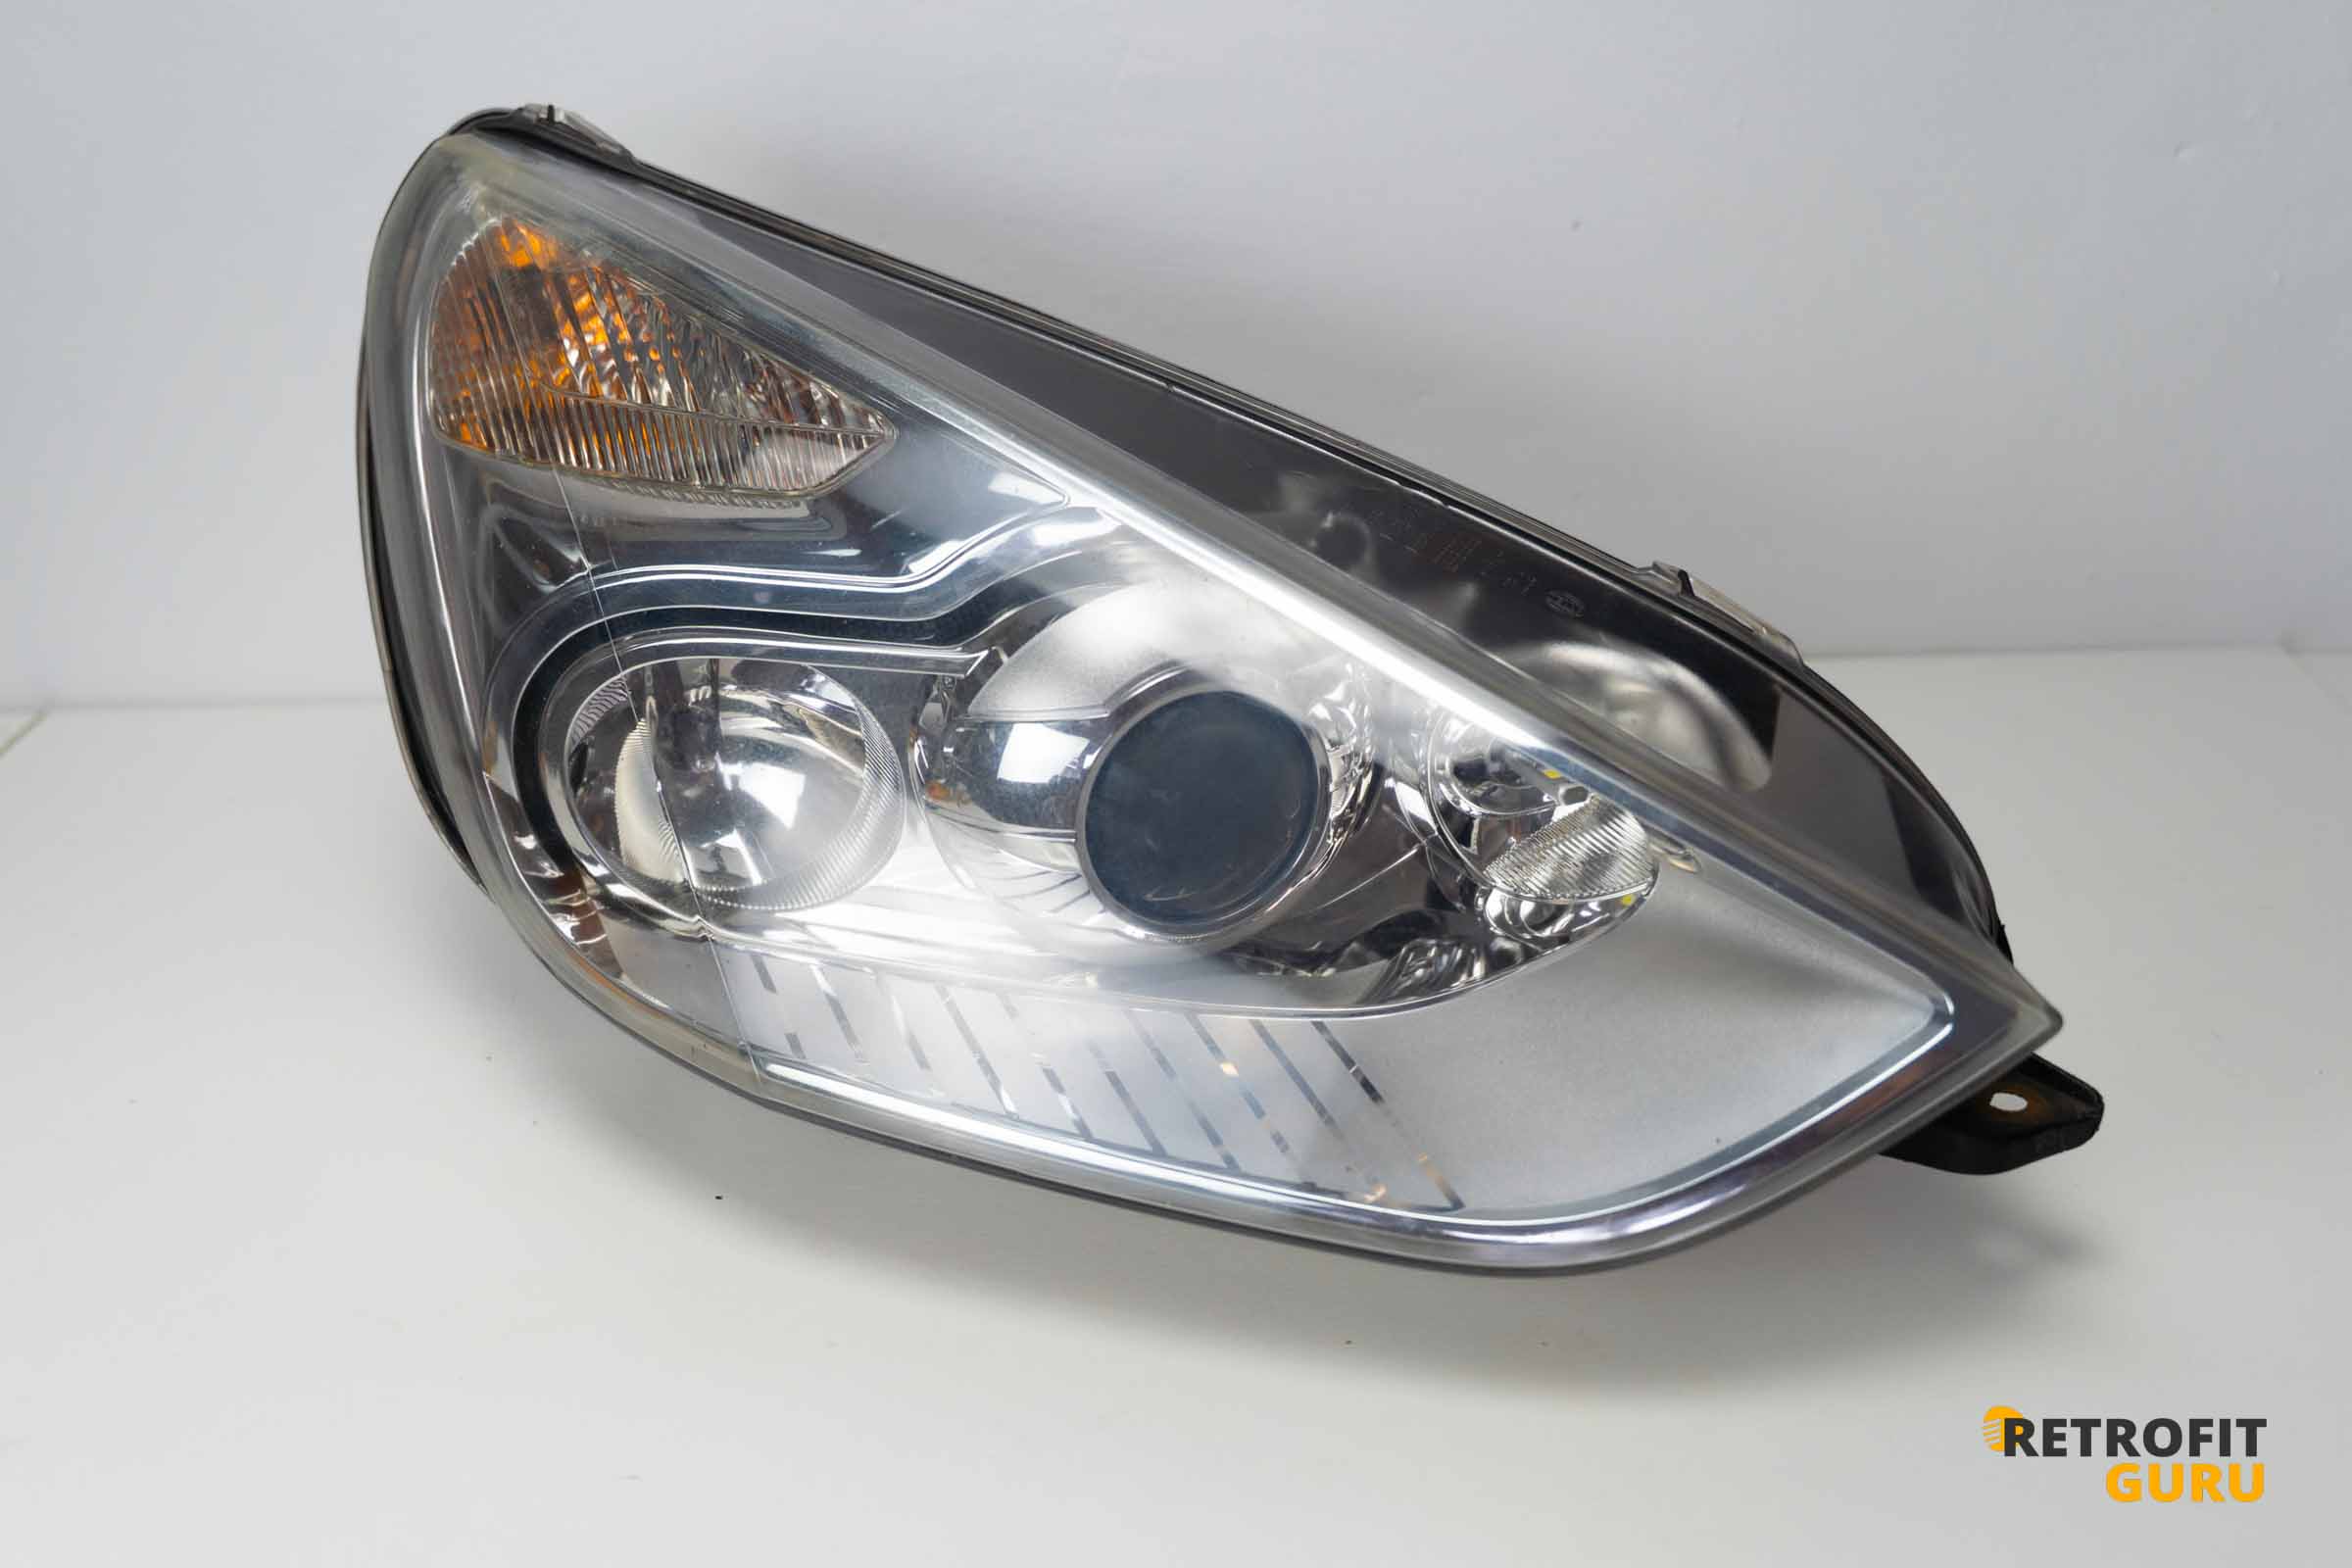
We have prepared detailed instructions for upgrading the xenon headlights on Audi TT mk1 at more powerful bi-xenon projectors with our retrofit  Plug & Play kit. The whole process is designed to be as simple as possible and did not require any modifications headlights.

Projector replacement procedure

1. Preparation

  • Make sure you have a complete set.

  • Read the instructions carefully for a smooth process.

  • Prepare your basic tools — you’ll need a Torx, a Phillips screwdriver, and a socket set.

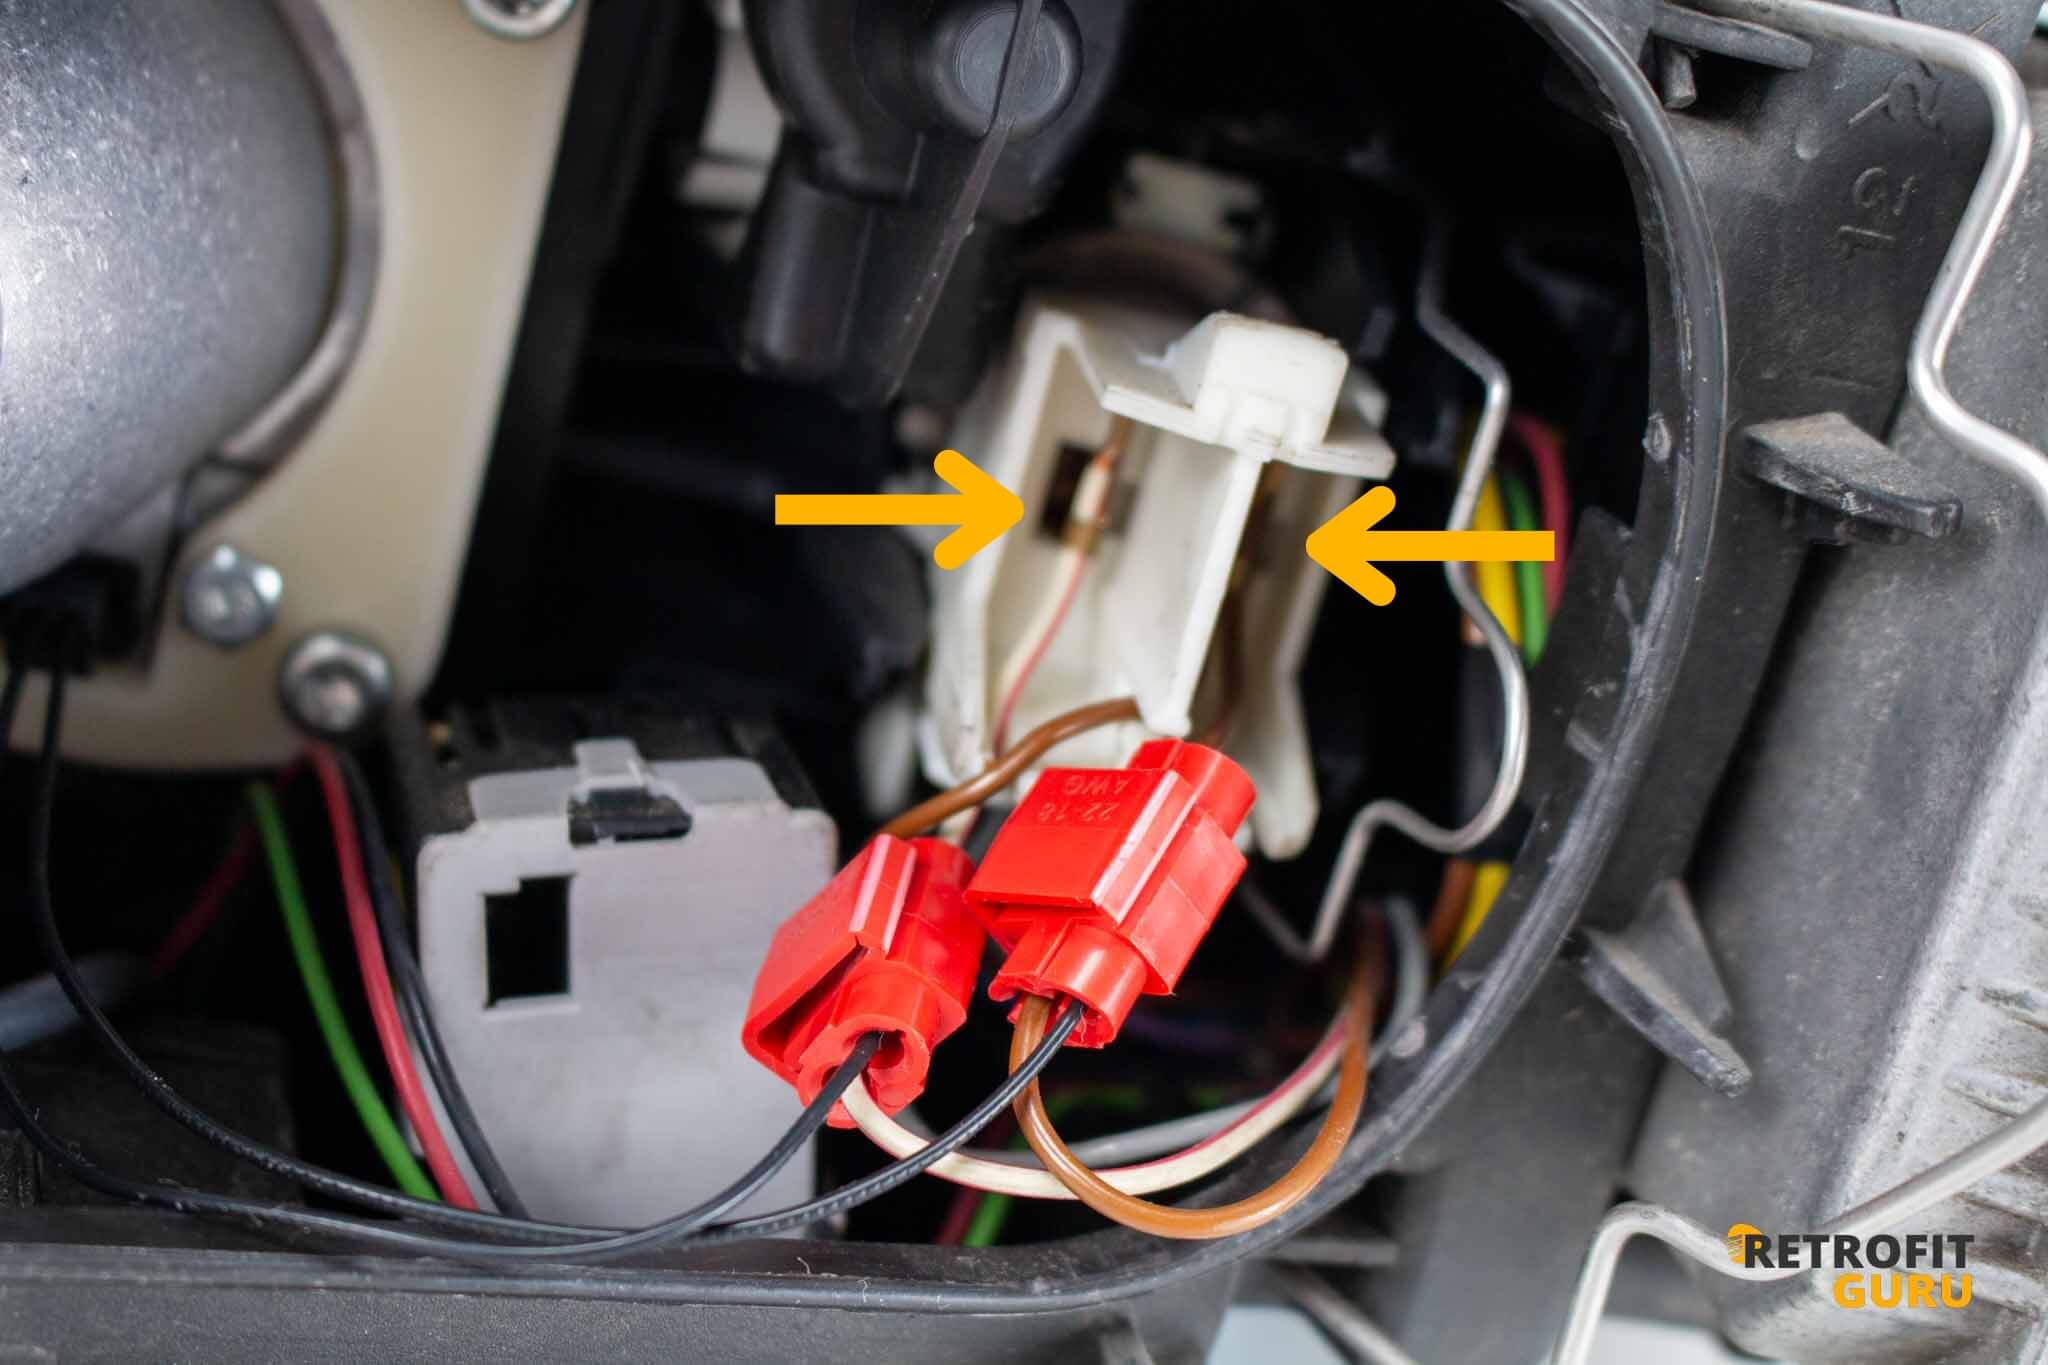
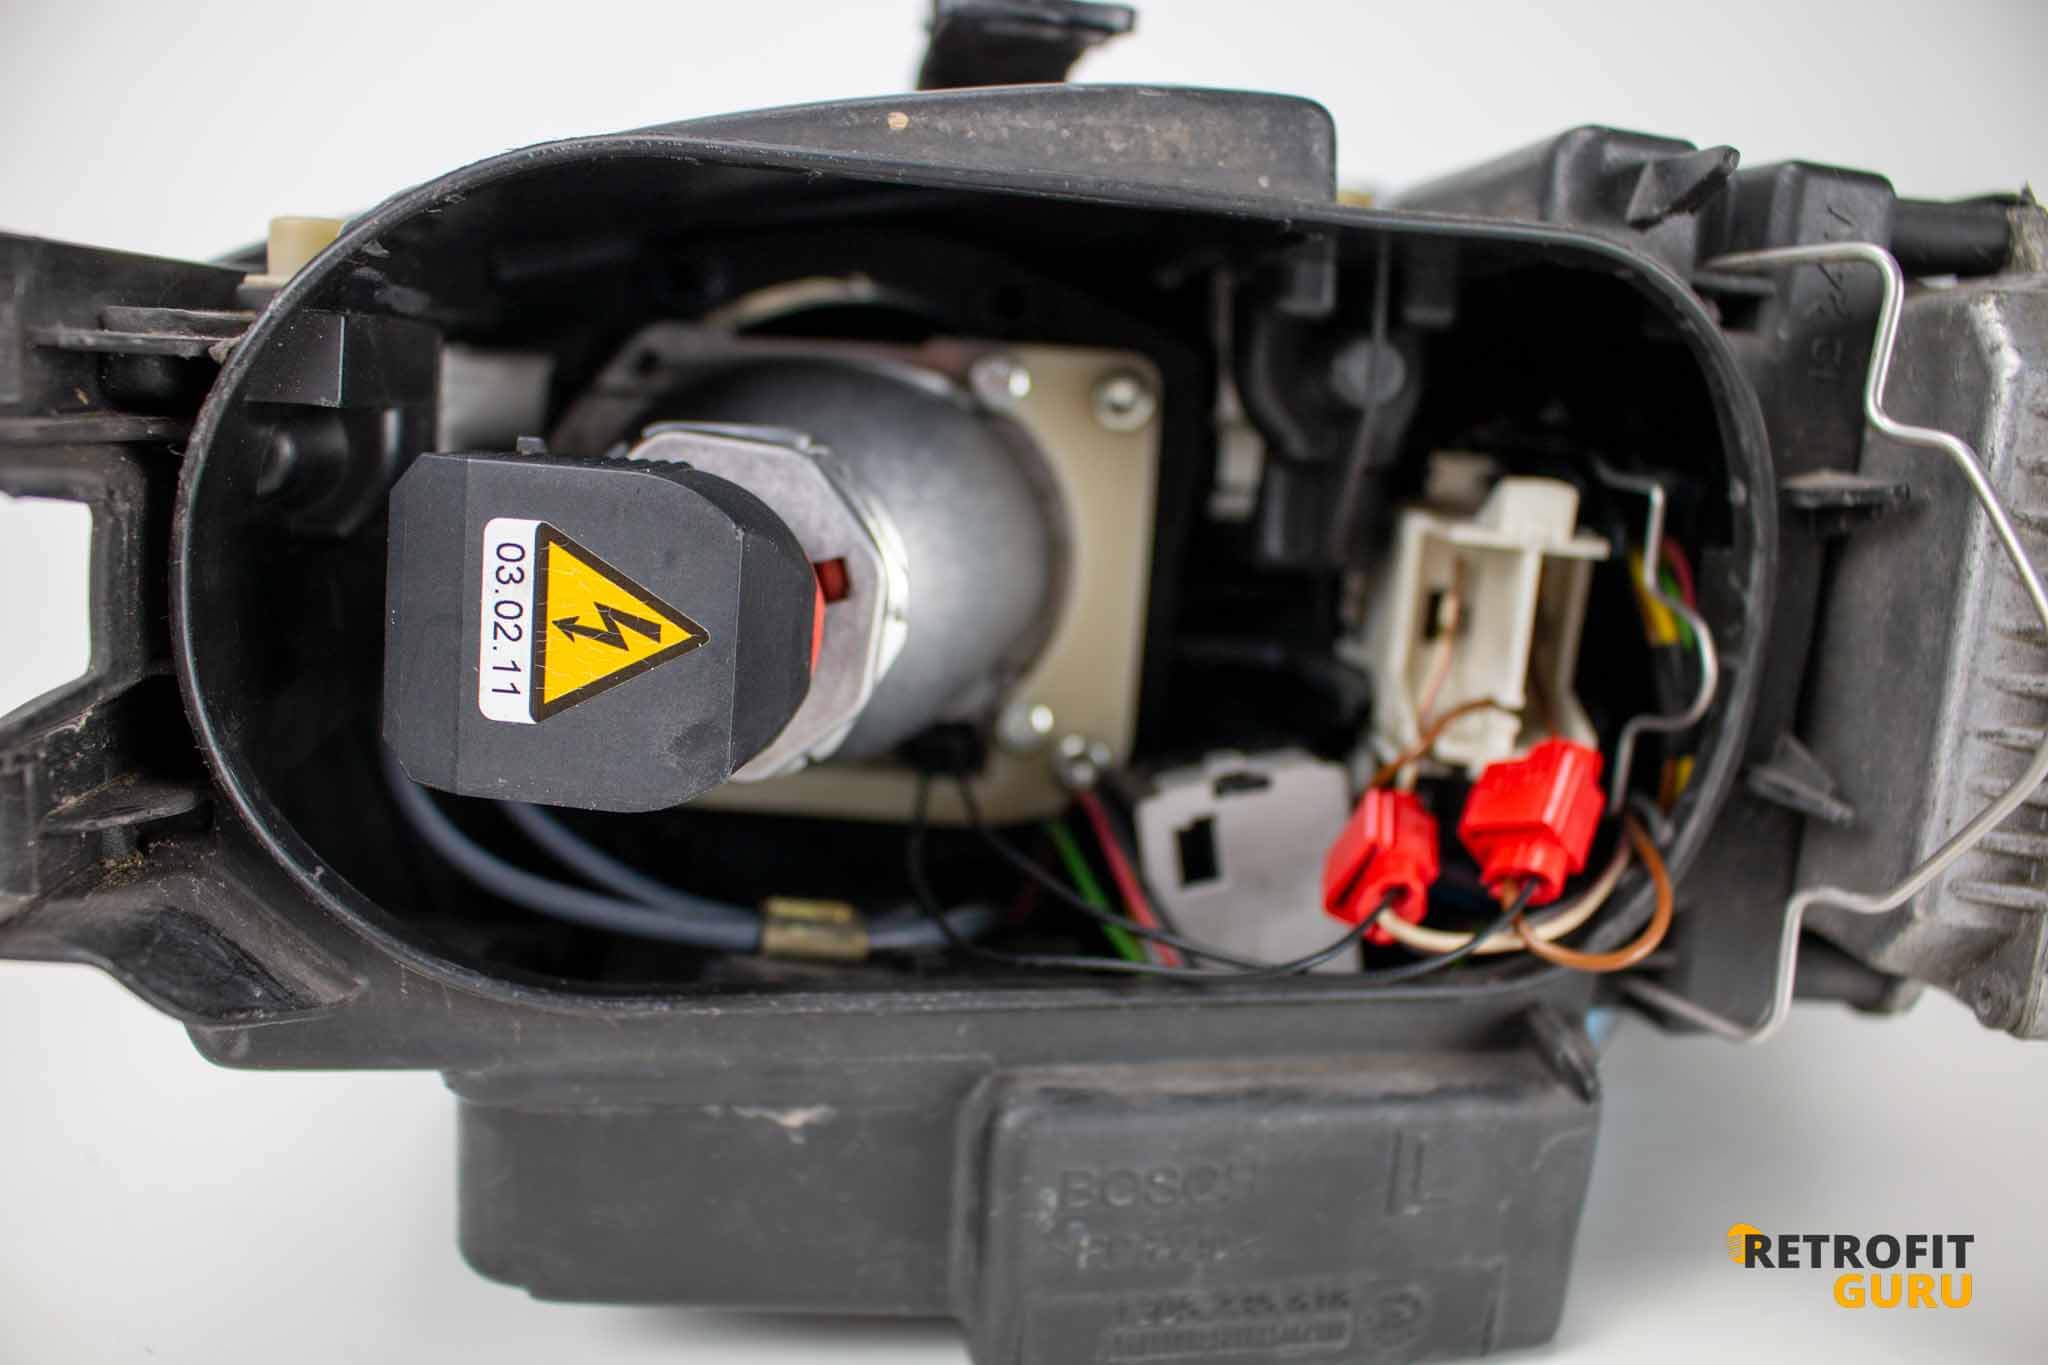
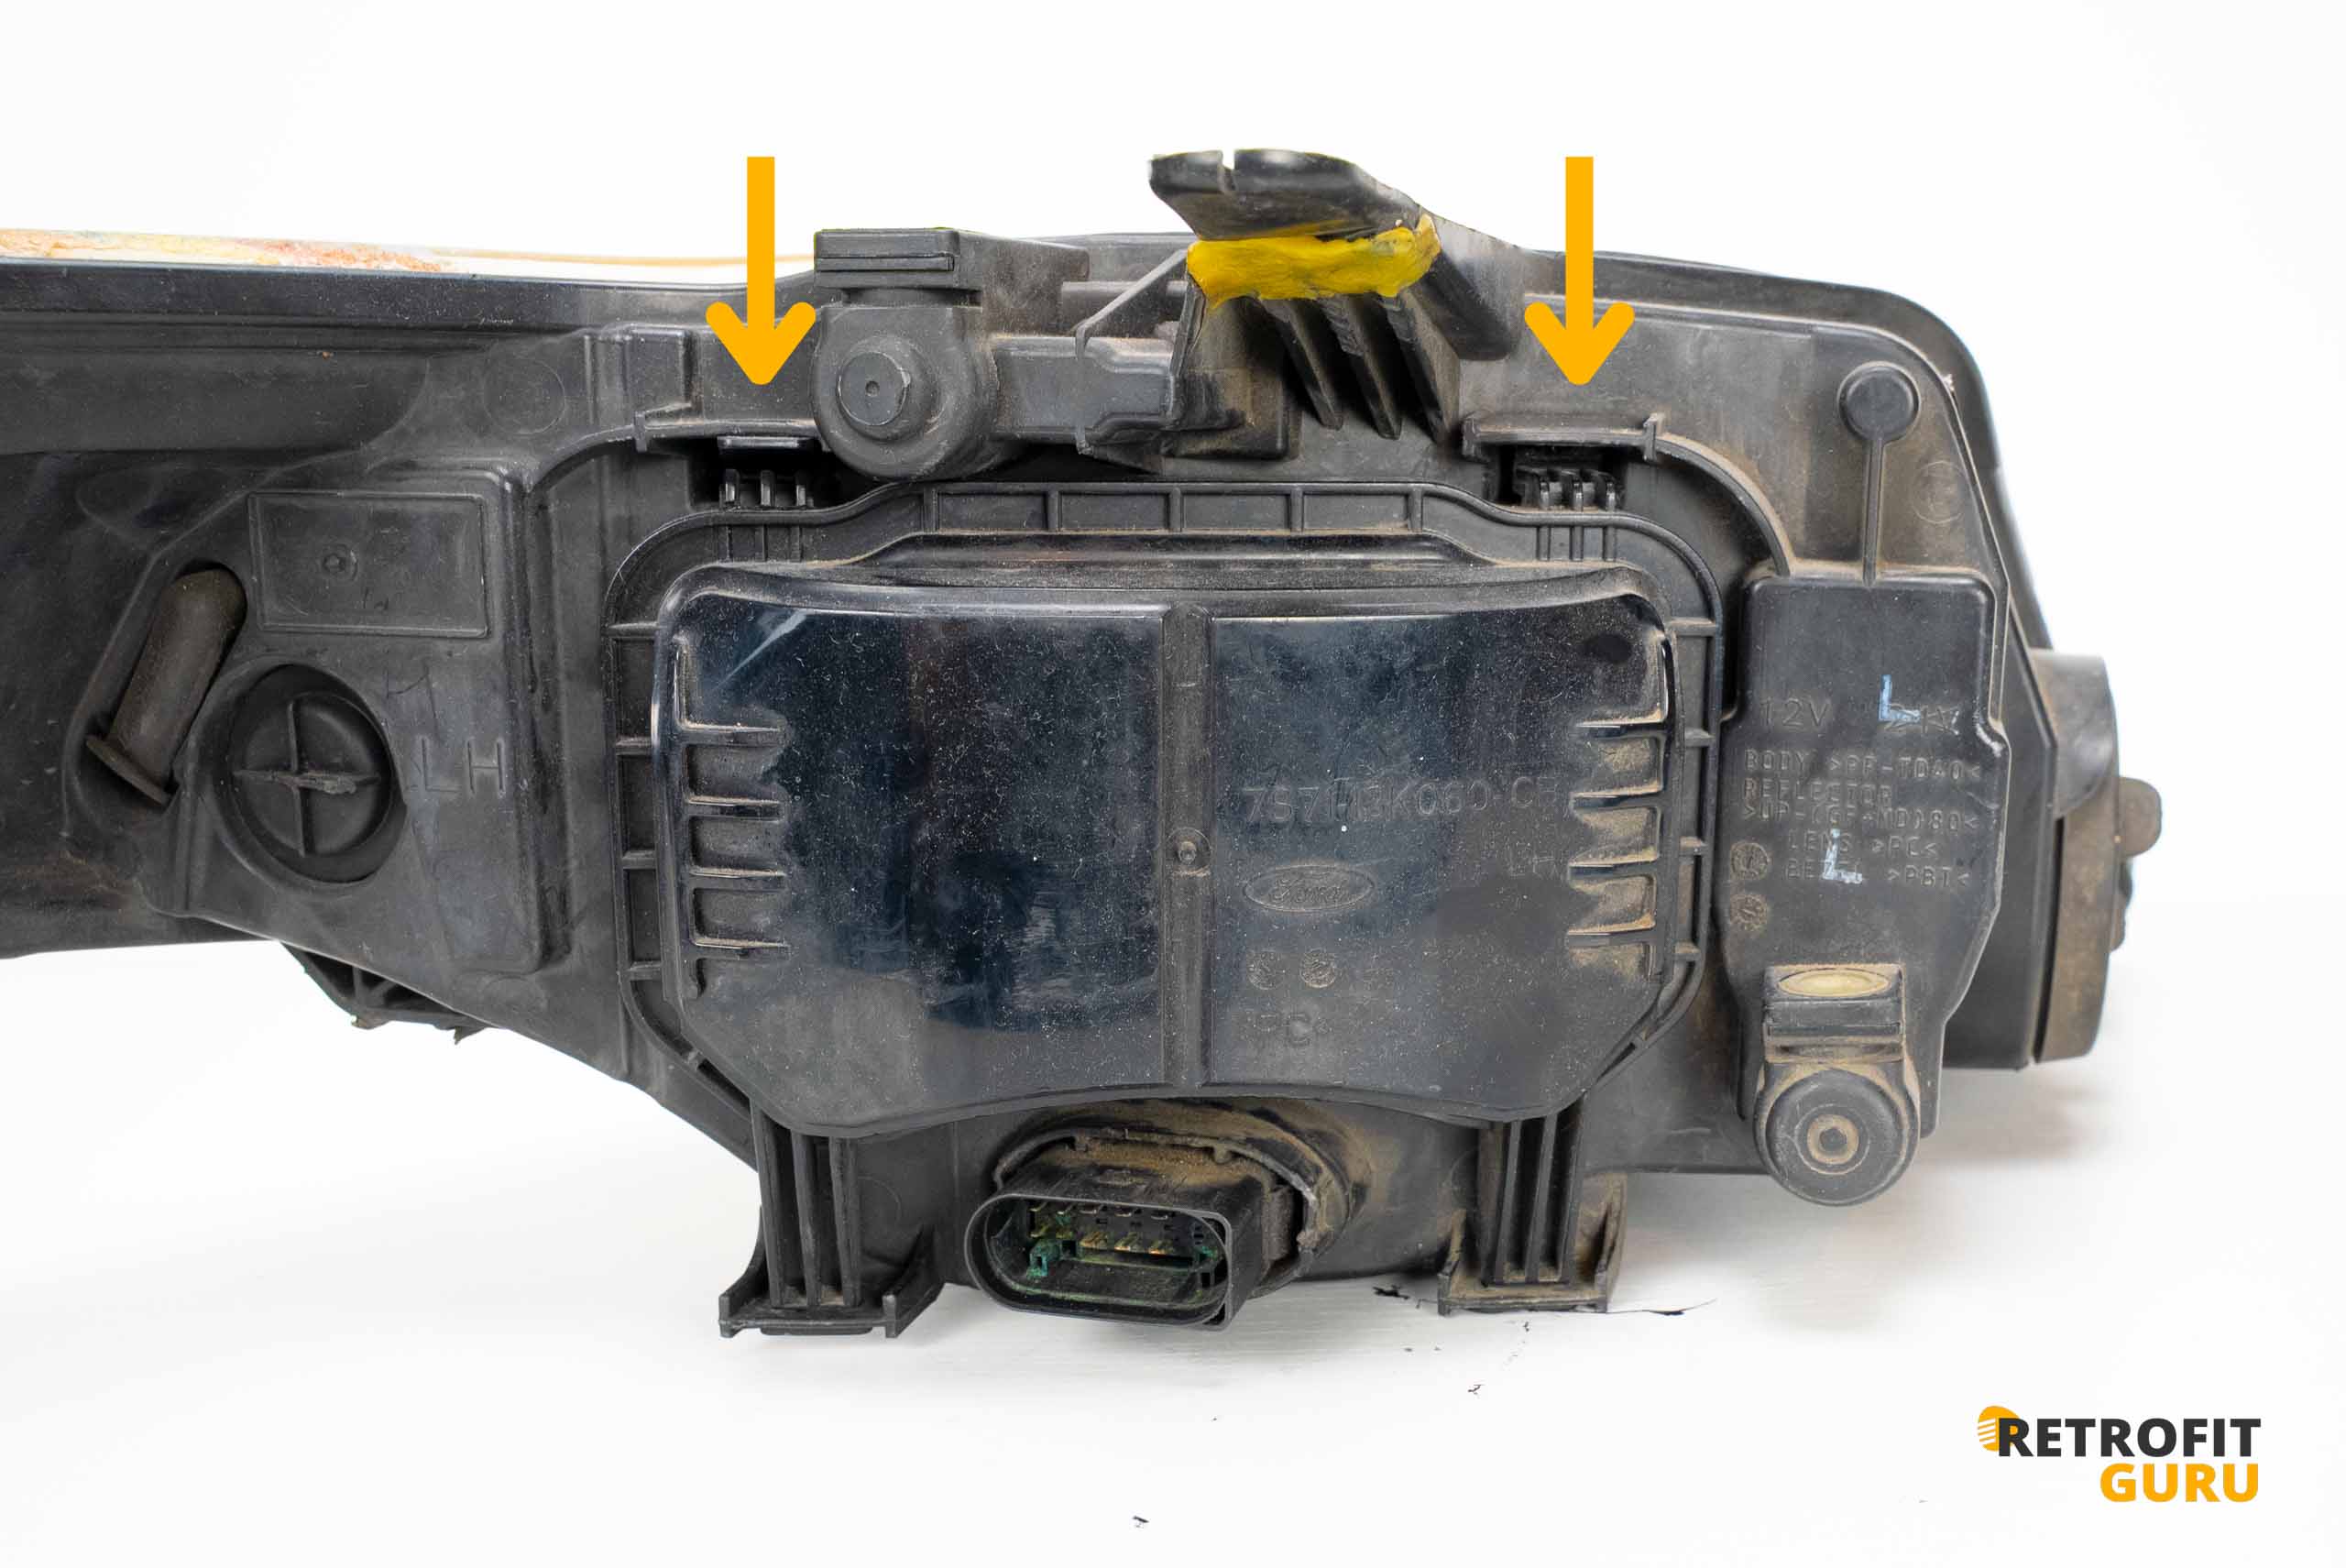
2. Removing the rear headlight cover

  • Release the rear cover by unclipping its mounting from the side.

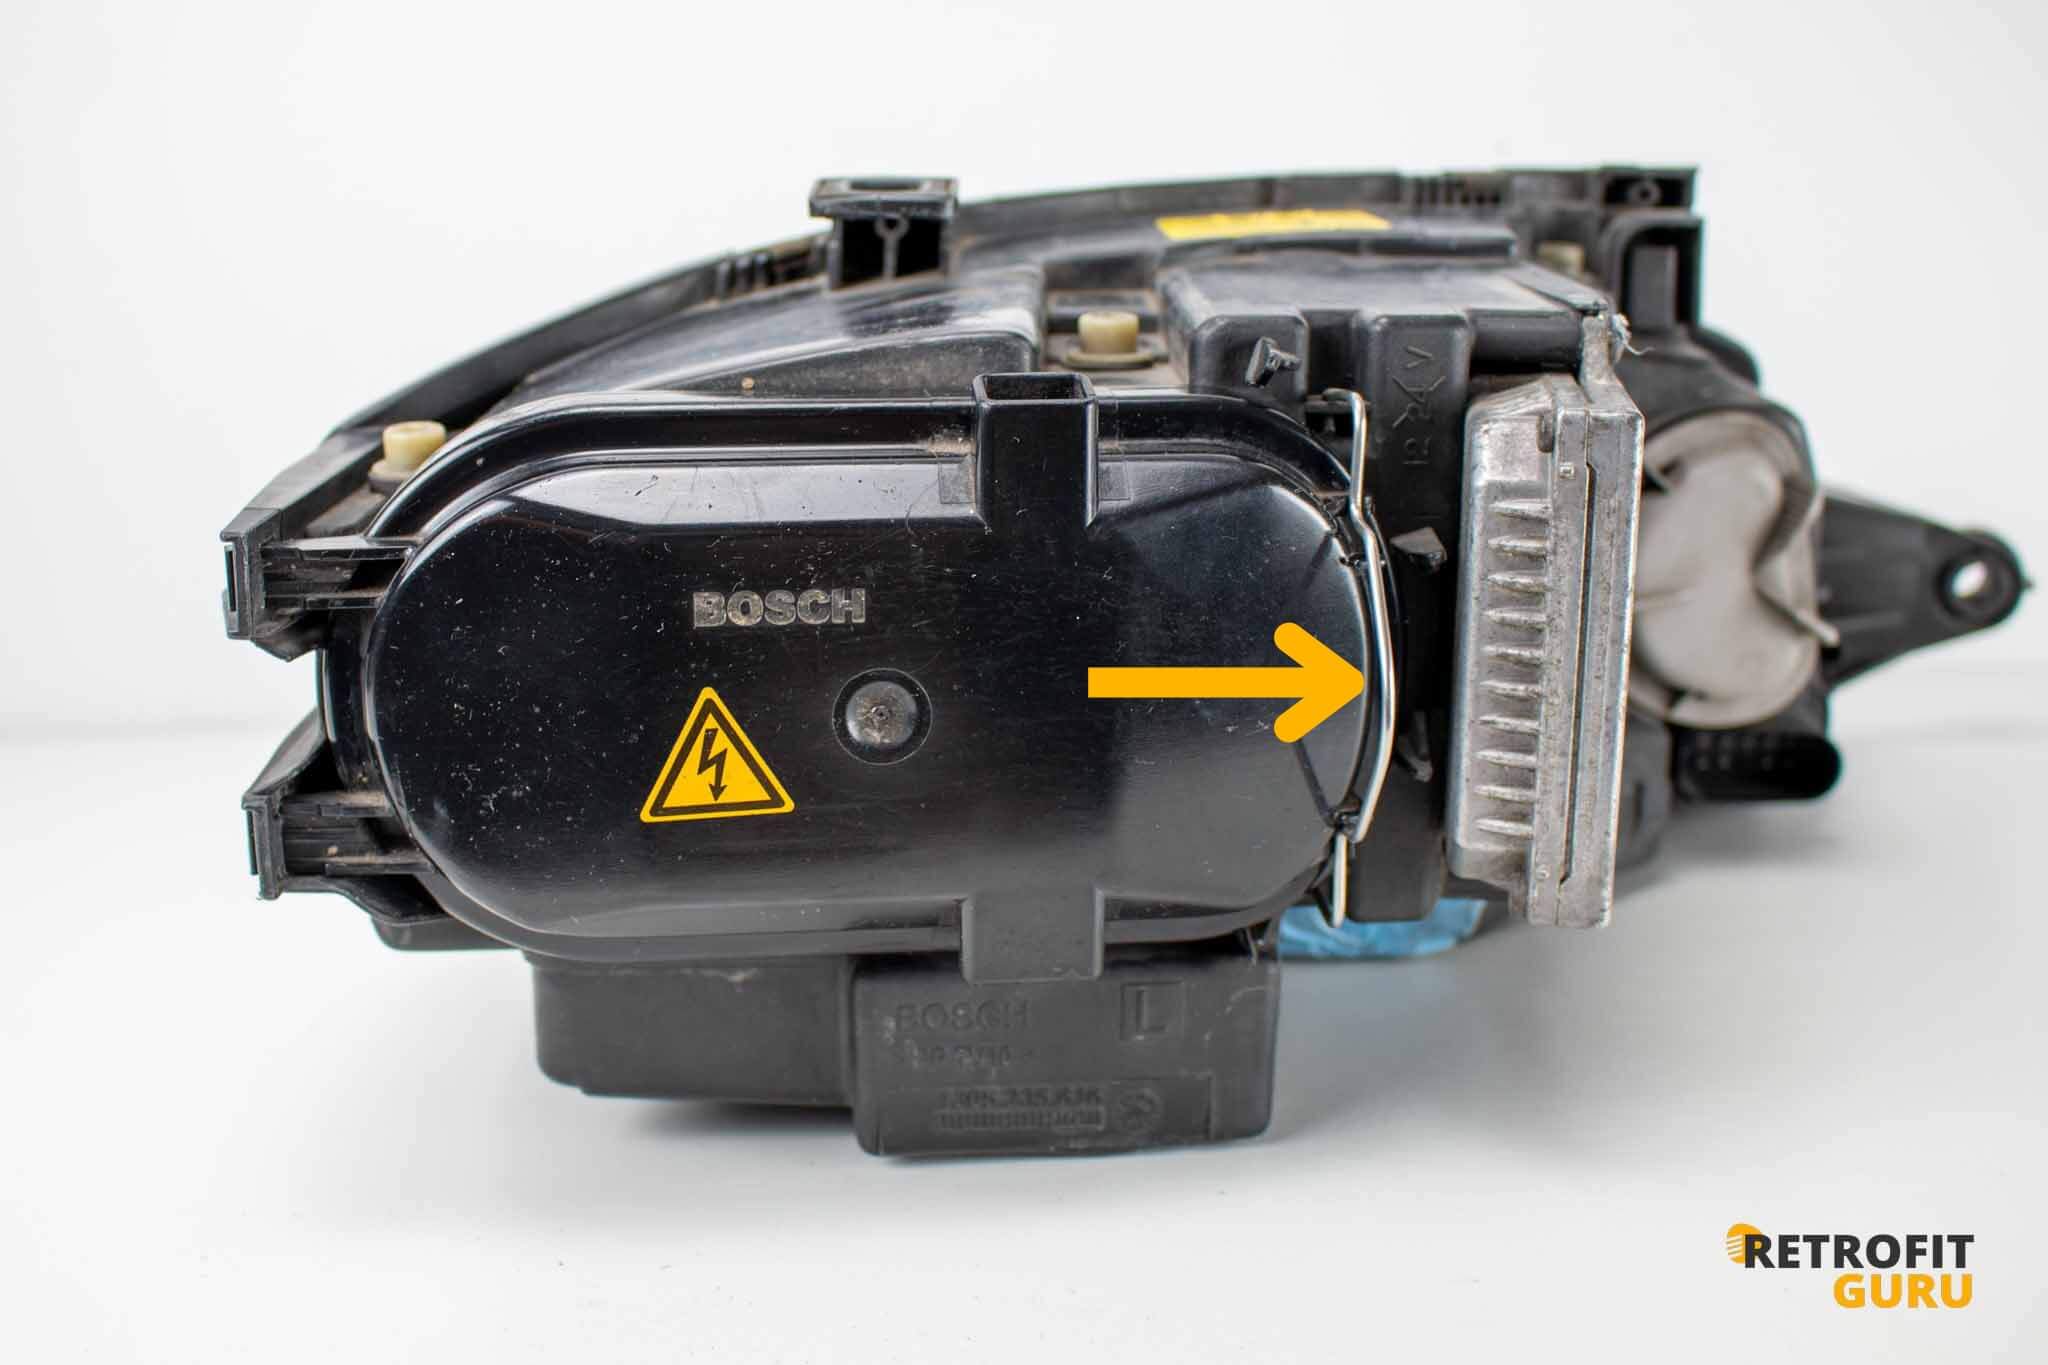
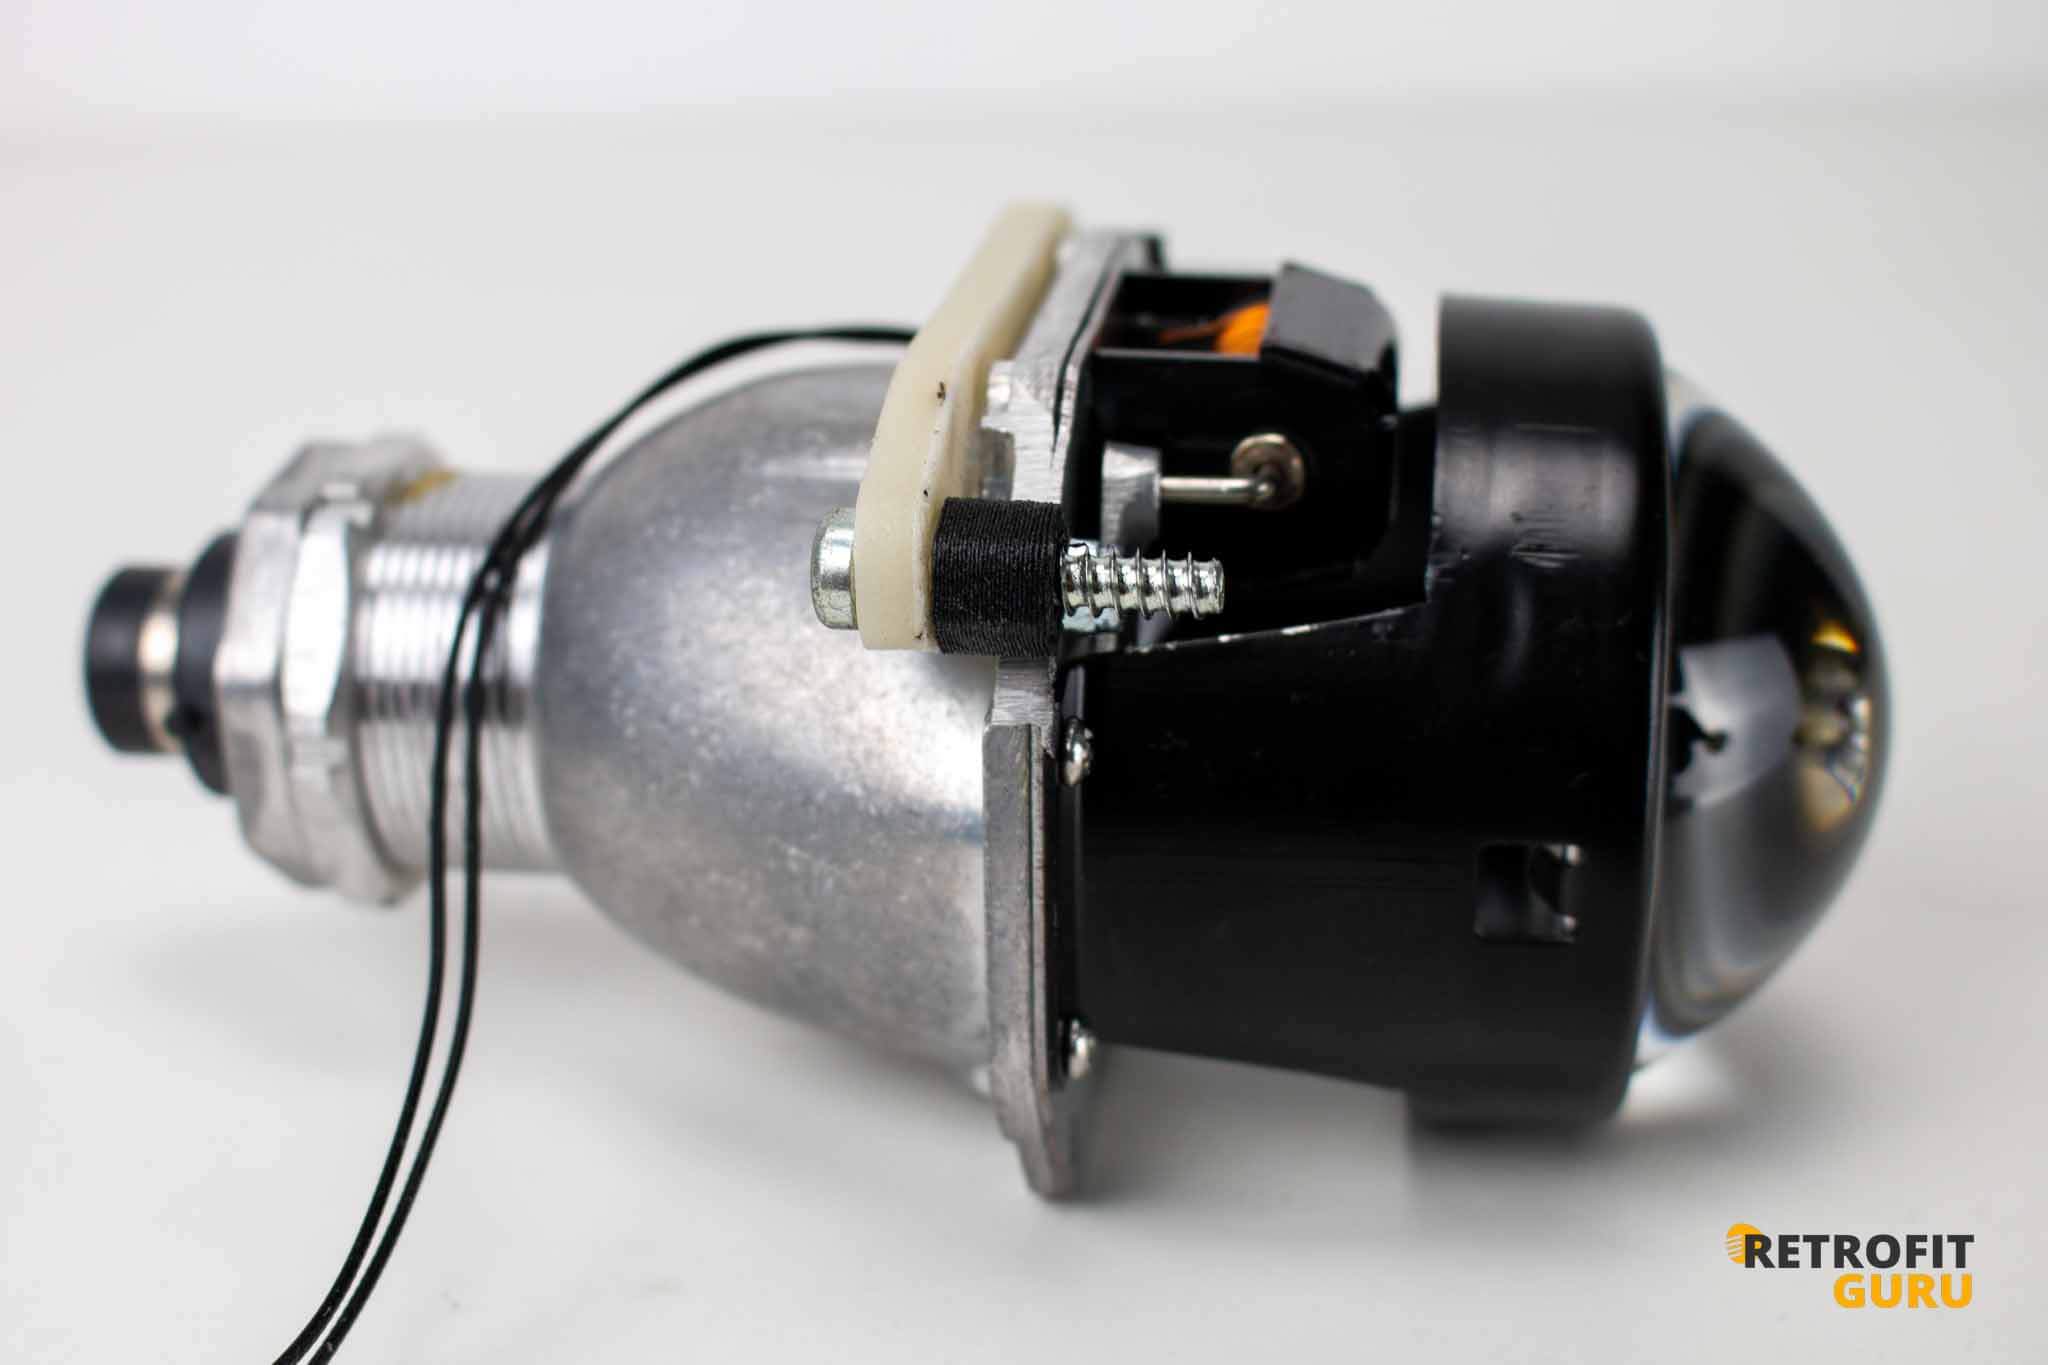
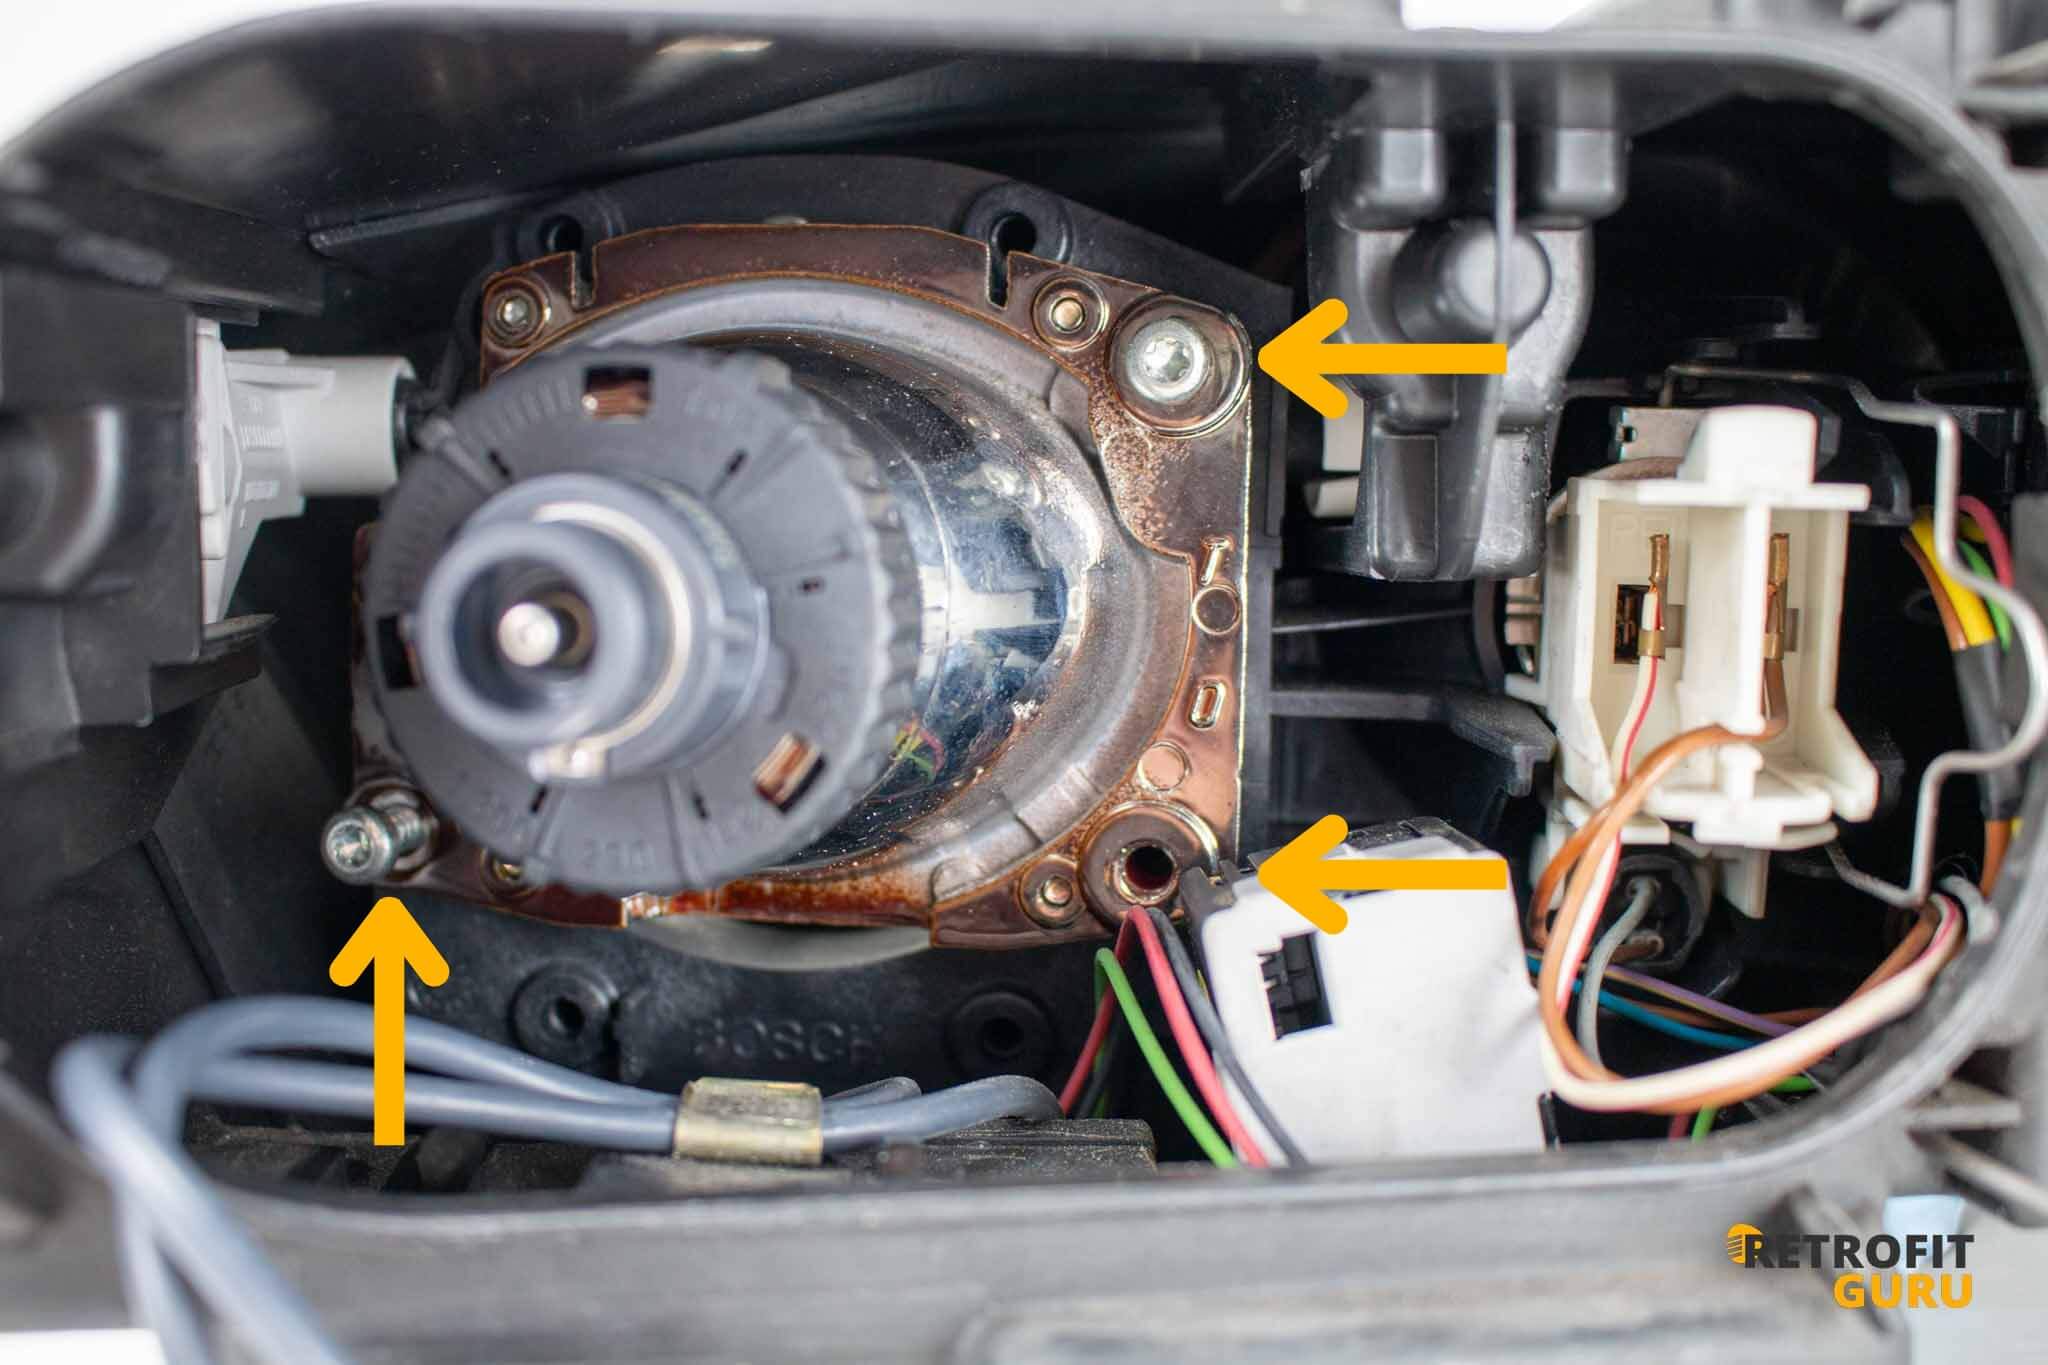
3. Removal of the projector

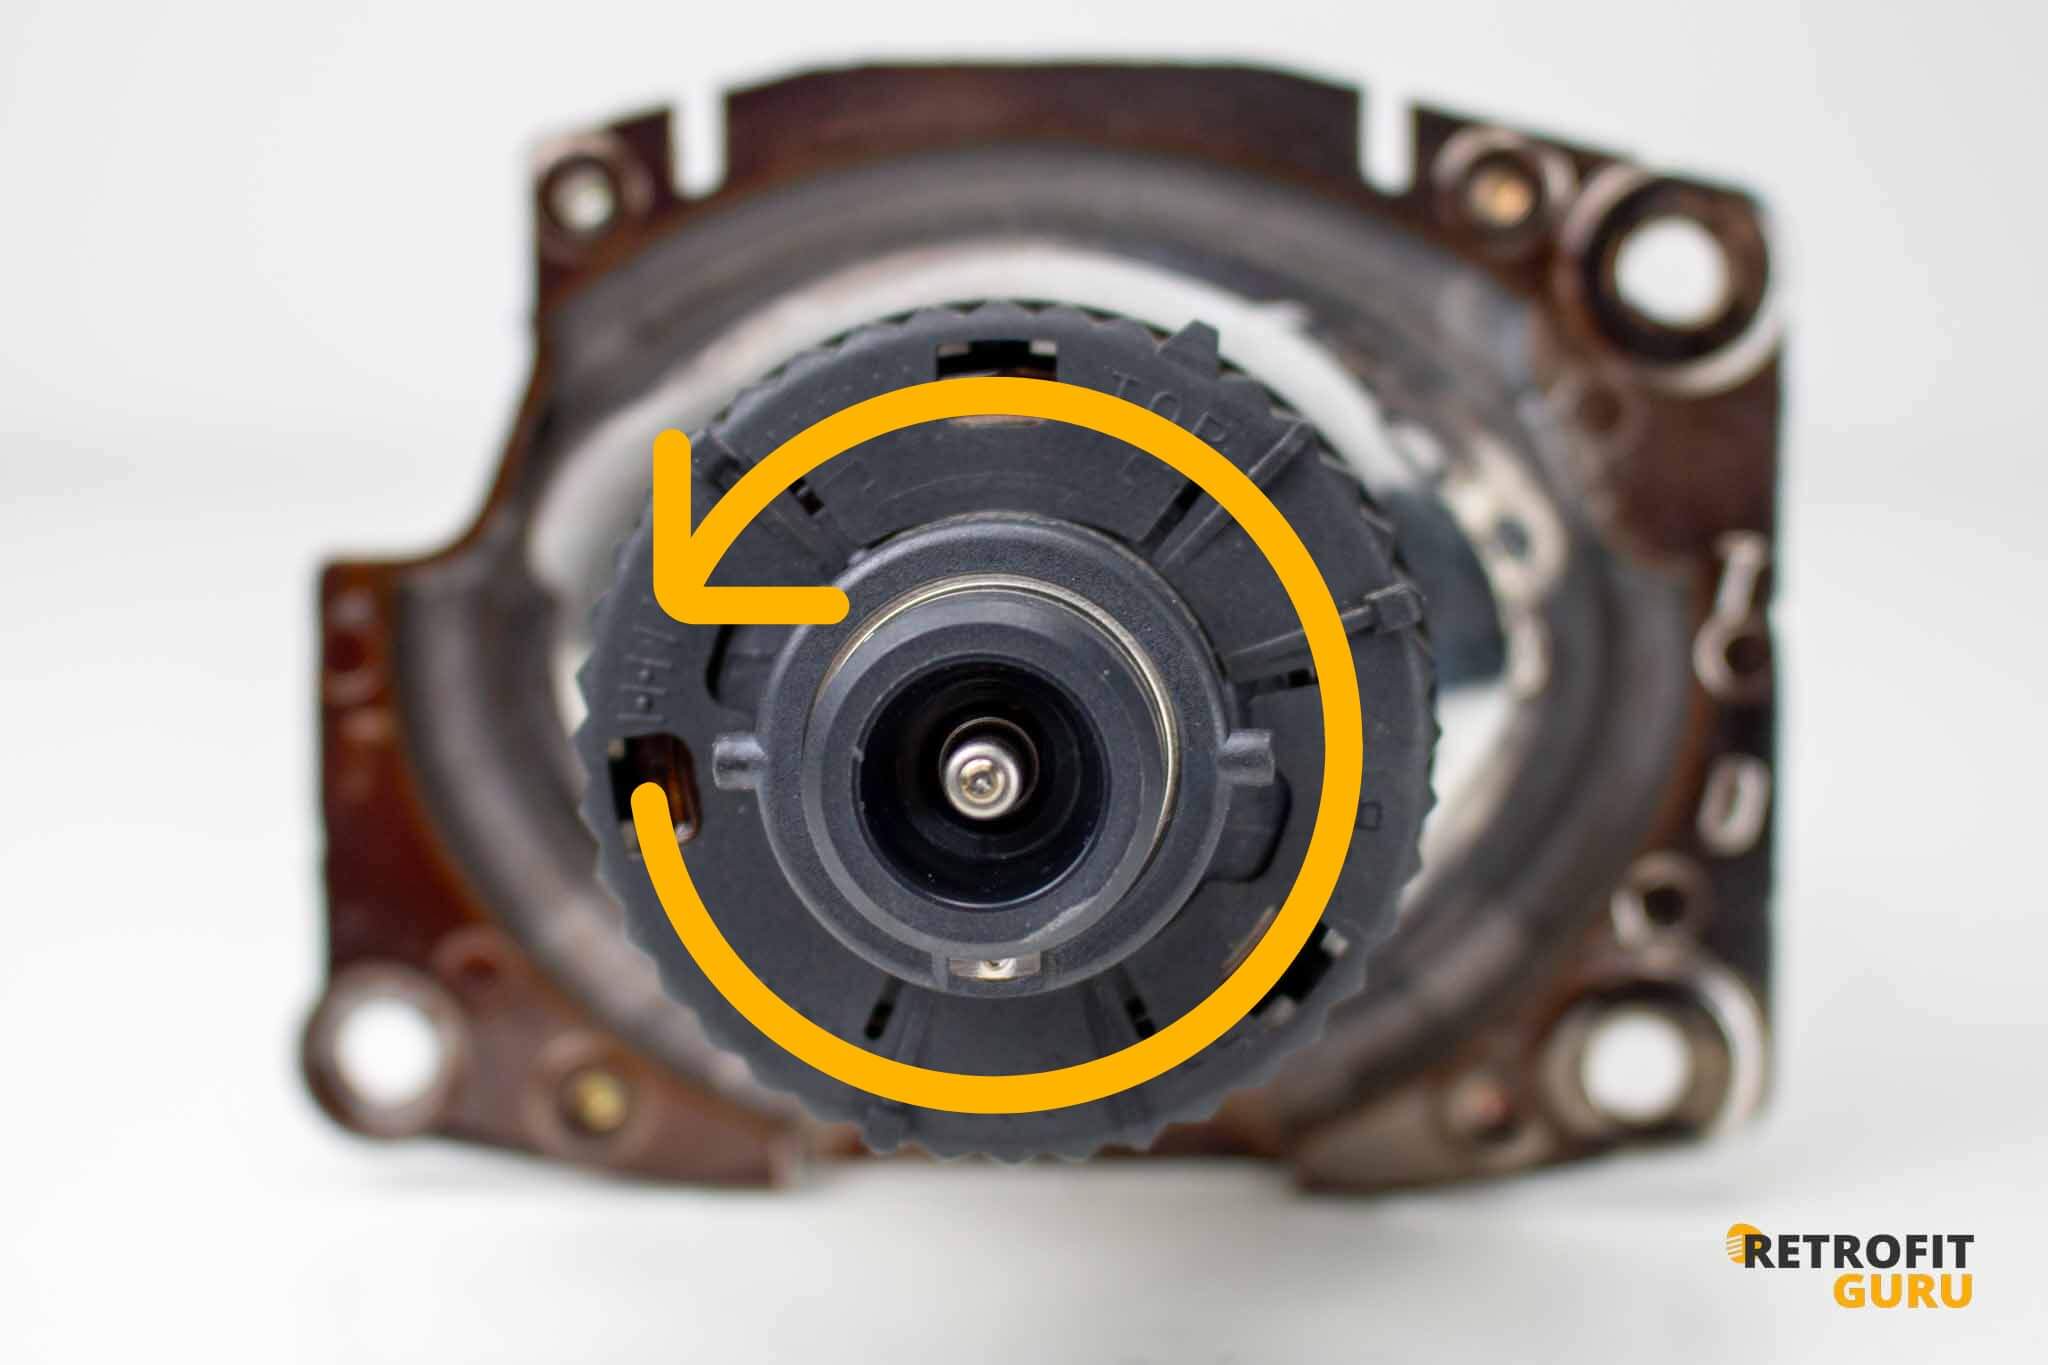
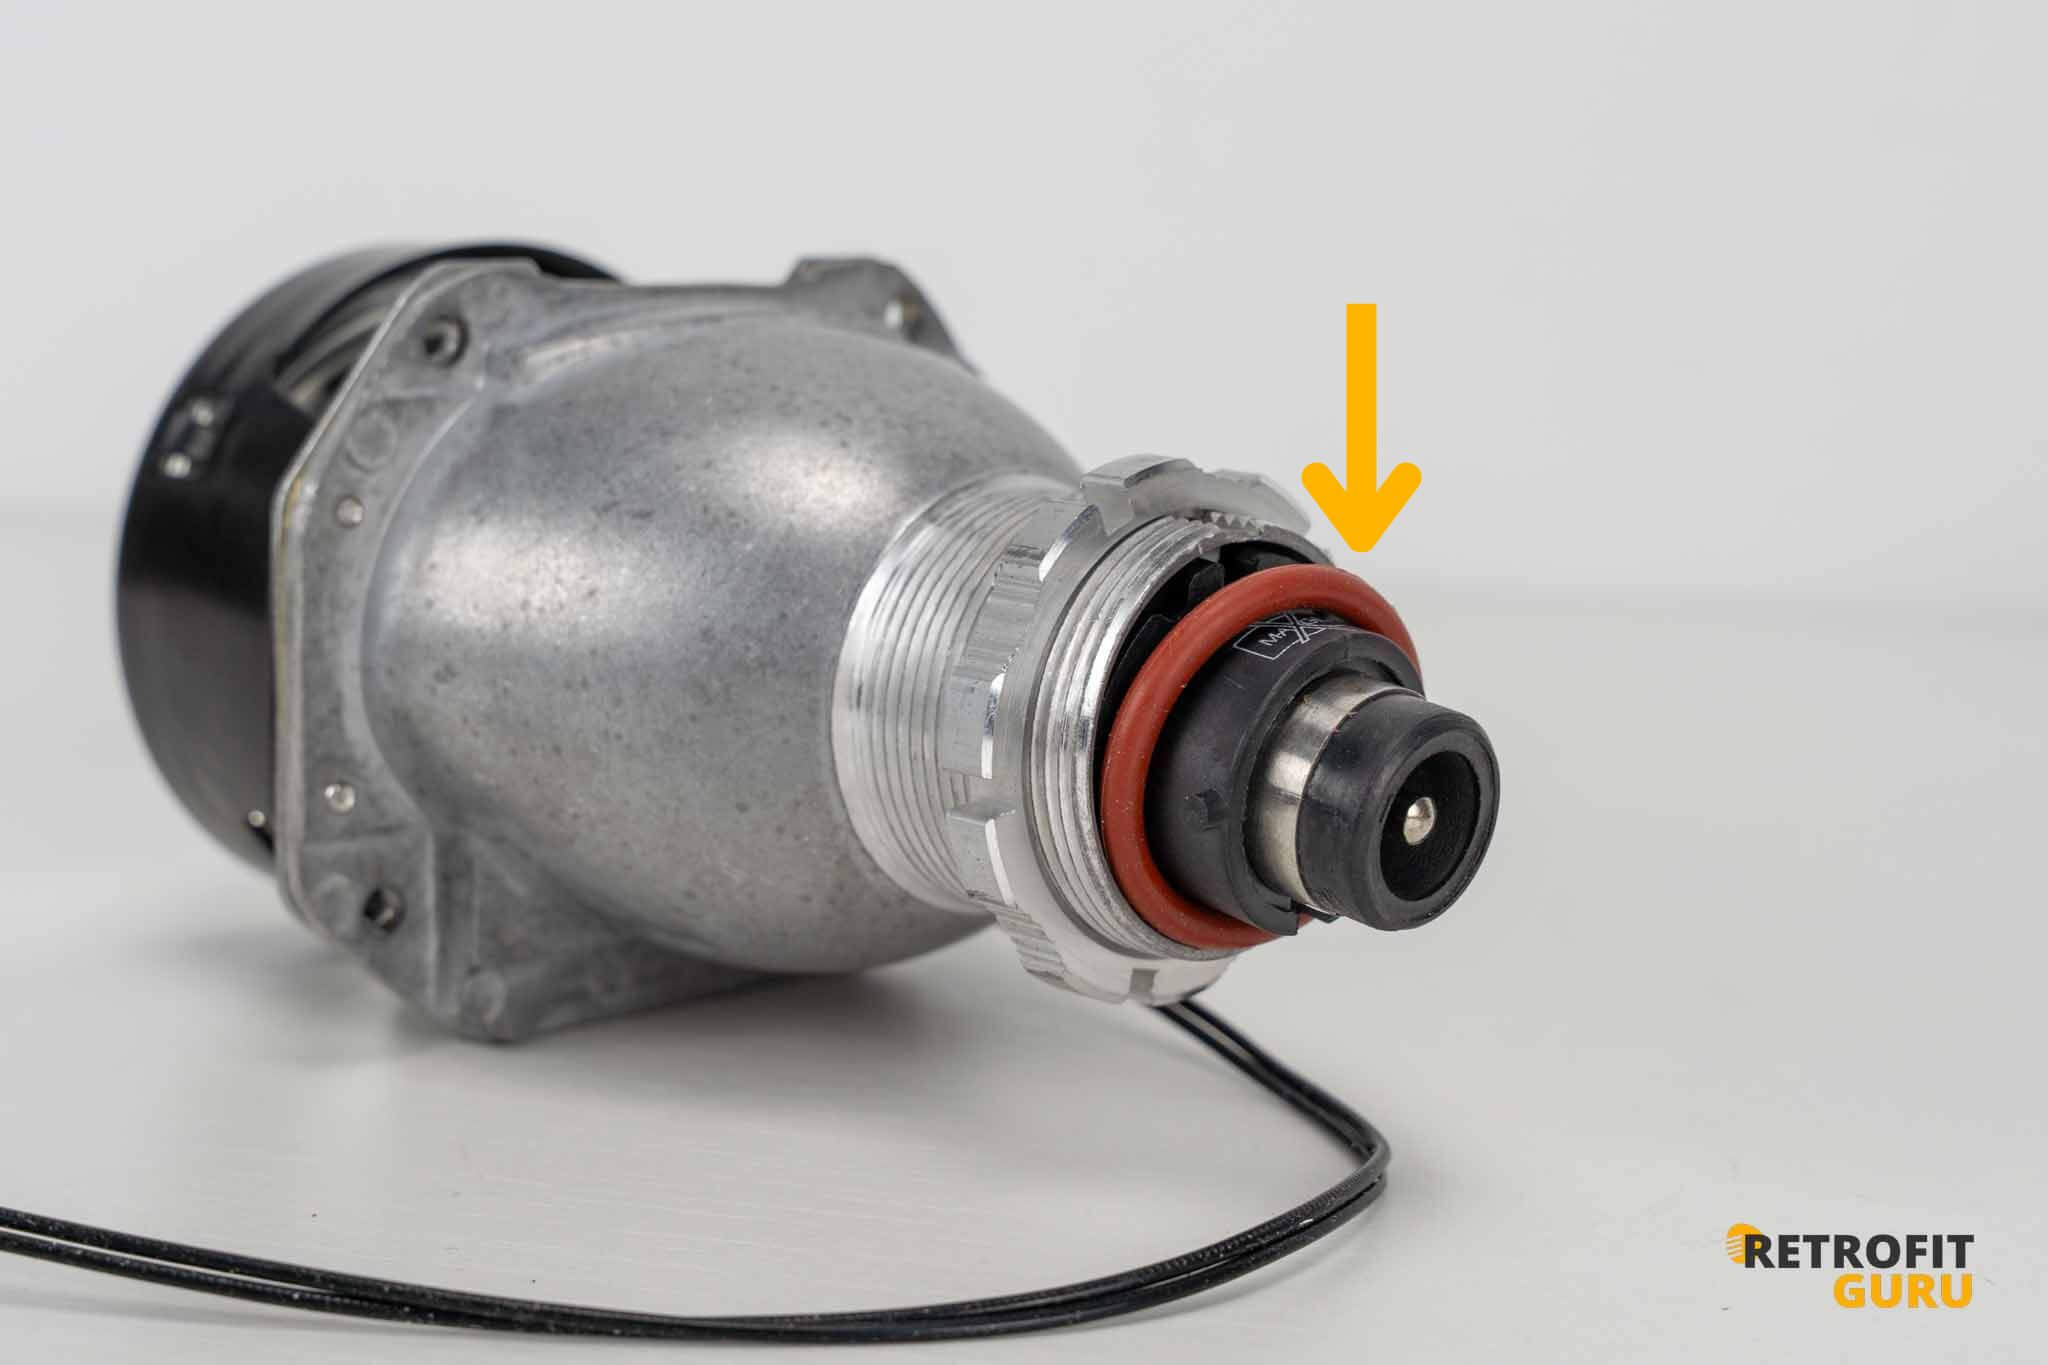
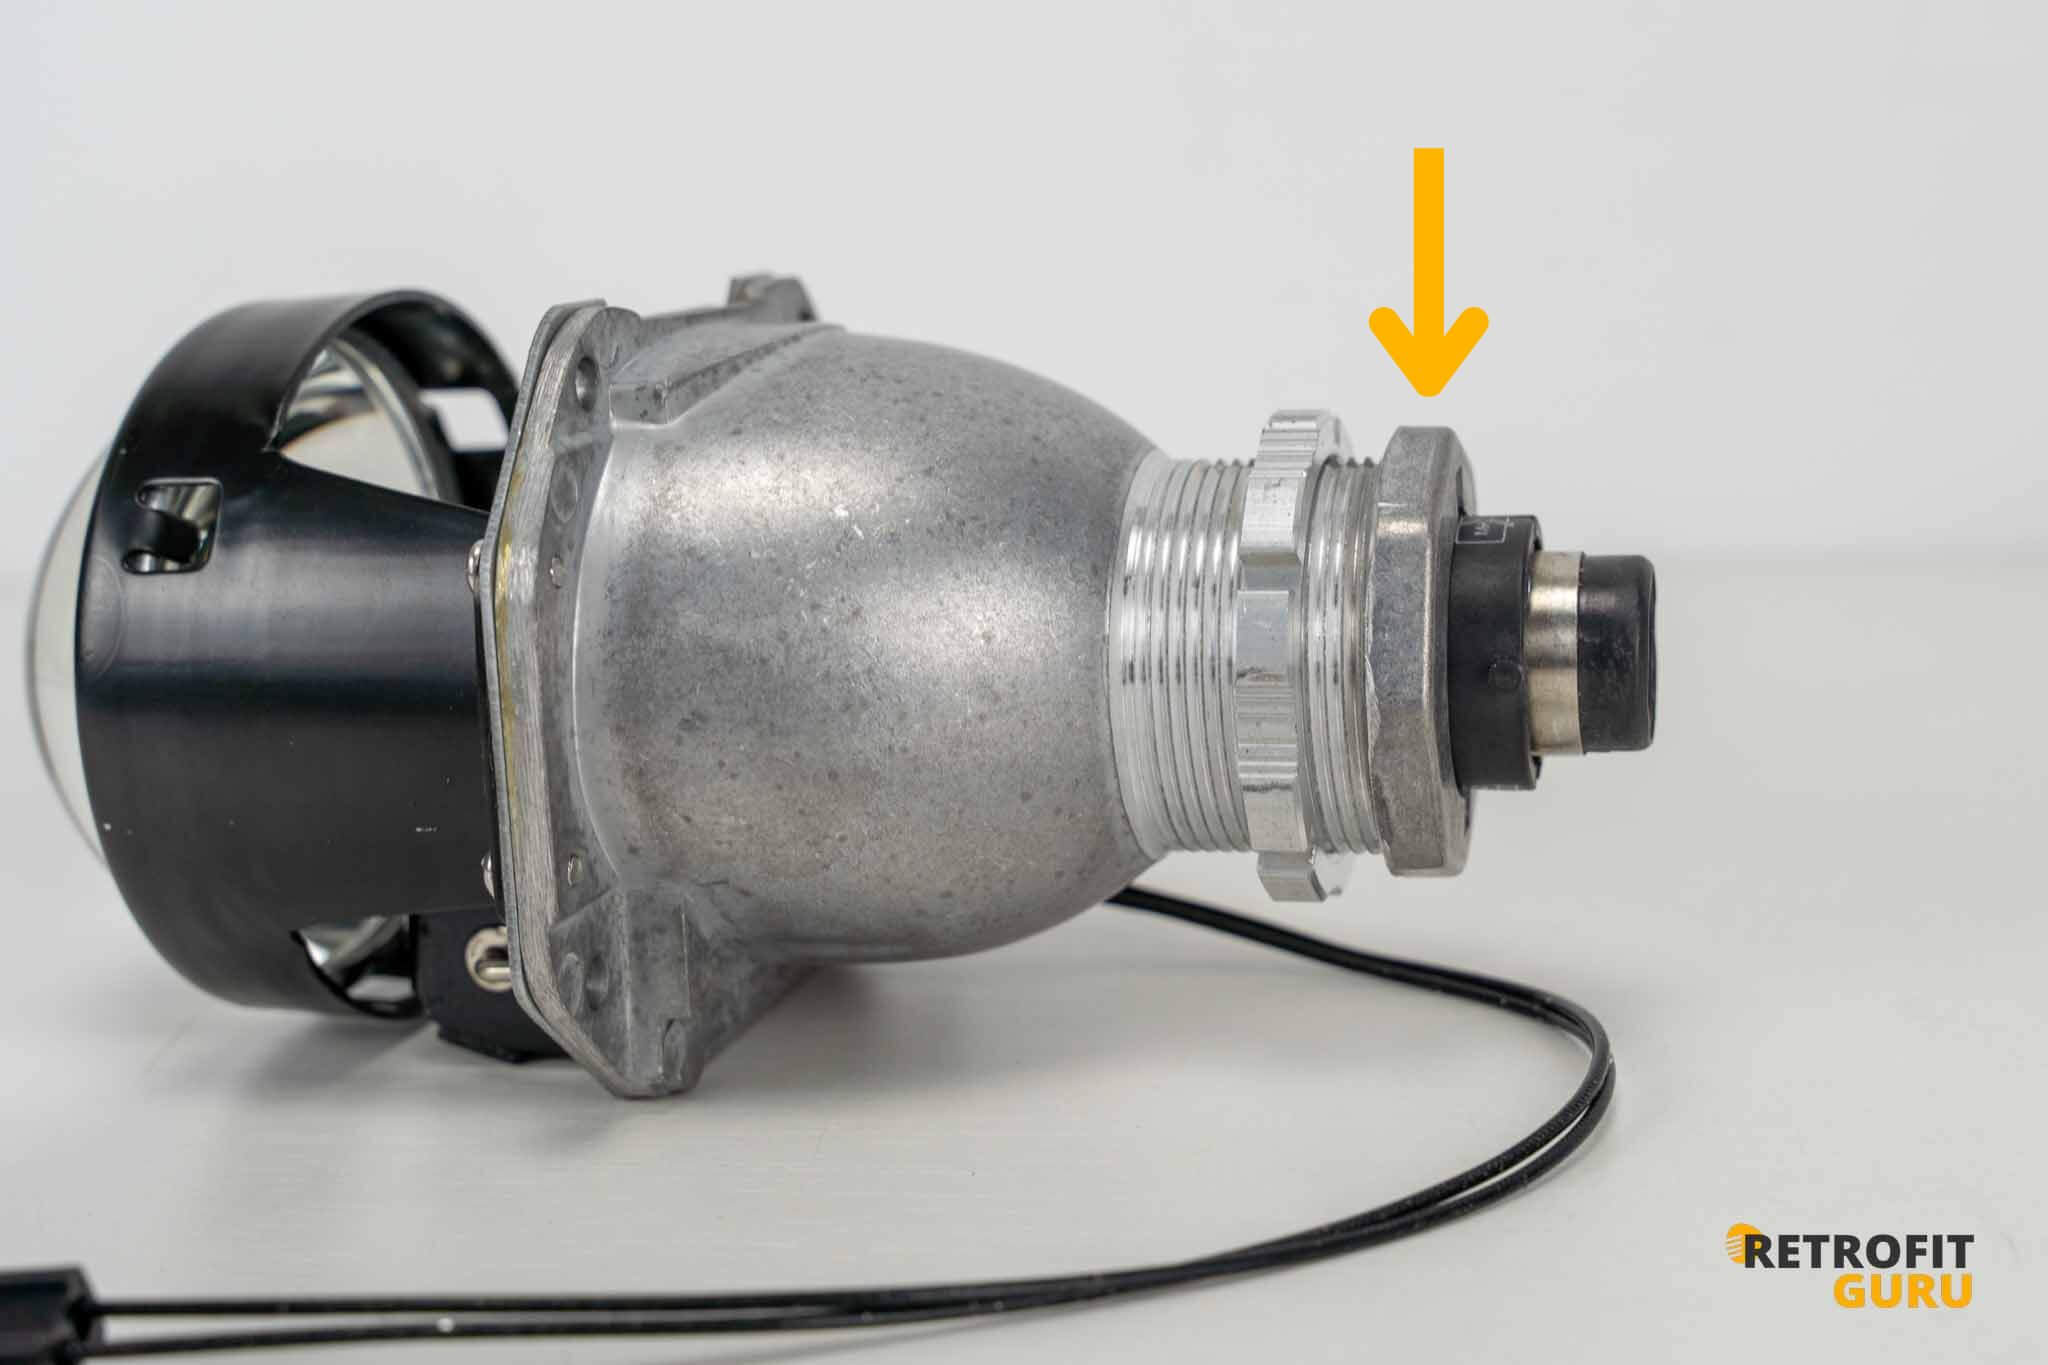
  • Disconnect the cable leading from the igniter to the xenon bulb by turning it counterclockwise.
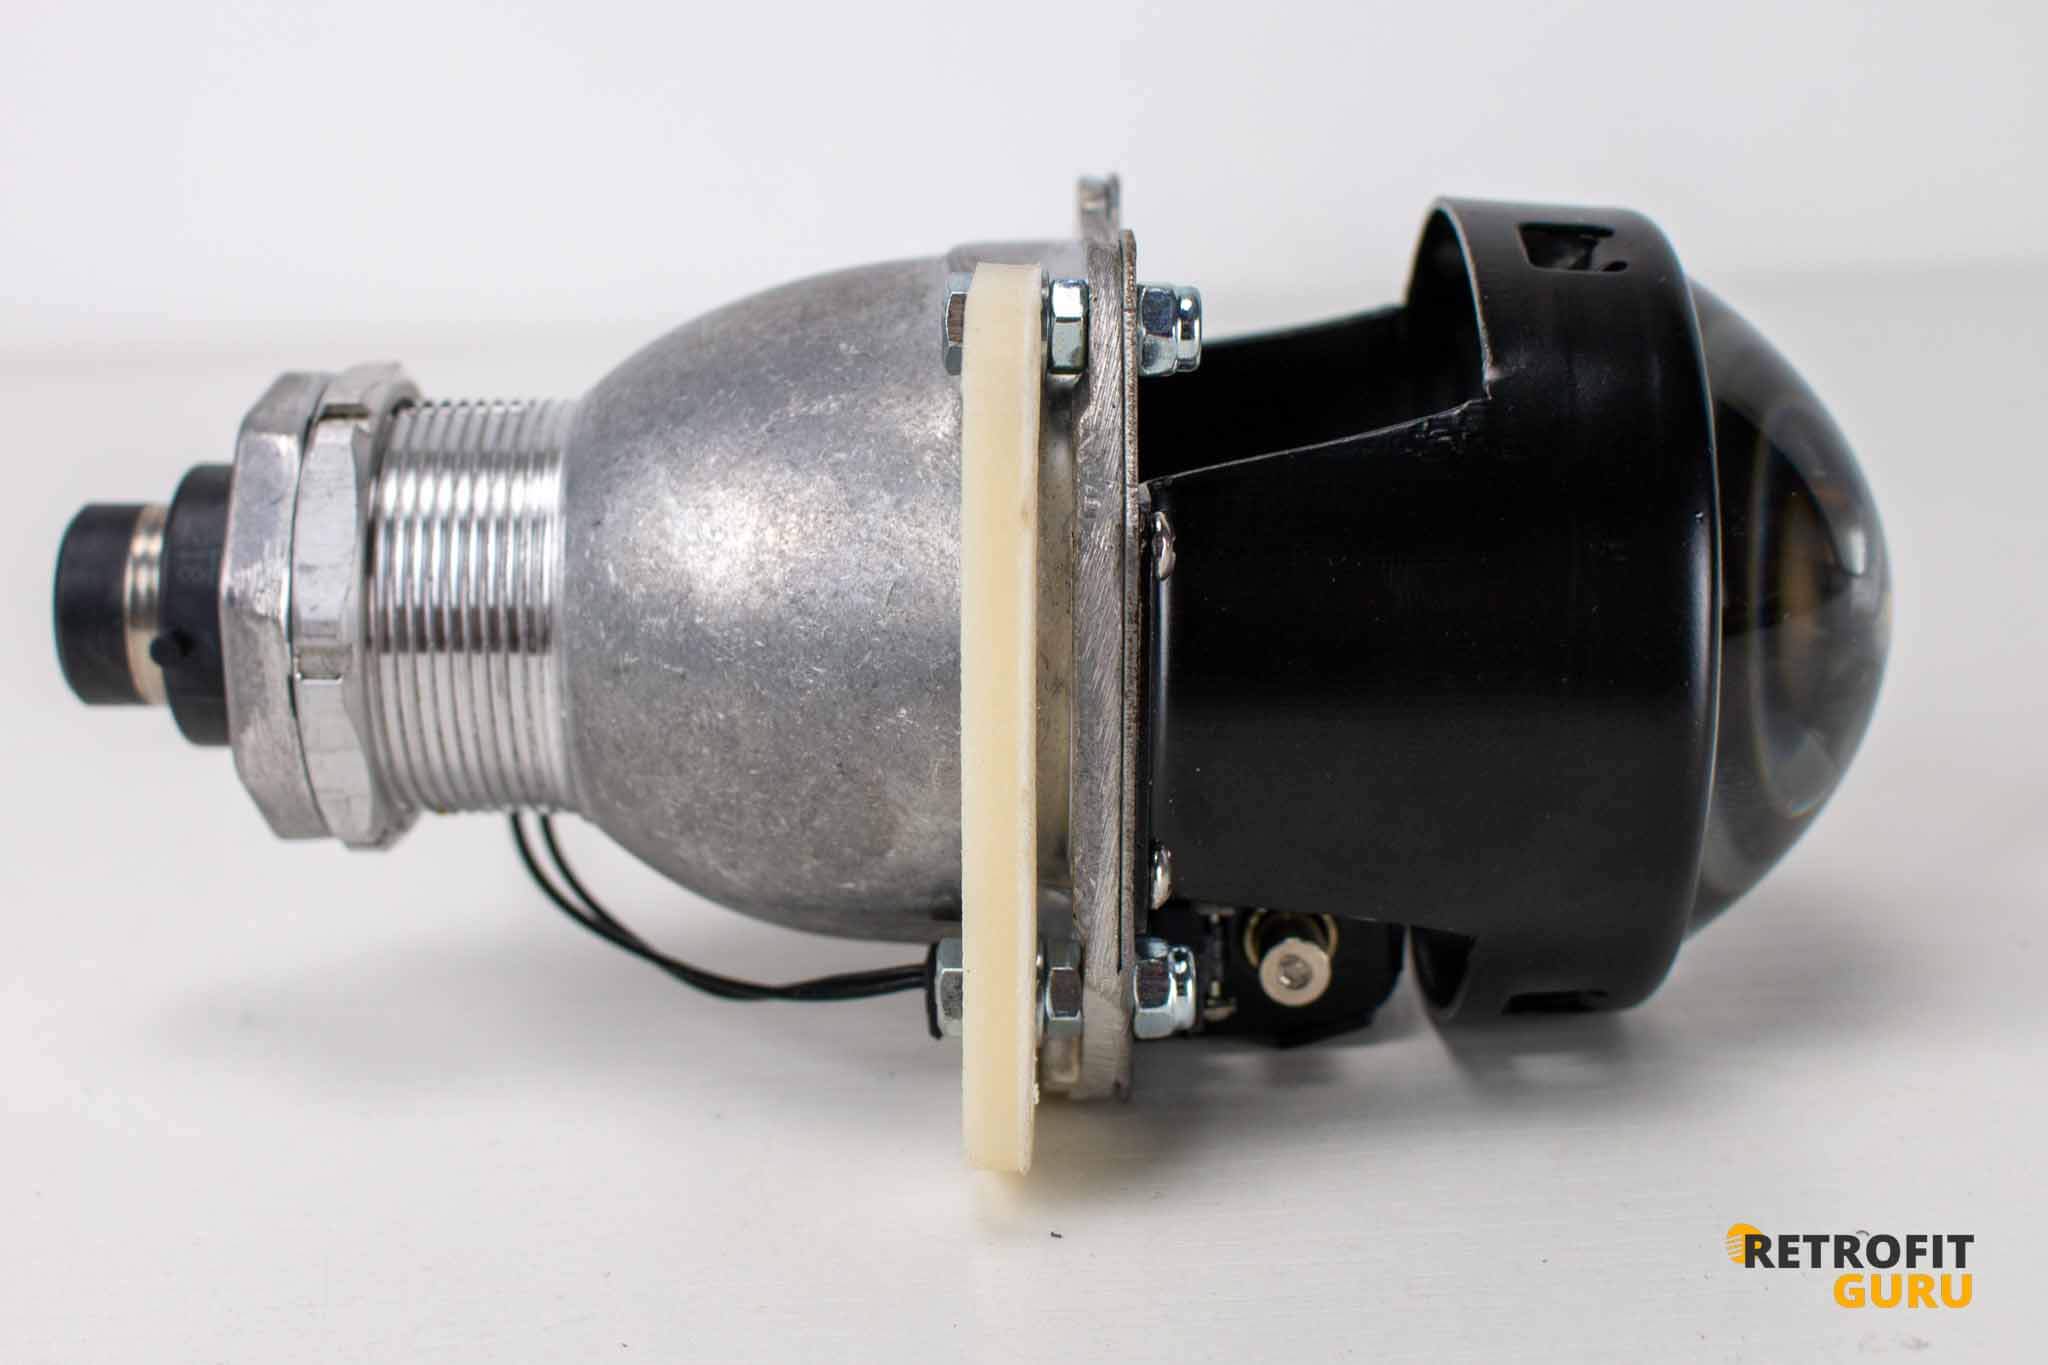
  • Using a Torx screwdriver, loosen and remove the three screws securing the projector inside the headlight. Then carefully remove the projector.

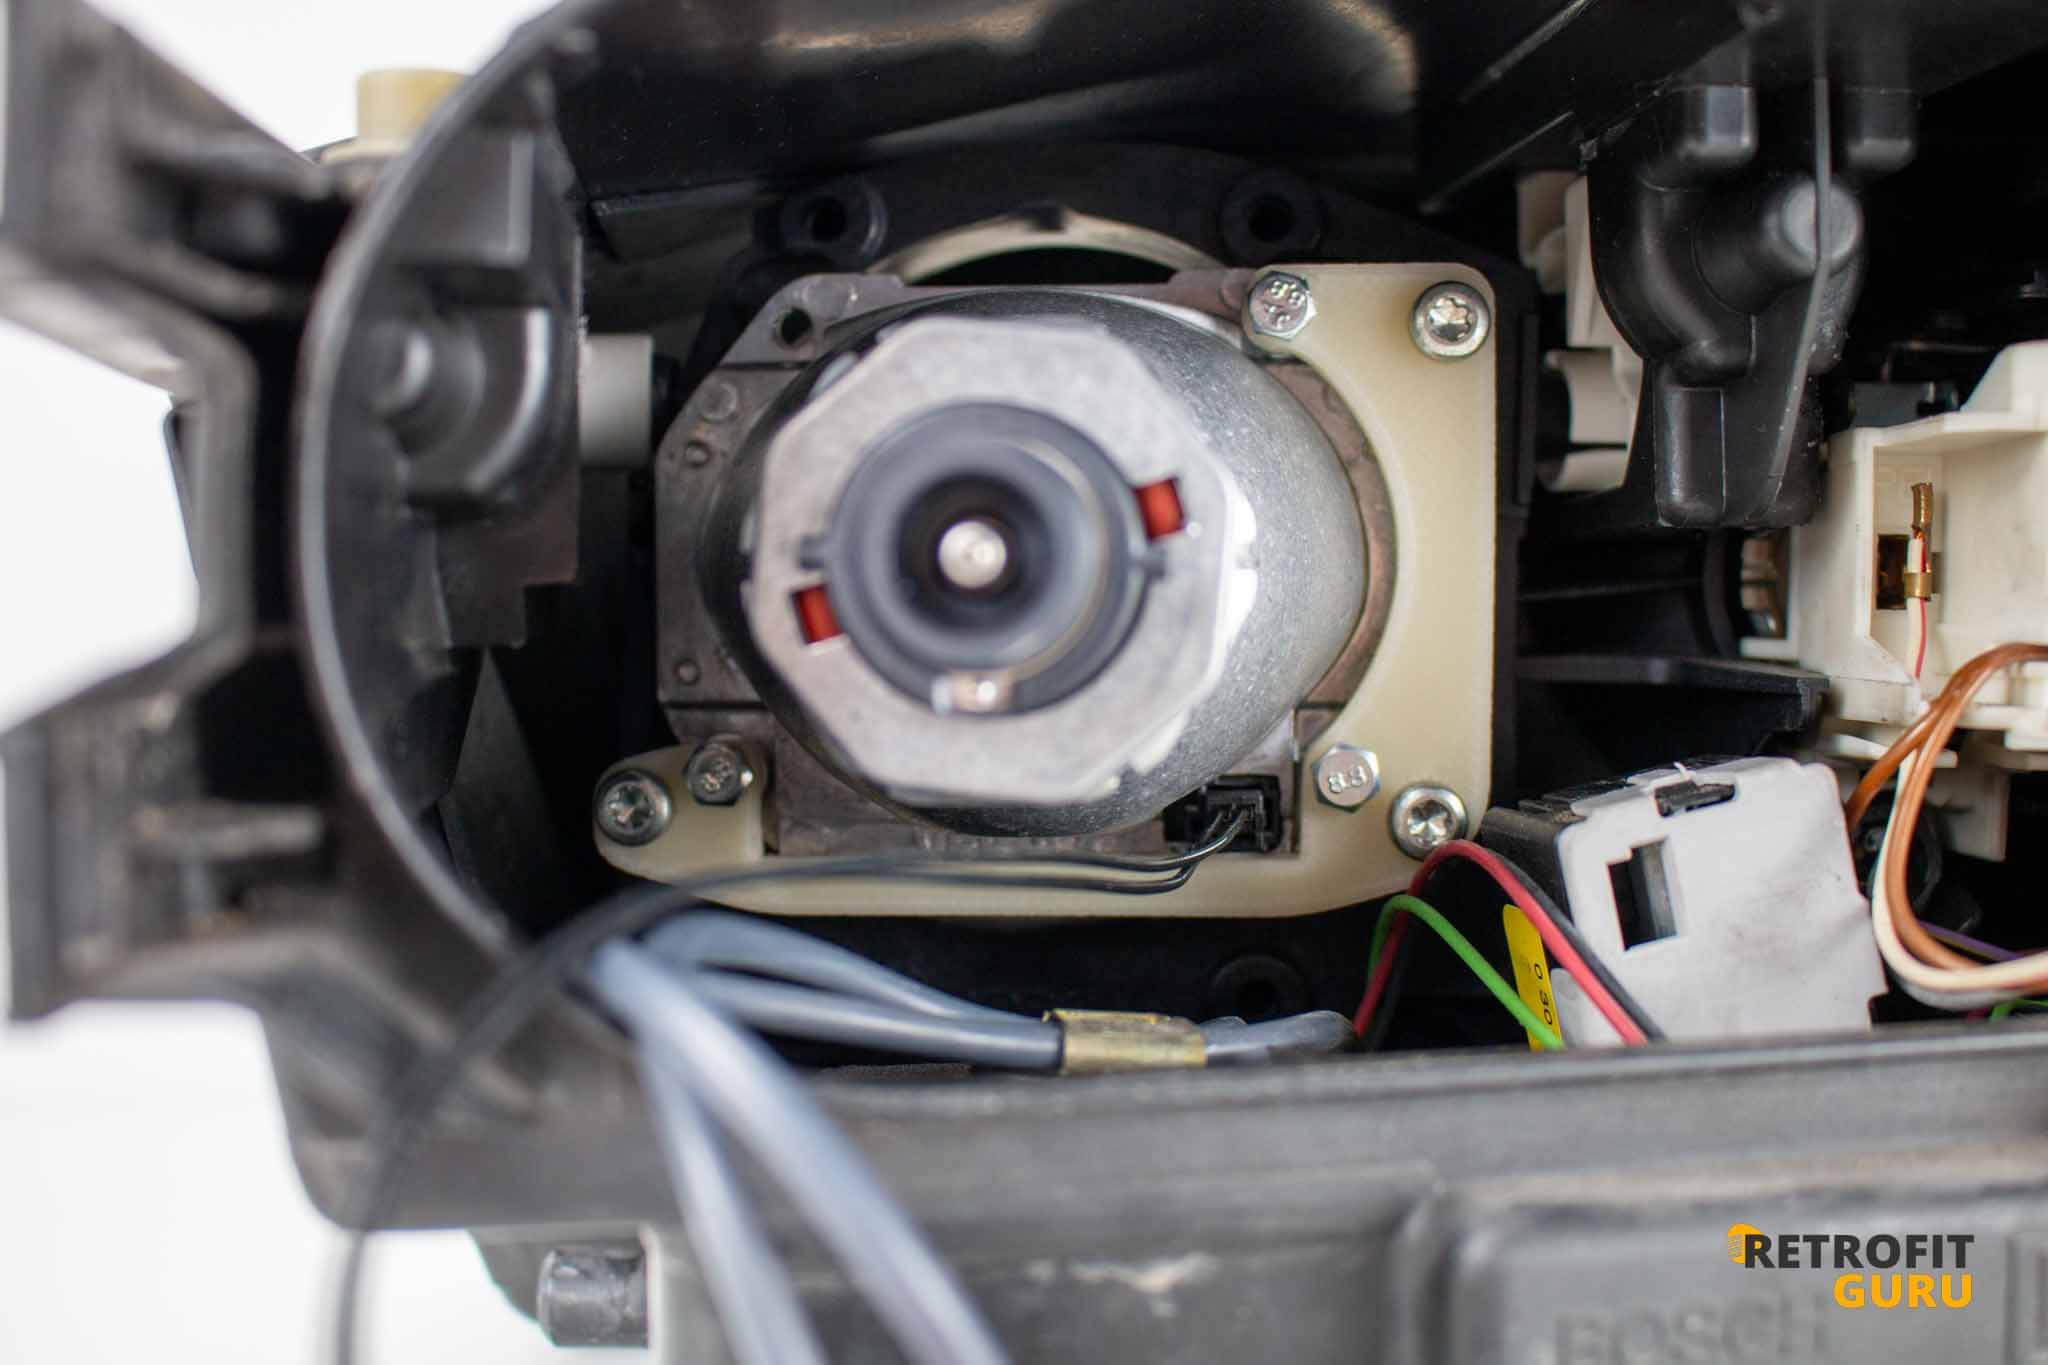
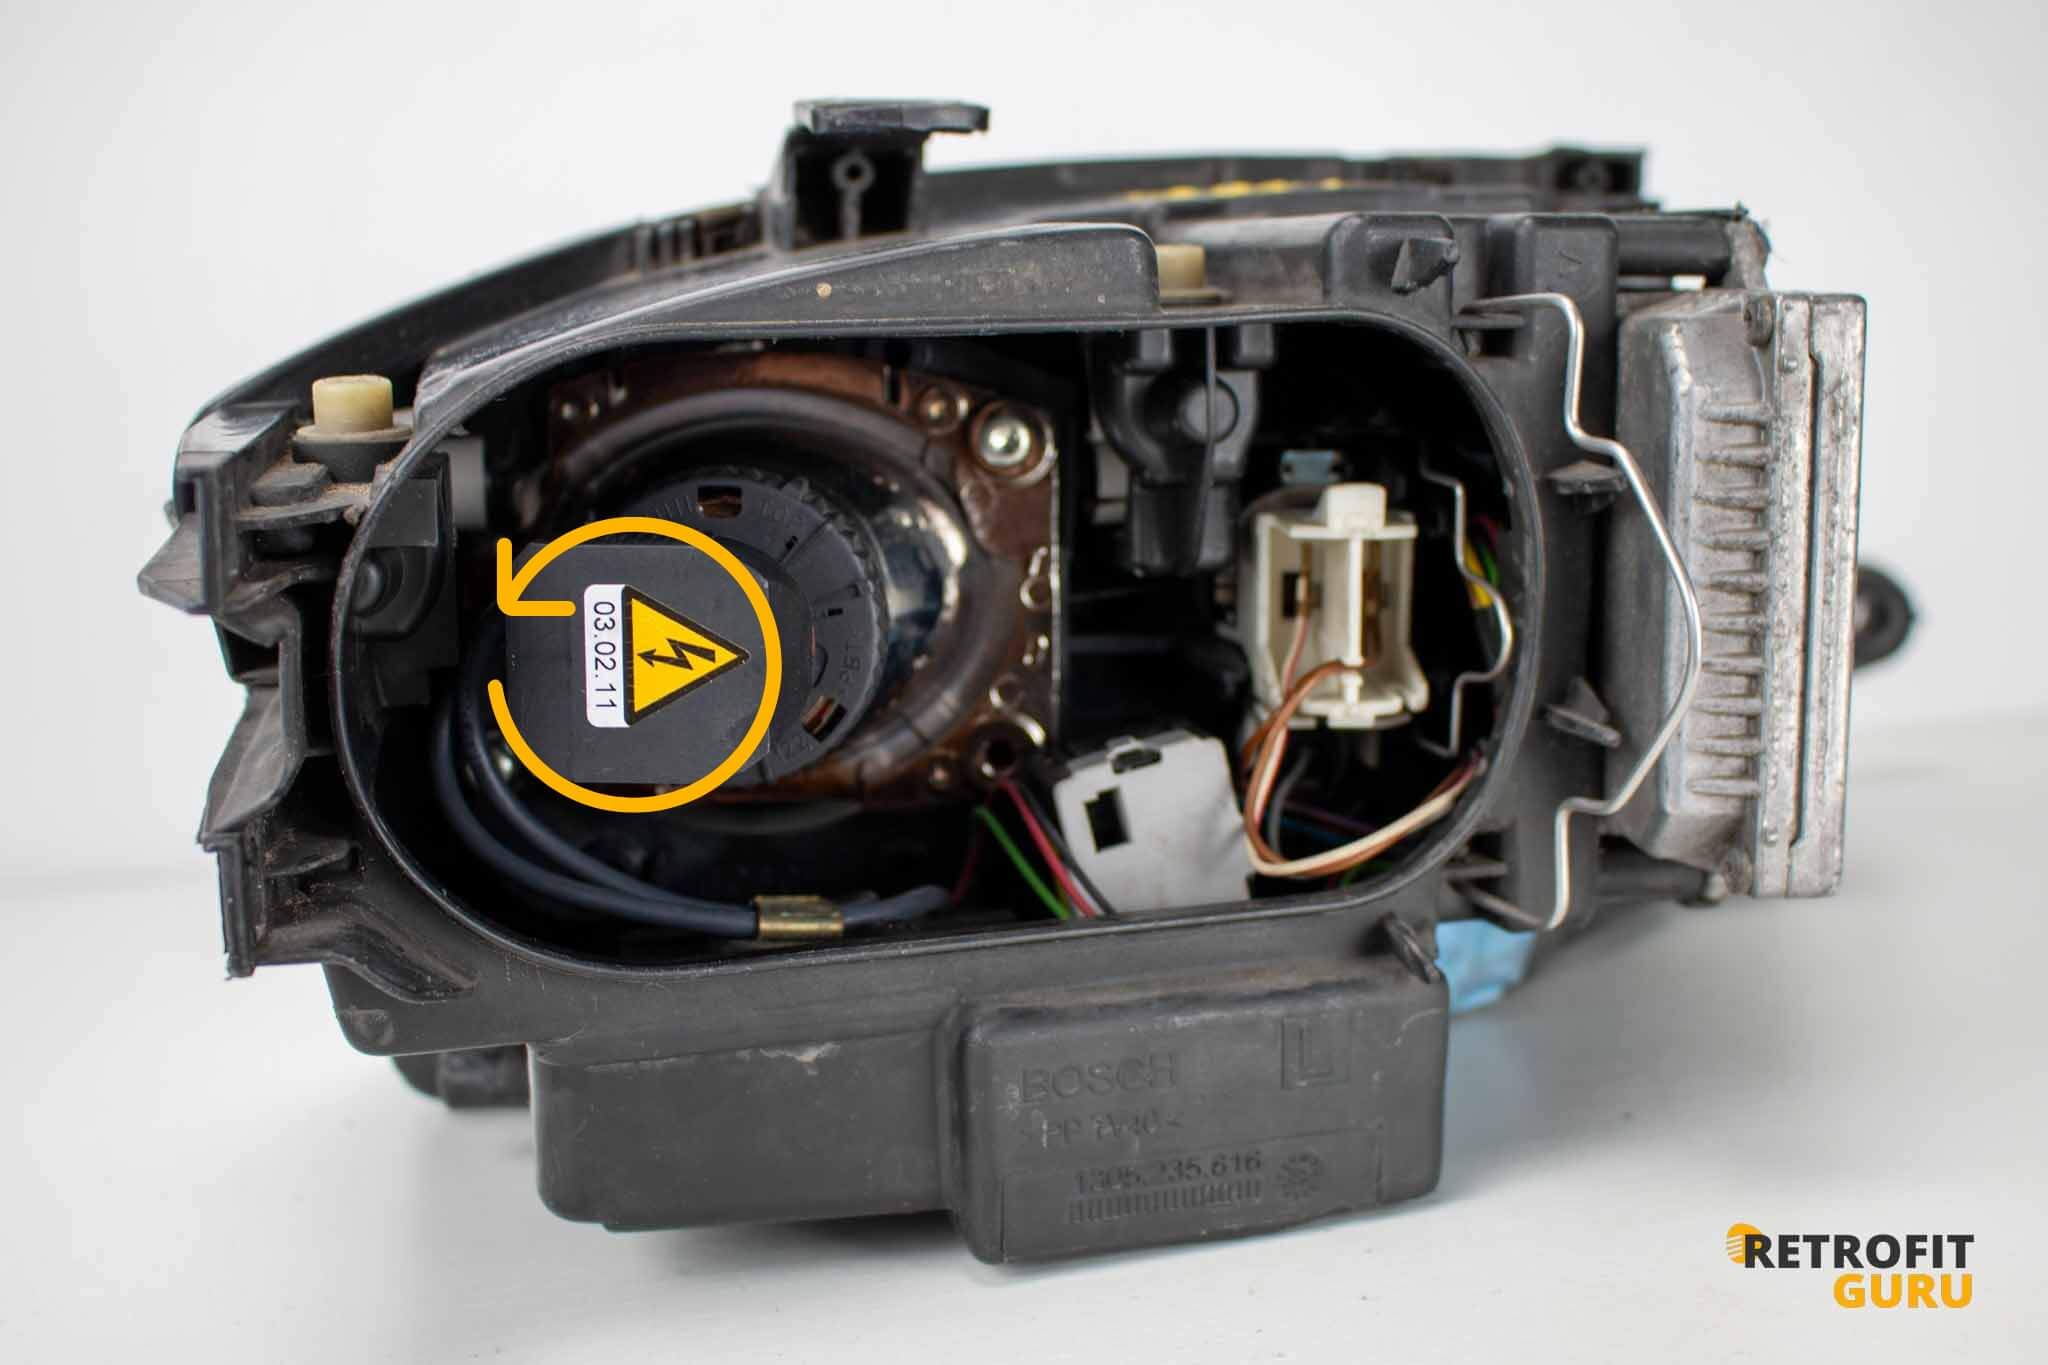
4. Removal of the Xenon Bulb

  • Remove the xenon bulb by turning it counterclockwise.

5. Projector and bulb installation

  • Insert the xenon bulb into the new projector and place the red rubber O-ring onto it.

  • Then secure the xenon bulb with the retaining nut.
  • For extra security, you can use a second nut as a locknut.
  • Prepare the mounting adapter in the following configuration. Make sure all components are properly aligned and securely fastened so the adapter can be easily installed into the headlight. The mounting adapter must be installed in a mirrored orientation depending on the side of the headlight.

    Note: The photos were taken with an older version of the adapter. The kit now includes a metal adapter.

  • Insert the projector with the mounted adapter back into the headlight. Make sure it sits correctly in place and that all mounting points align precisely. Then securely fasten the projector using the original screws so that it remains stable and doesn’t move when handling the headlight. I recommend checking that the projector is positioned straight — proper alignment has a crucial impact on the final light pattern after headlight adjustment.

6. Wiring

  • Make sure that the wiring from the package is connected to the projector.
  • Shorten the wires so they can be easily connected to the original high beam wiring without being unnecessarily long.
  • Connect the wires from the projector to the original high beam wiring:
    • Connect one cable to the brown wire, the other on yellow wire.
    • Polarity doesn't matter, so you can connect the projector wires in either order.
  • Then reconnect the cable leading from the igniter to the xenon bulb in the reverse order.
  • After completing the wiring, reinstall and secure the rear headlight cover to ensure proper sealing and protection against moisture and dust.

Done!

Now all that's left is to reinstall the headlights on the car and have them properly aligned — this is done using the original adjustment points on the headlight units.

The result is significantly improved visibility while driving, without dazzling other drivers.

If you want to do the retrofit yourself, you can find the complete Plug & Play kit here: Bi-xenon kit for Audi TT mk1 – RetrofitGuru.com

You don’t have to worry about the installation – each kit comes with a detailed guide and technical support. If you’re unsure about anything, we’ll be happy to help!

Share the Post:

Other articles