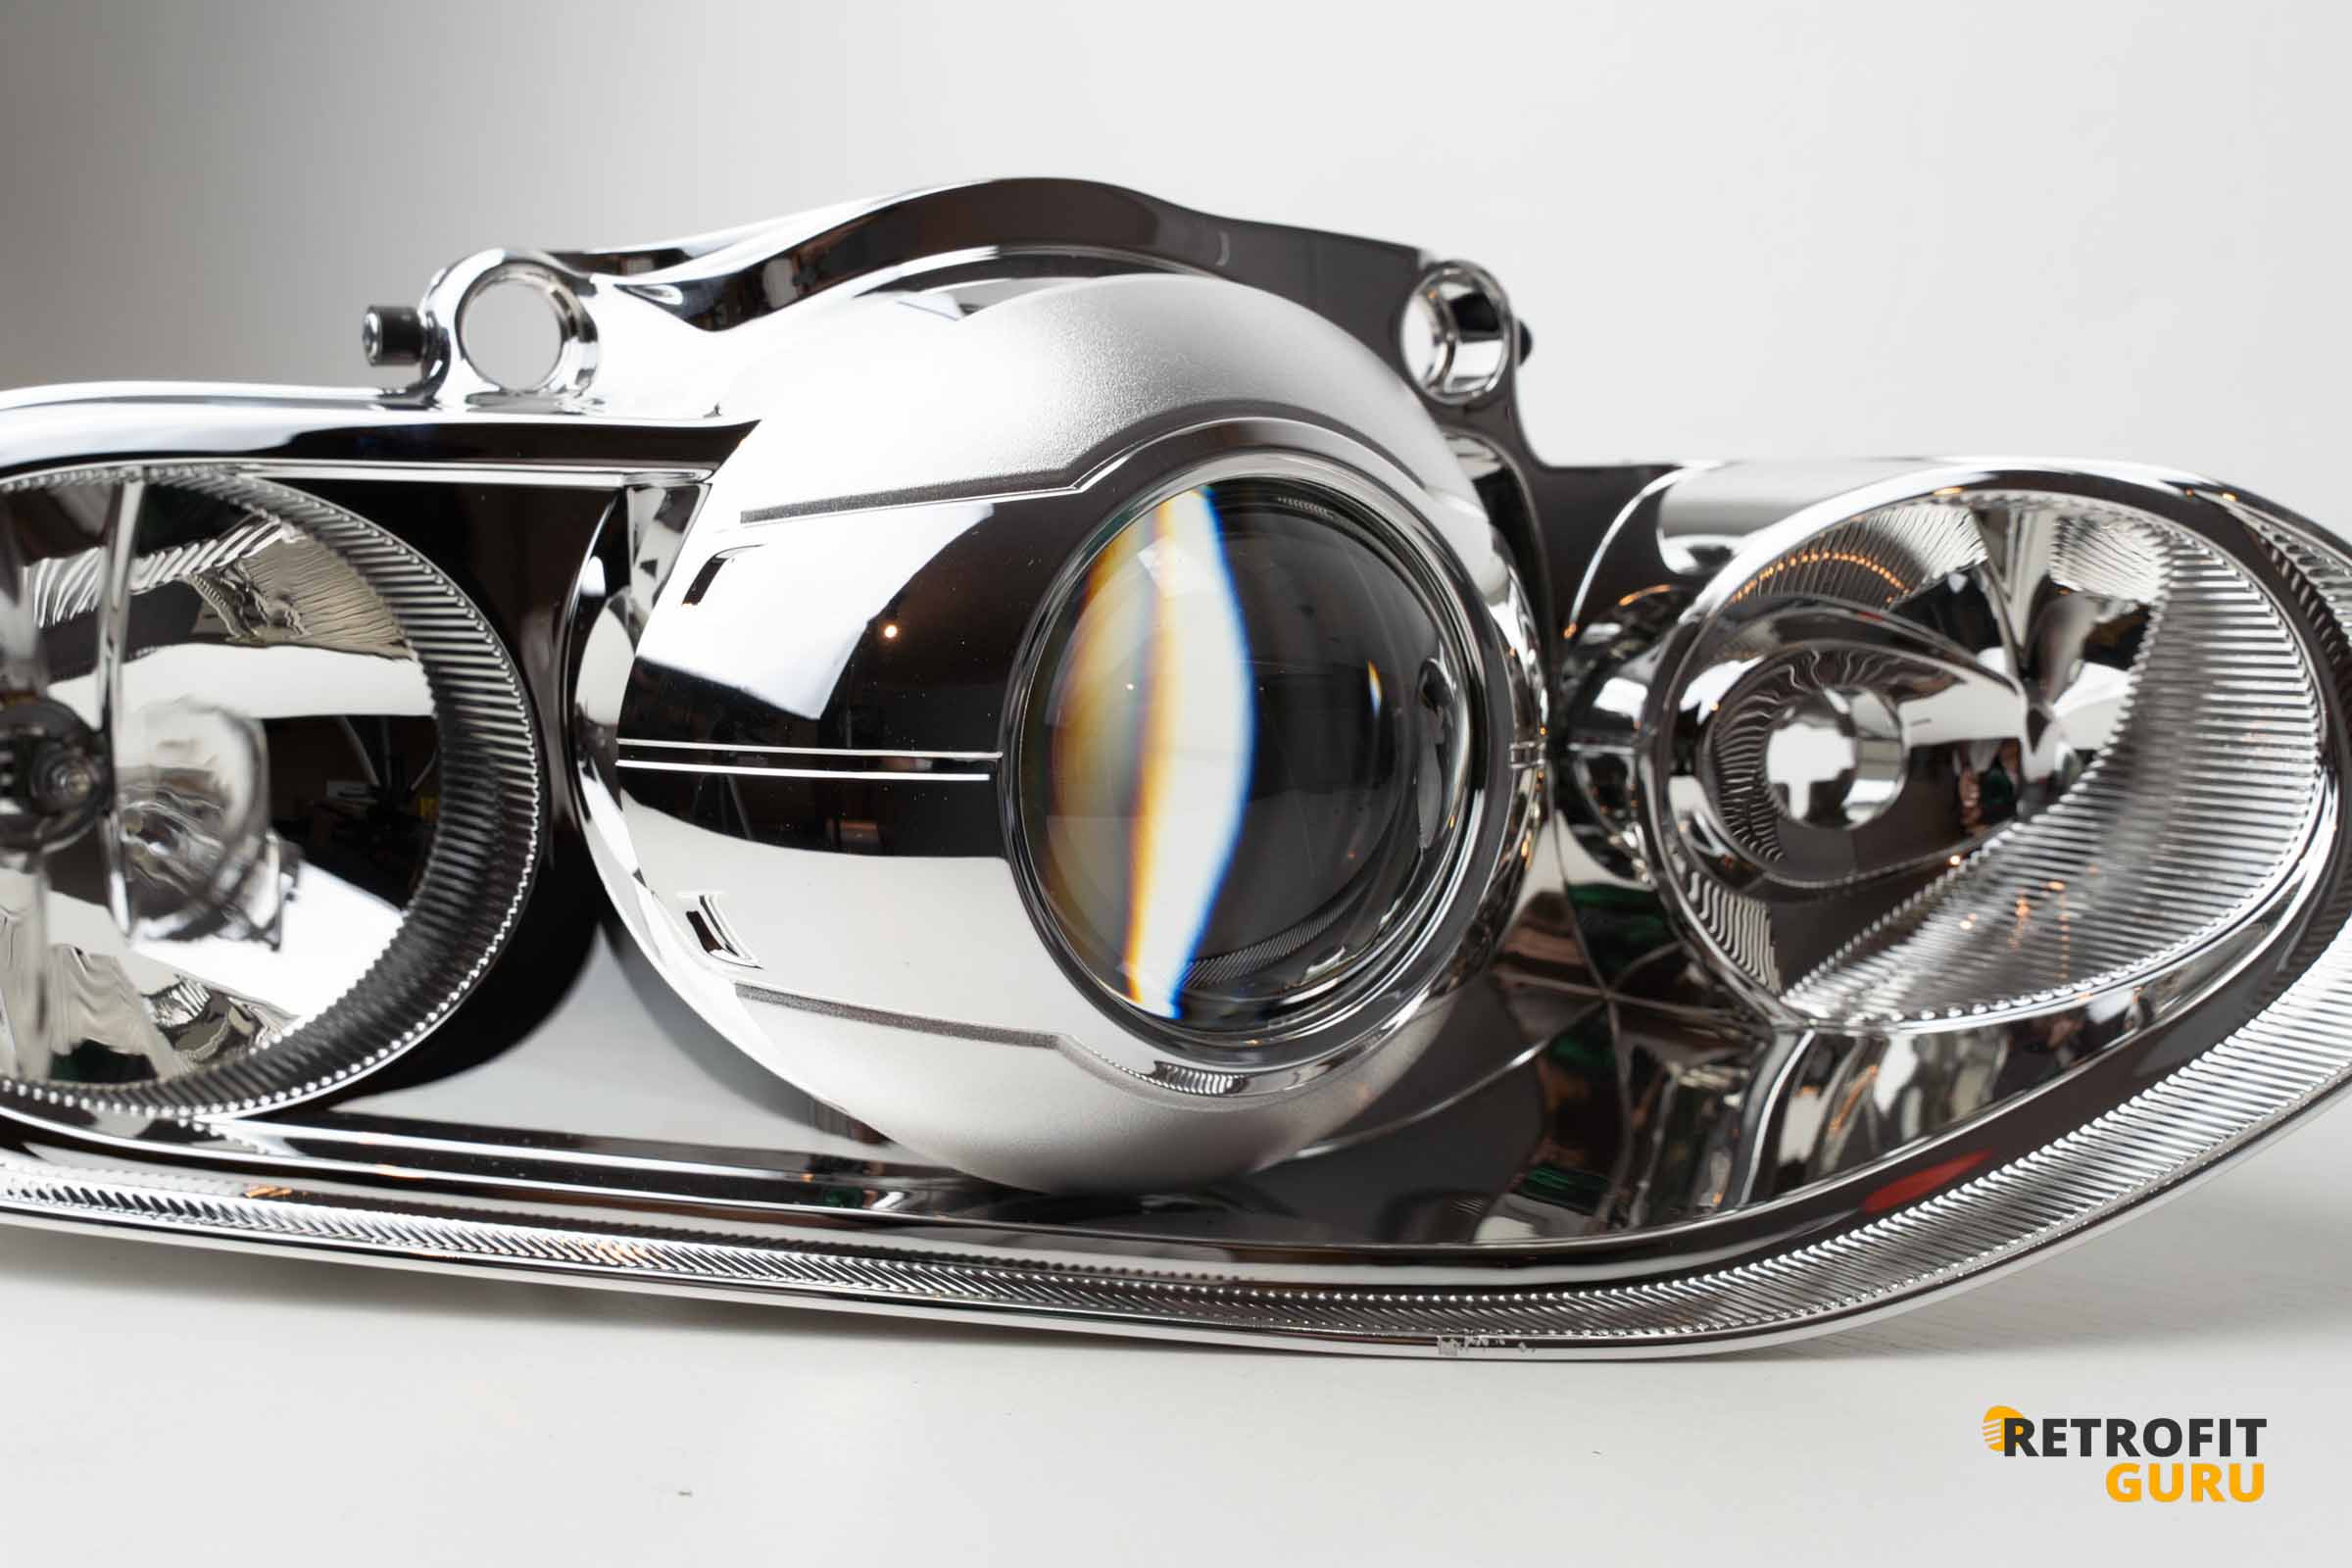
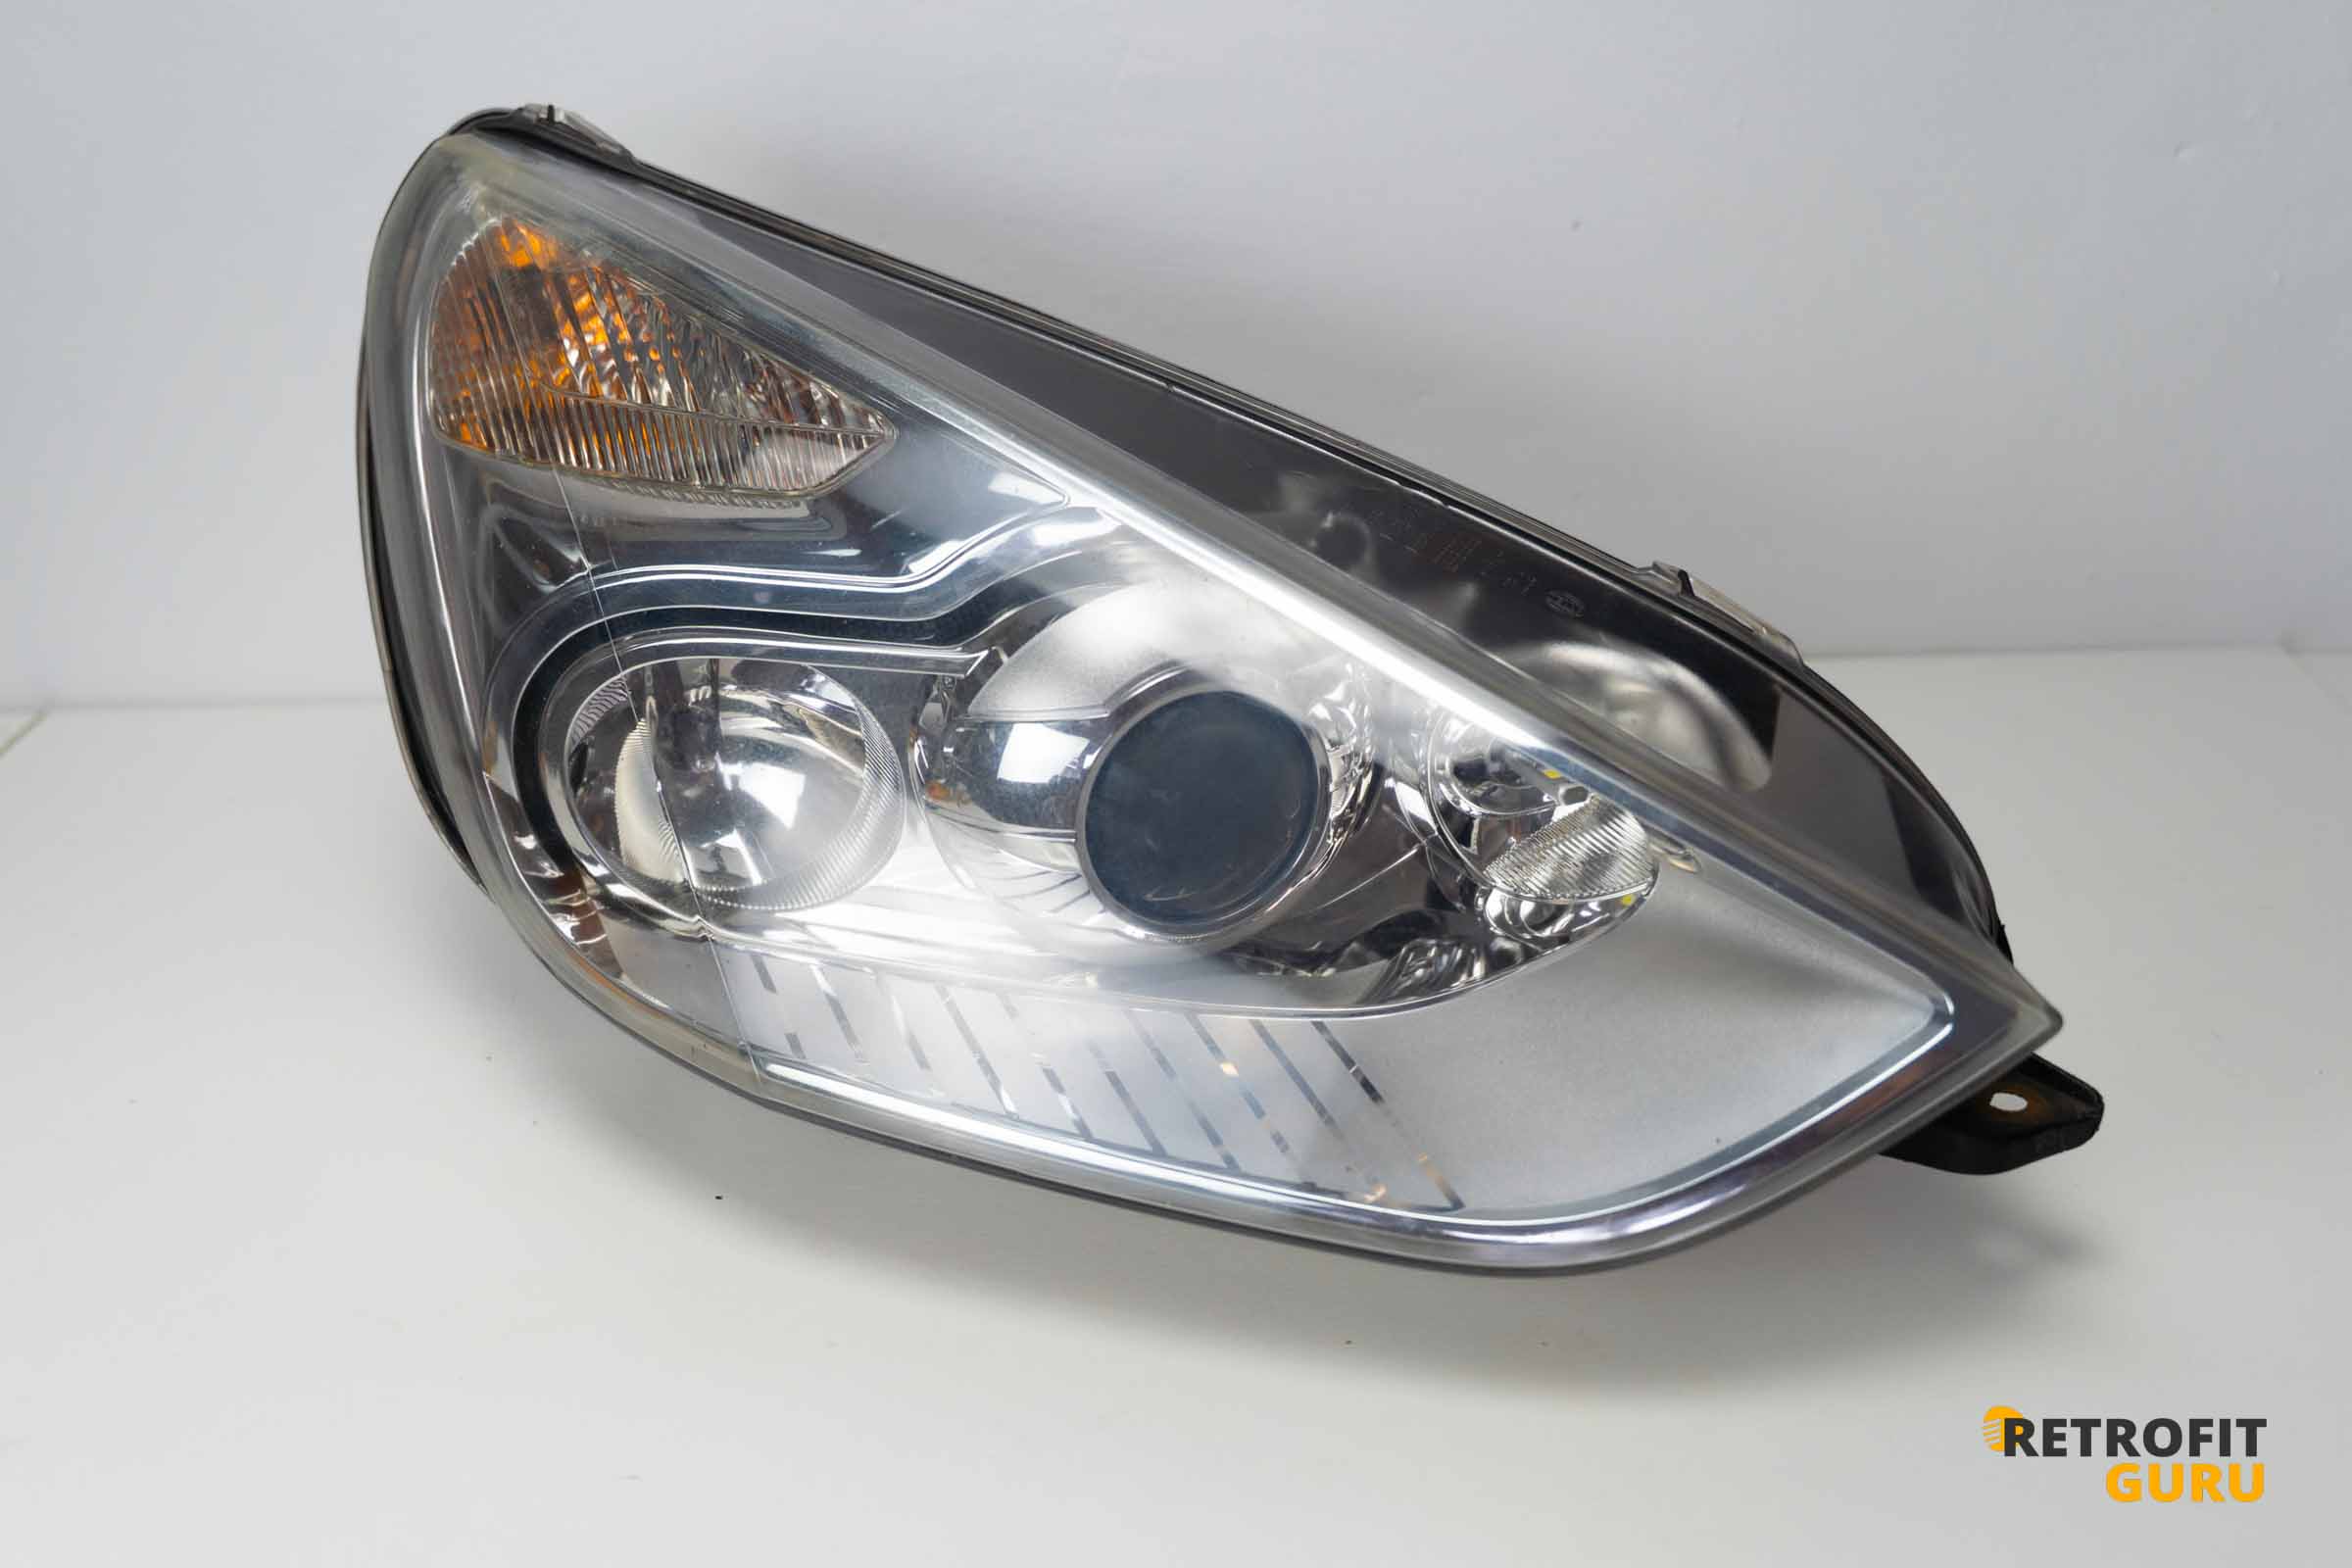
We have prepared detailed instructions for upgrading the xenon headlights on Ford S-Max mk1 at more powerful bi-xenon projectors with our repair Plug & Play kit. The whole process is designed to be as simple as possible and did not require any modifications headlights.
Opening the Headlight
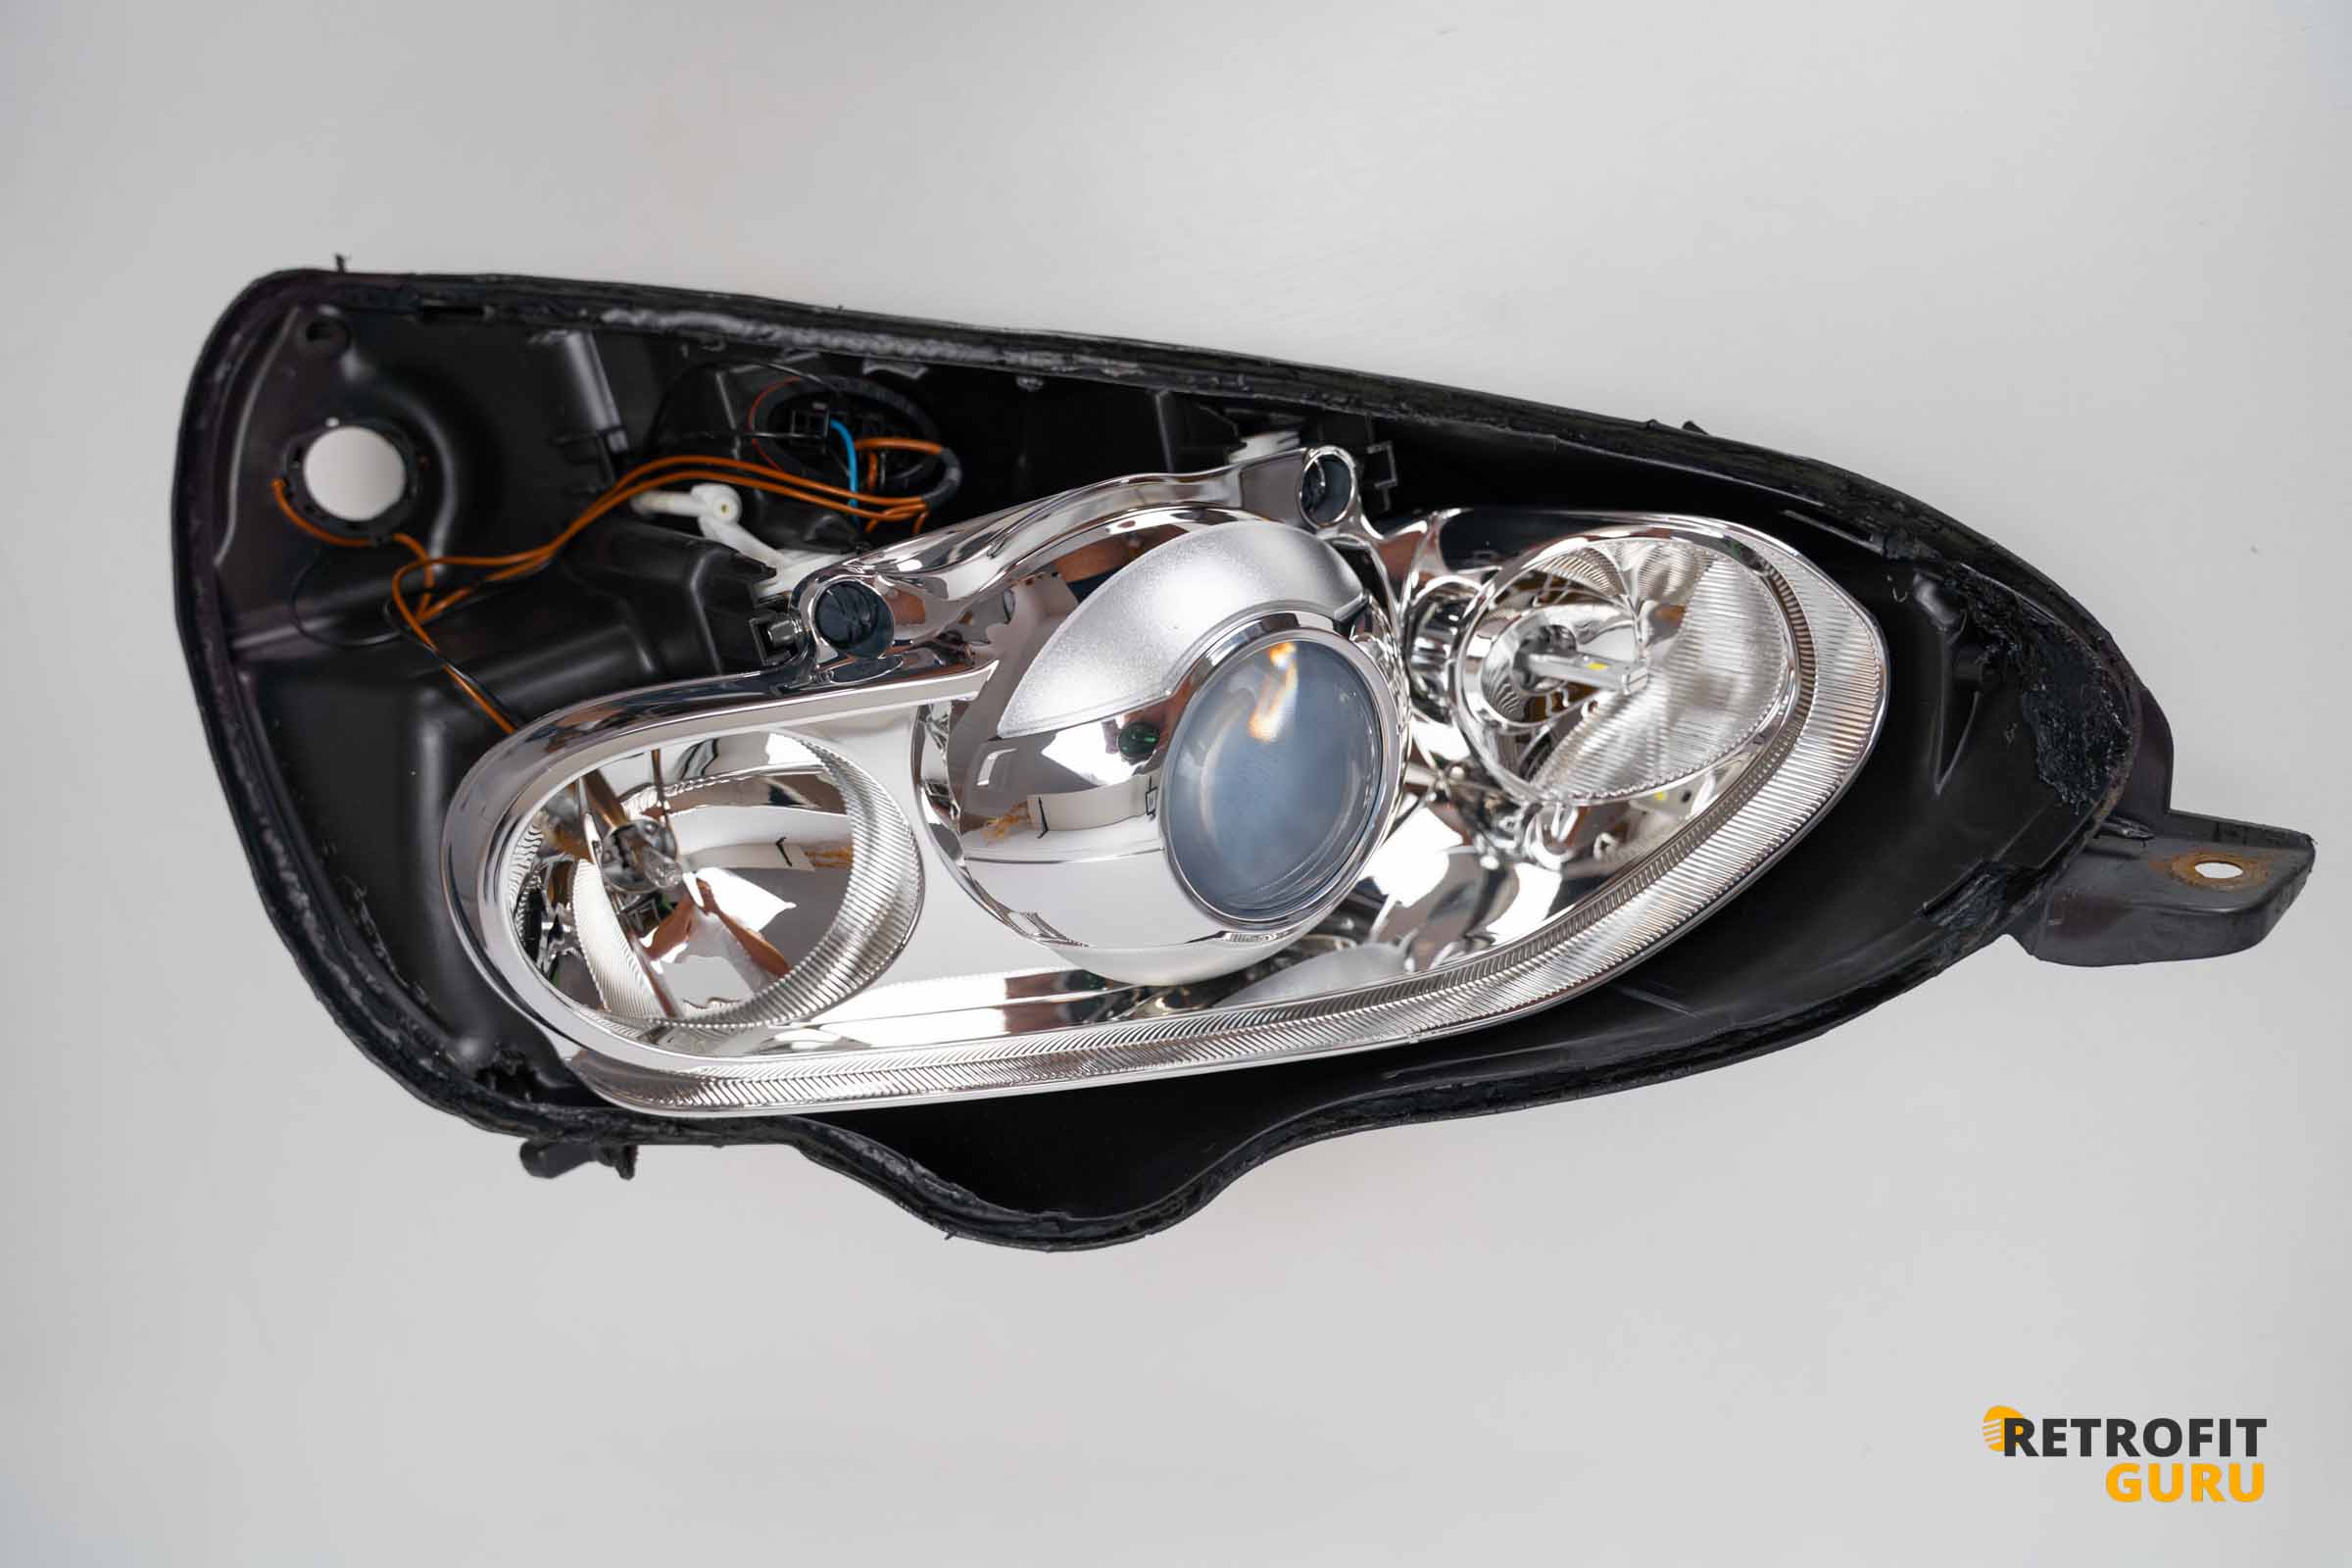
Separating the lens from the housing may sound intimidating, but if you follow the correct procedure, it’s a safe and controlled process. On the S-Max, the headlights are sealed only with butyl (not hard permaseal)
The Most Reliable Method: Oven or Heat Box
Temperature 90 °C
Time: 7–12 minutes
Why: Butyl softens around 60 °C but releases best at 80–90 °C.
Tip: Place the headlight on a wooden board or cardboard so it doesn’t touch metal.
Note: Make sure the oven is truly at the correct temperature. Use an external thermometer rather than relying solely on the oven’s built-in thermostat. At temperatures above 120 °C, you risk deforming the plastic.
Opening Procedure
- Preheat the oven to 85–90 °C.
- Remove all rear covers and bulbs.
- Heat the headlight for 8–10 minutes.
- After removing it, start prying from the corners or the longest straight edge – there are no hidden locks.
- Use a plastic trim tool, not a screwdriver. Spreader pliers work well too.
- If the butyl hardens, return the headlight to the oven for another 3–5 minutes.
- Separate the cover gradually around the entire perimeter, not with one strong pull.
- Ideally, clean the remaining butyl from the channel, but if some is left, it will merge with the new one once heated.
Alternative: Heat Gun
If you don’t have an oven, you can heat the headlight with a heat gun:
Keep a distance of 15–20 cm,
Move slowly around the perimeter.
This method is slower but still effective.
Common Mistakes to Avoid
Temperature too high:Above 110 °C the plastic may deform.
Using metal tools:These can scratch the channel or cover.
Pulling too hard:If the butyl resists, it’s still too cold.
Forgetting to release plastic clips:These may break, and the lens may not seat properly when resealed.
Projector Replacement Procedure
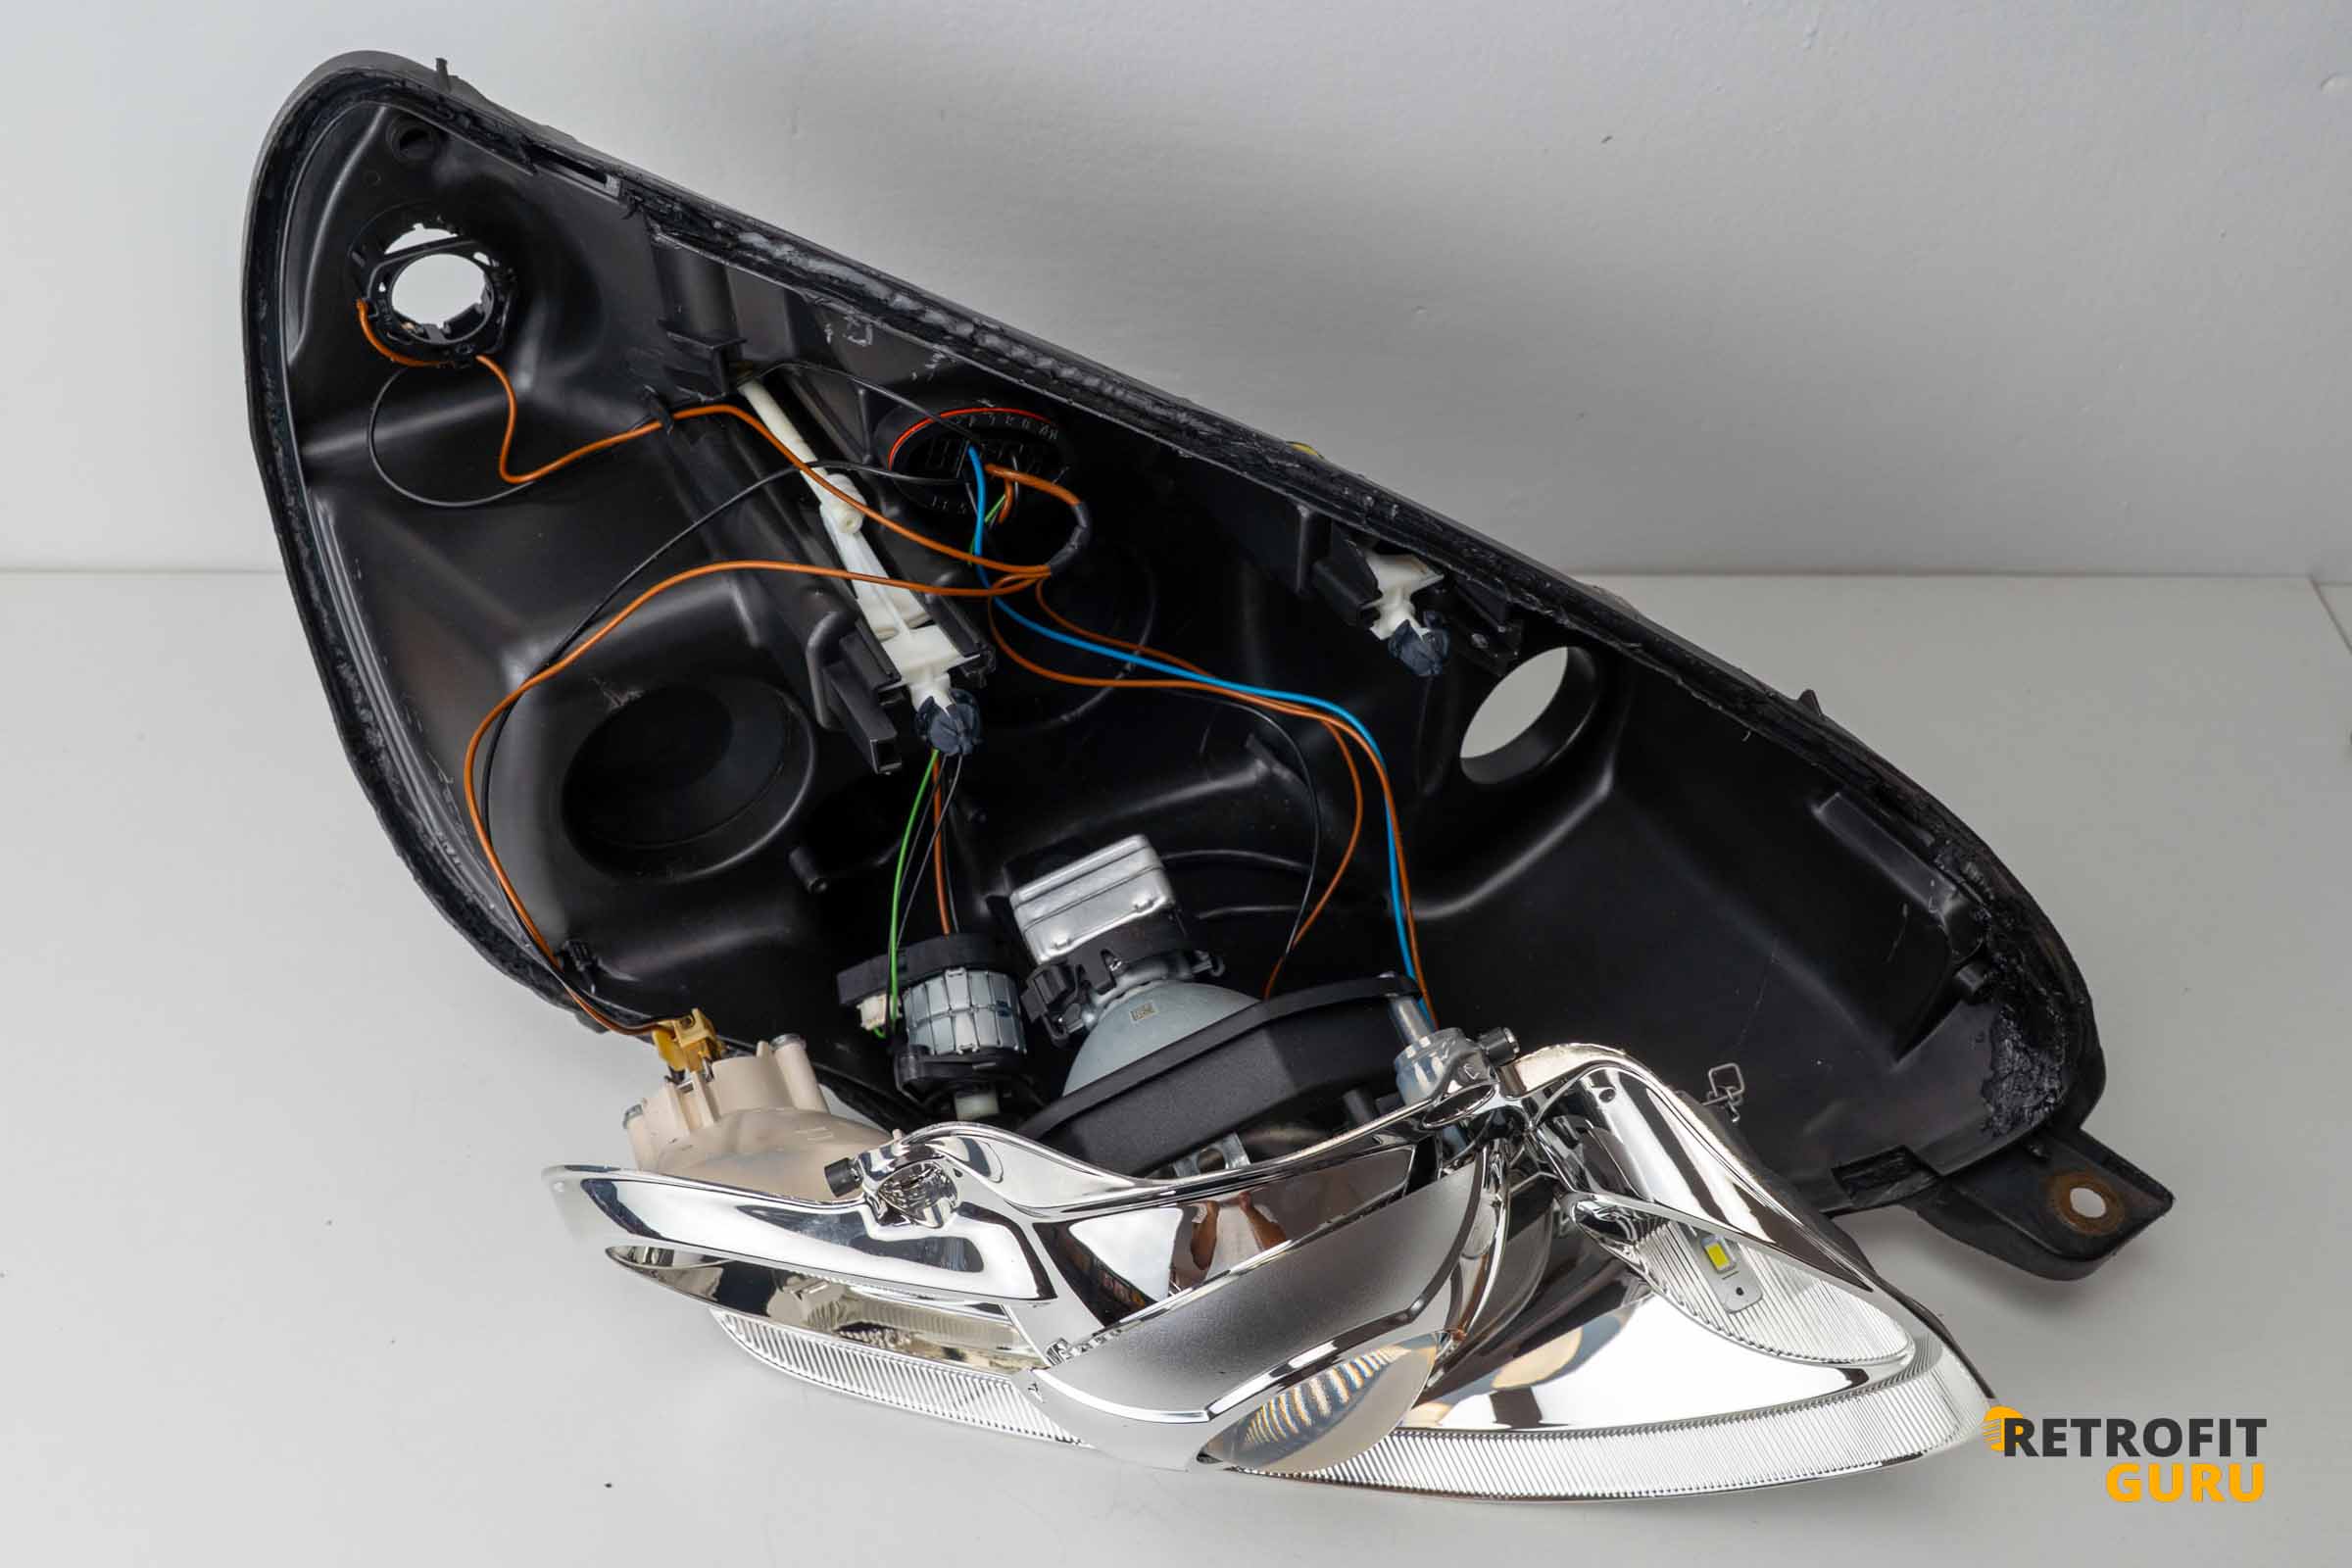
Once the headlight is opened and the lens is removed, you can begin the projector replacement. On the Ford S-Max Mk1 the process is straightforward, but it’s important to follow a few rules to avoid breaking any components.
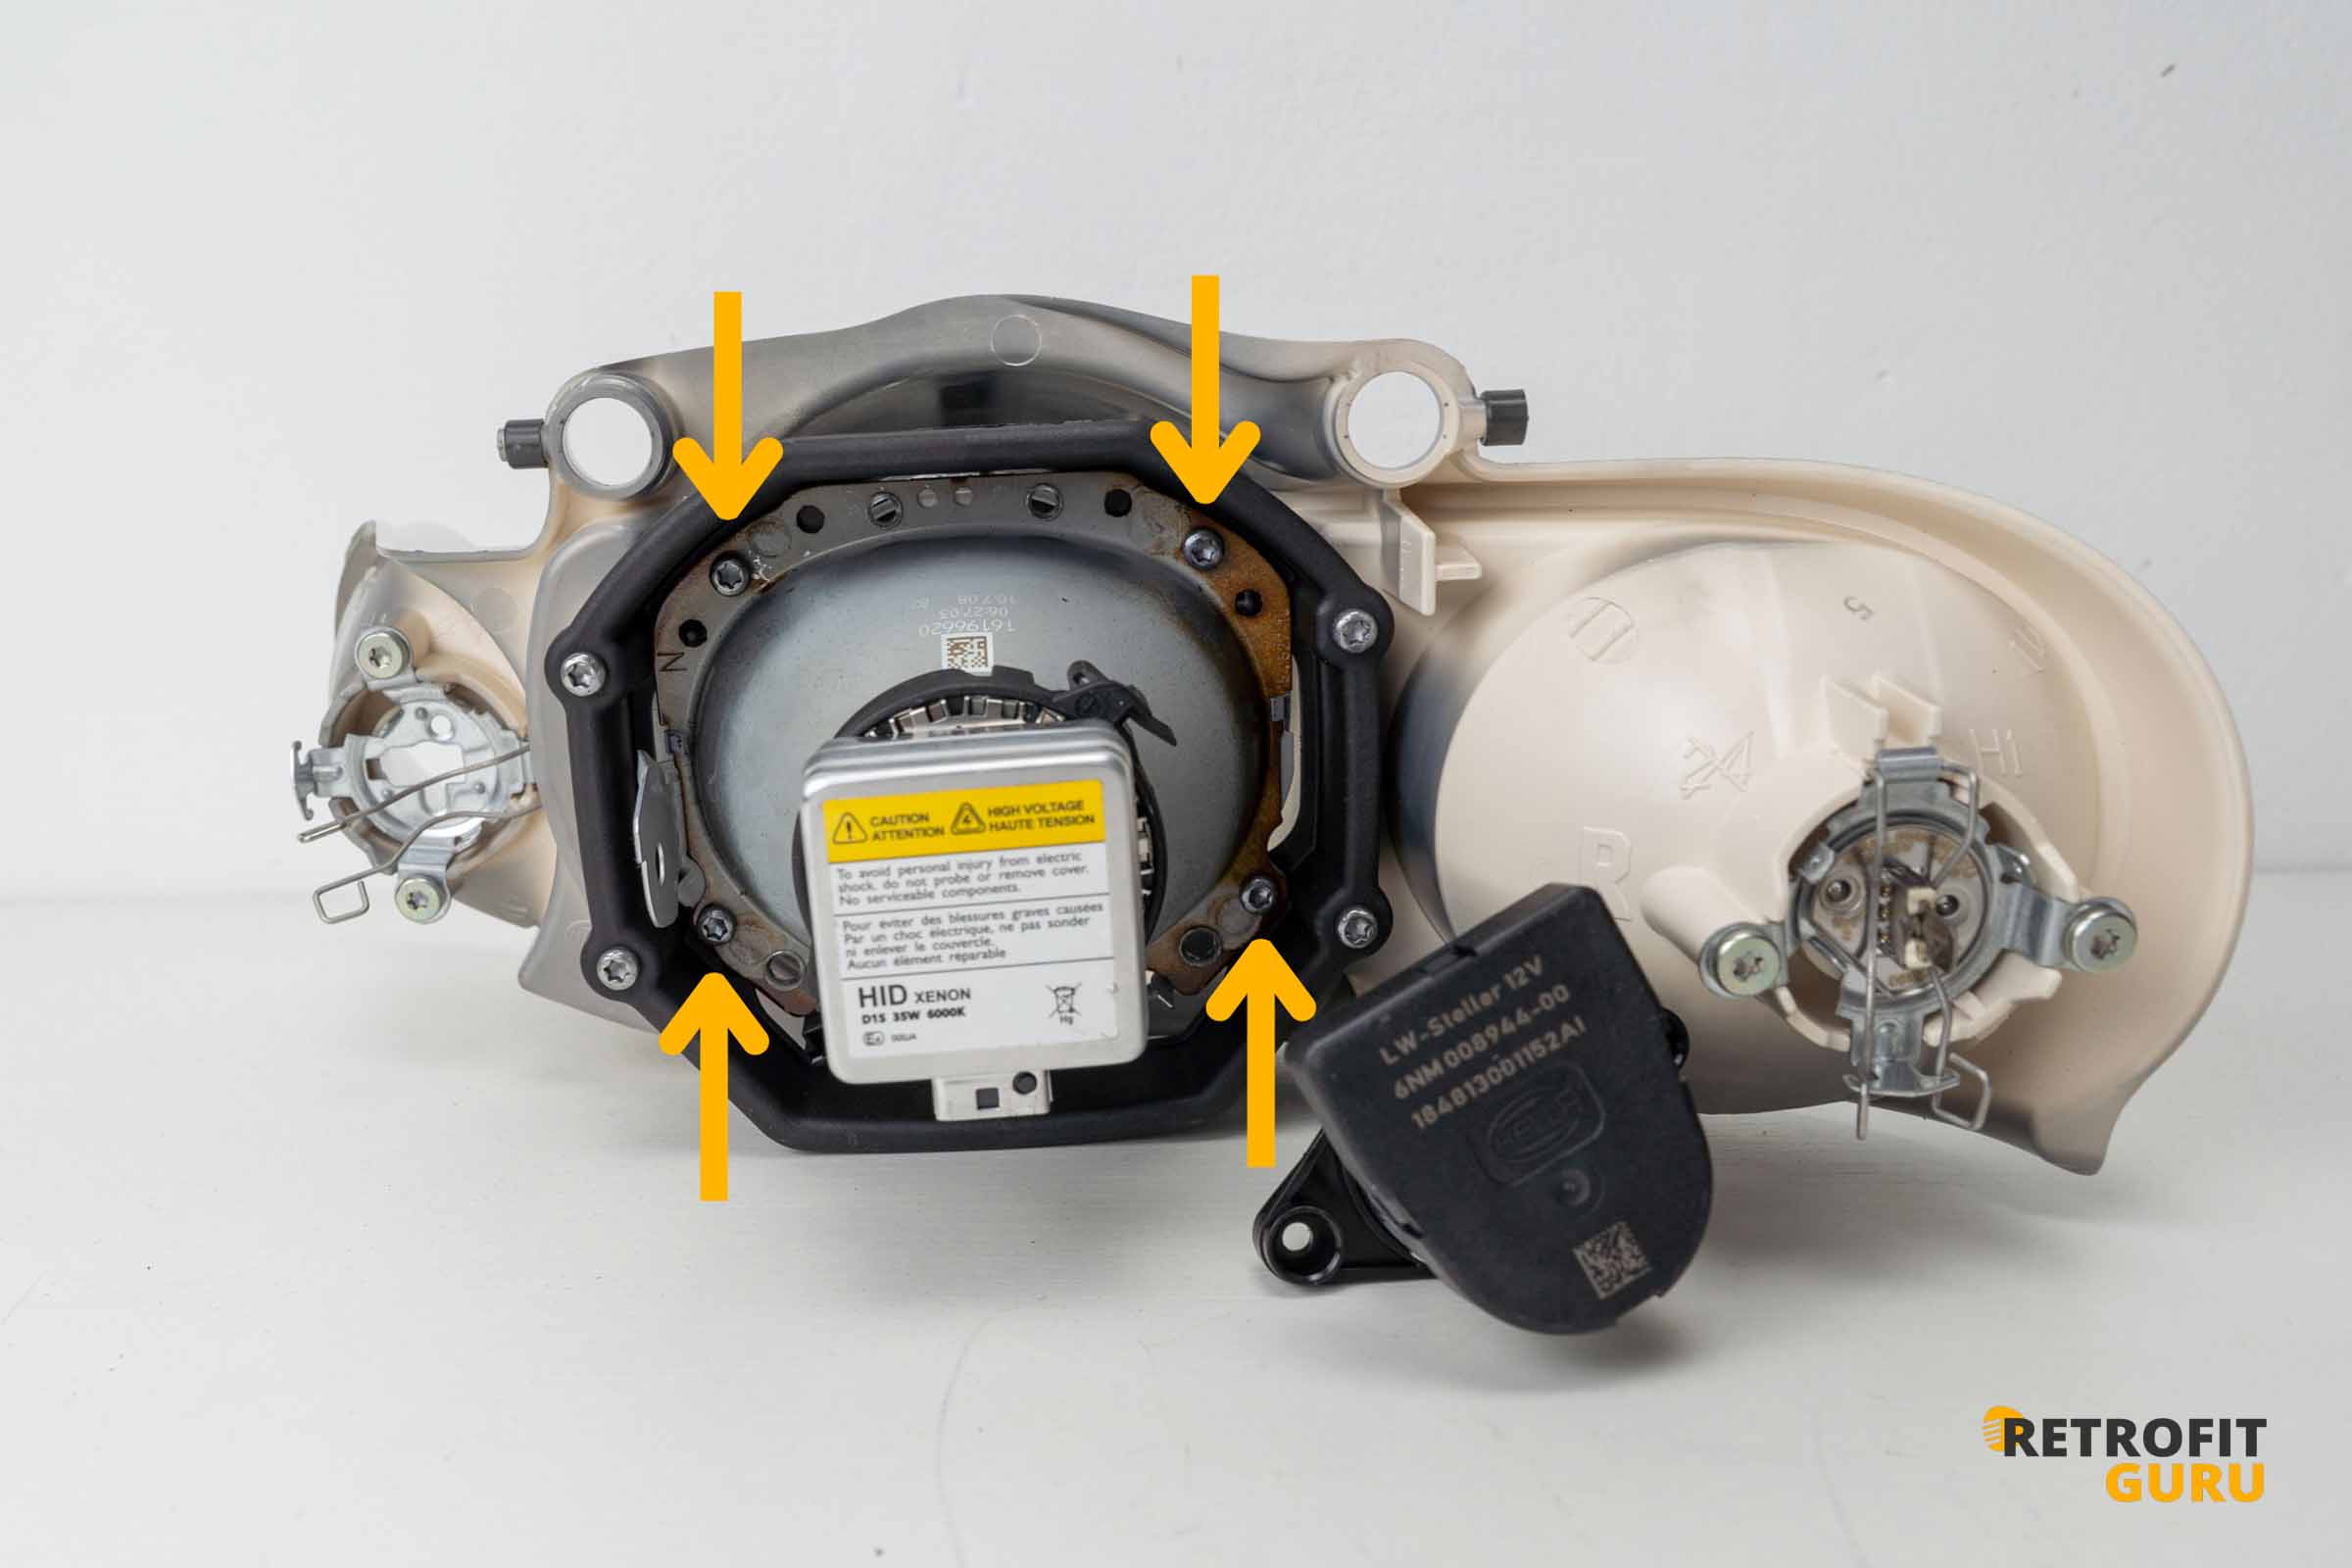
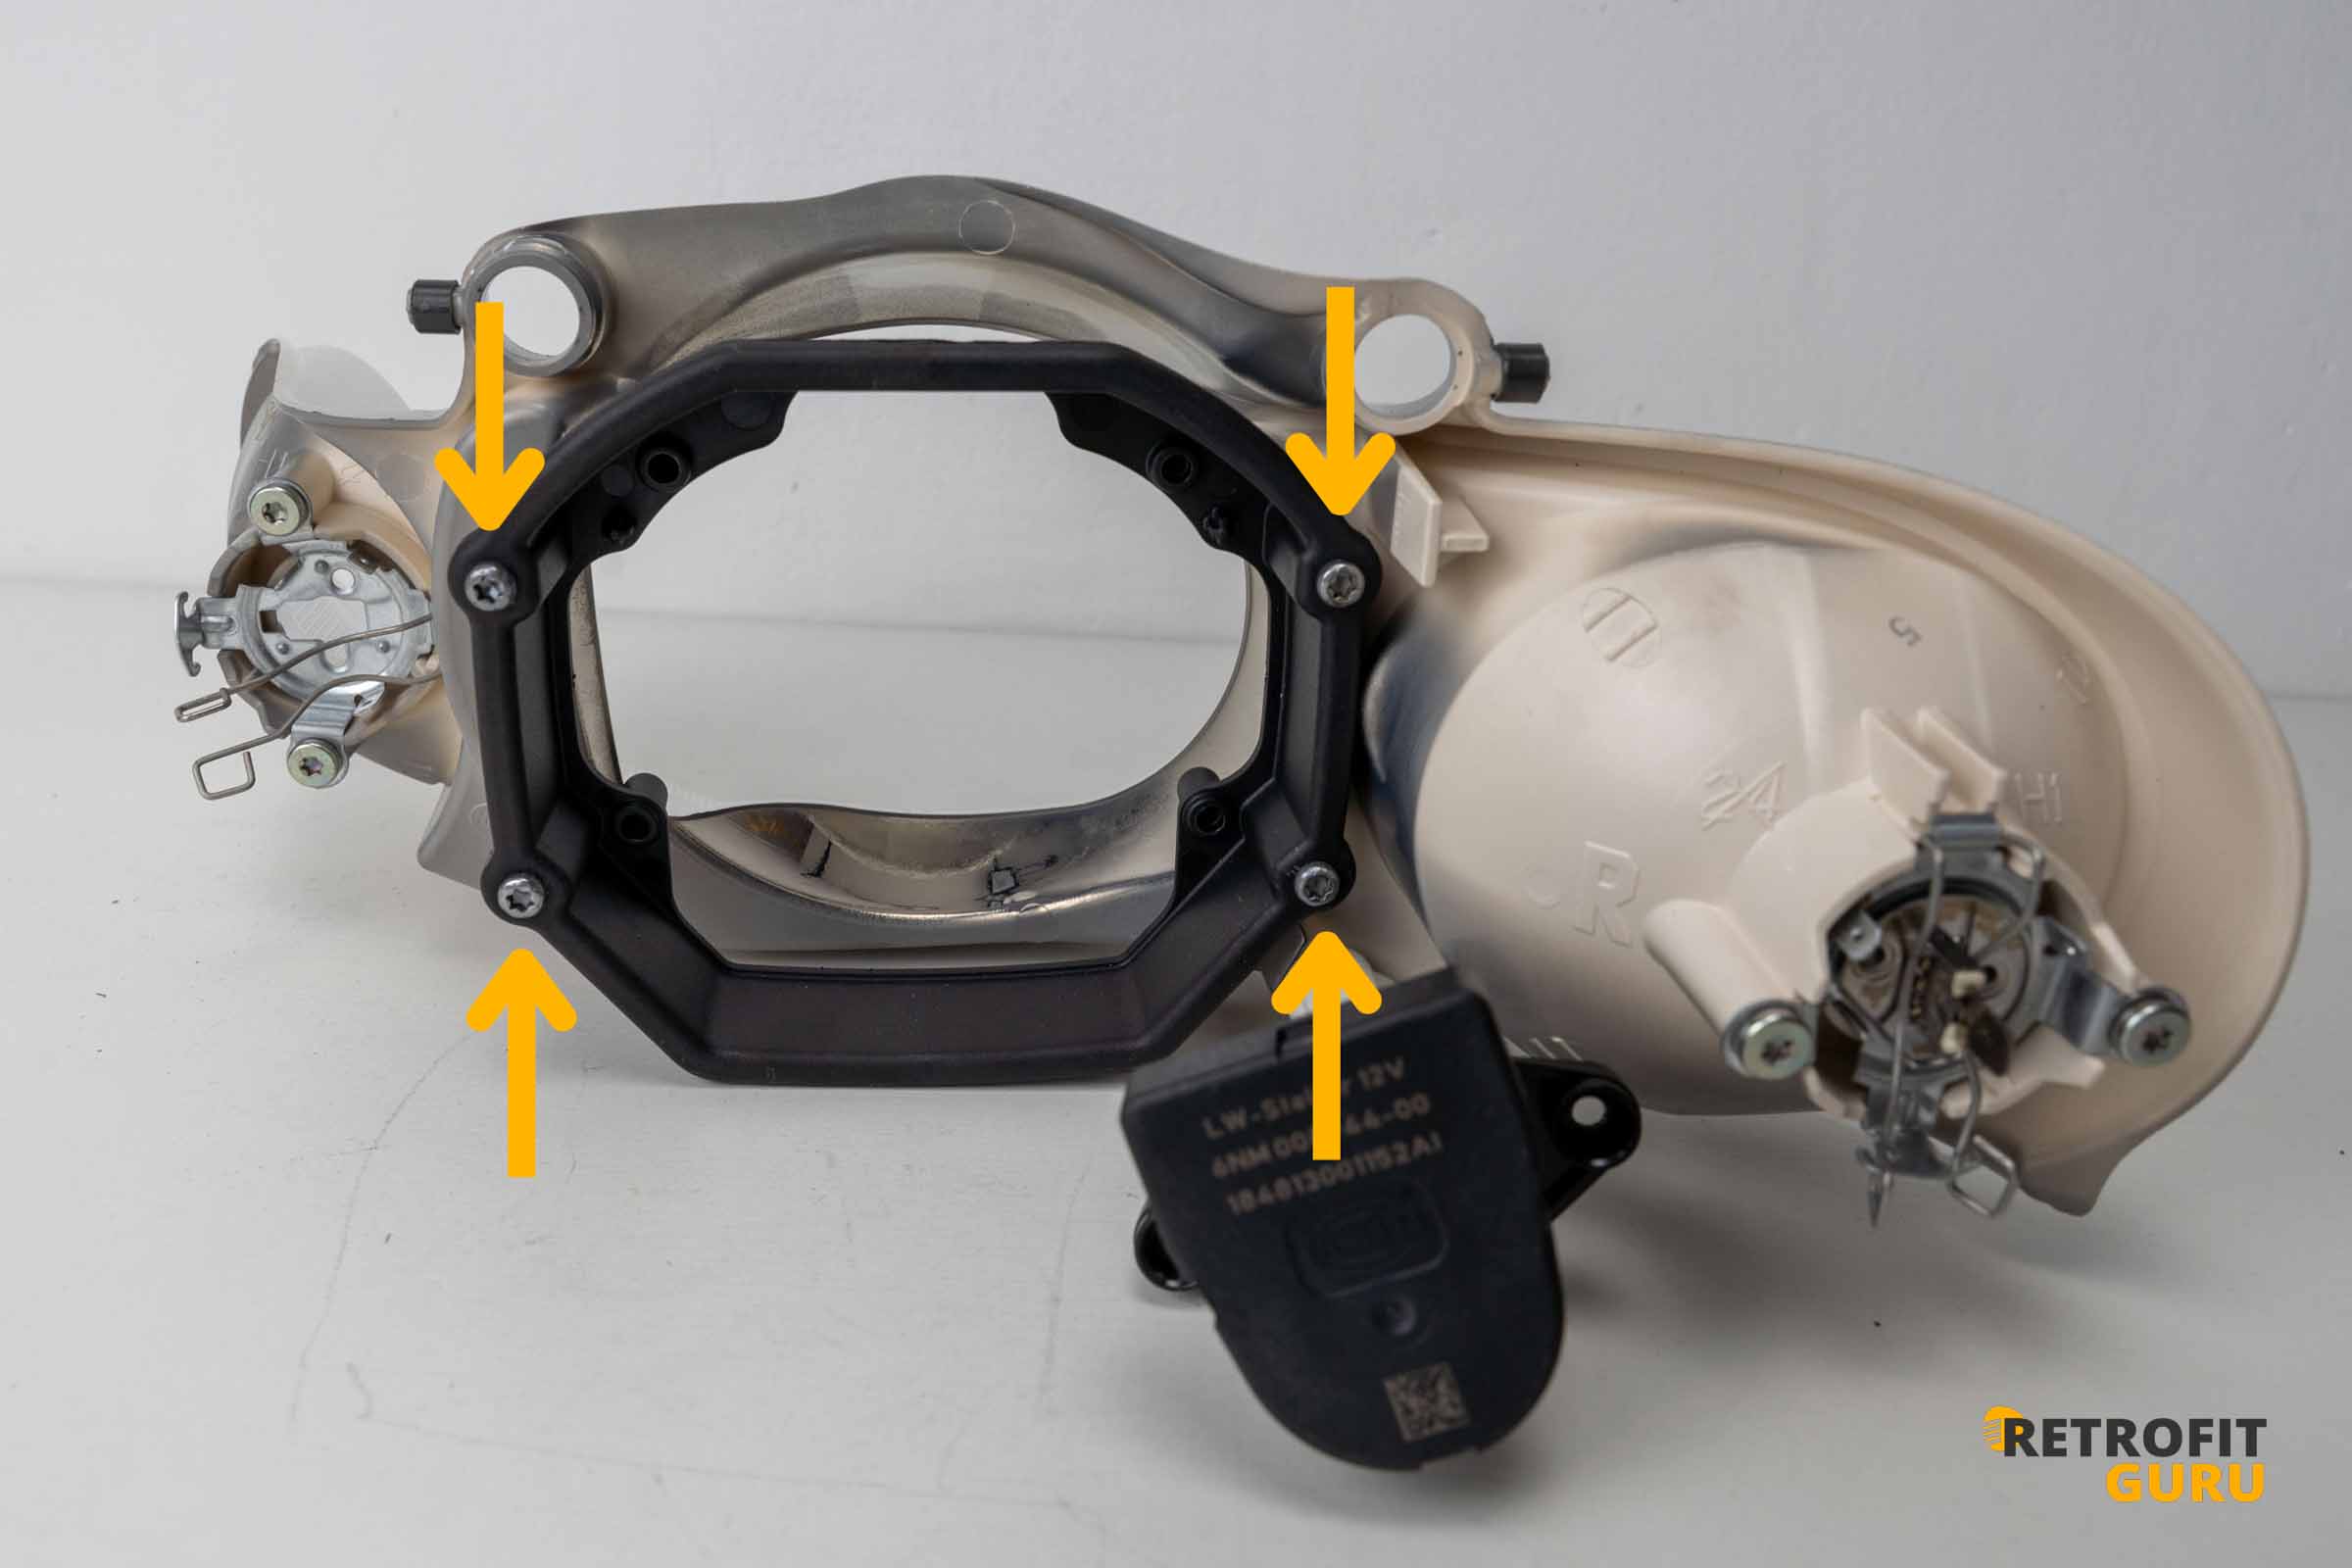
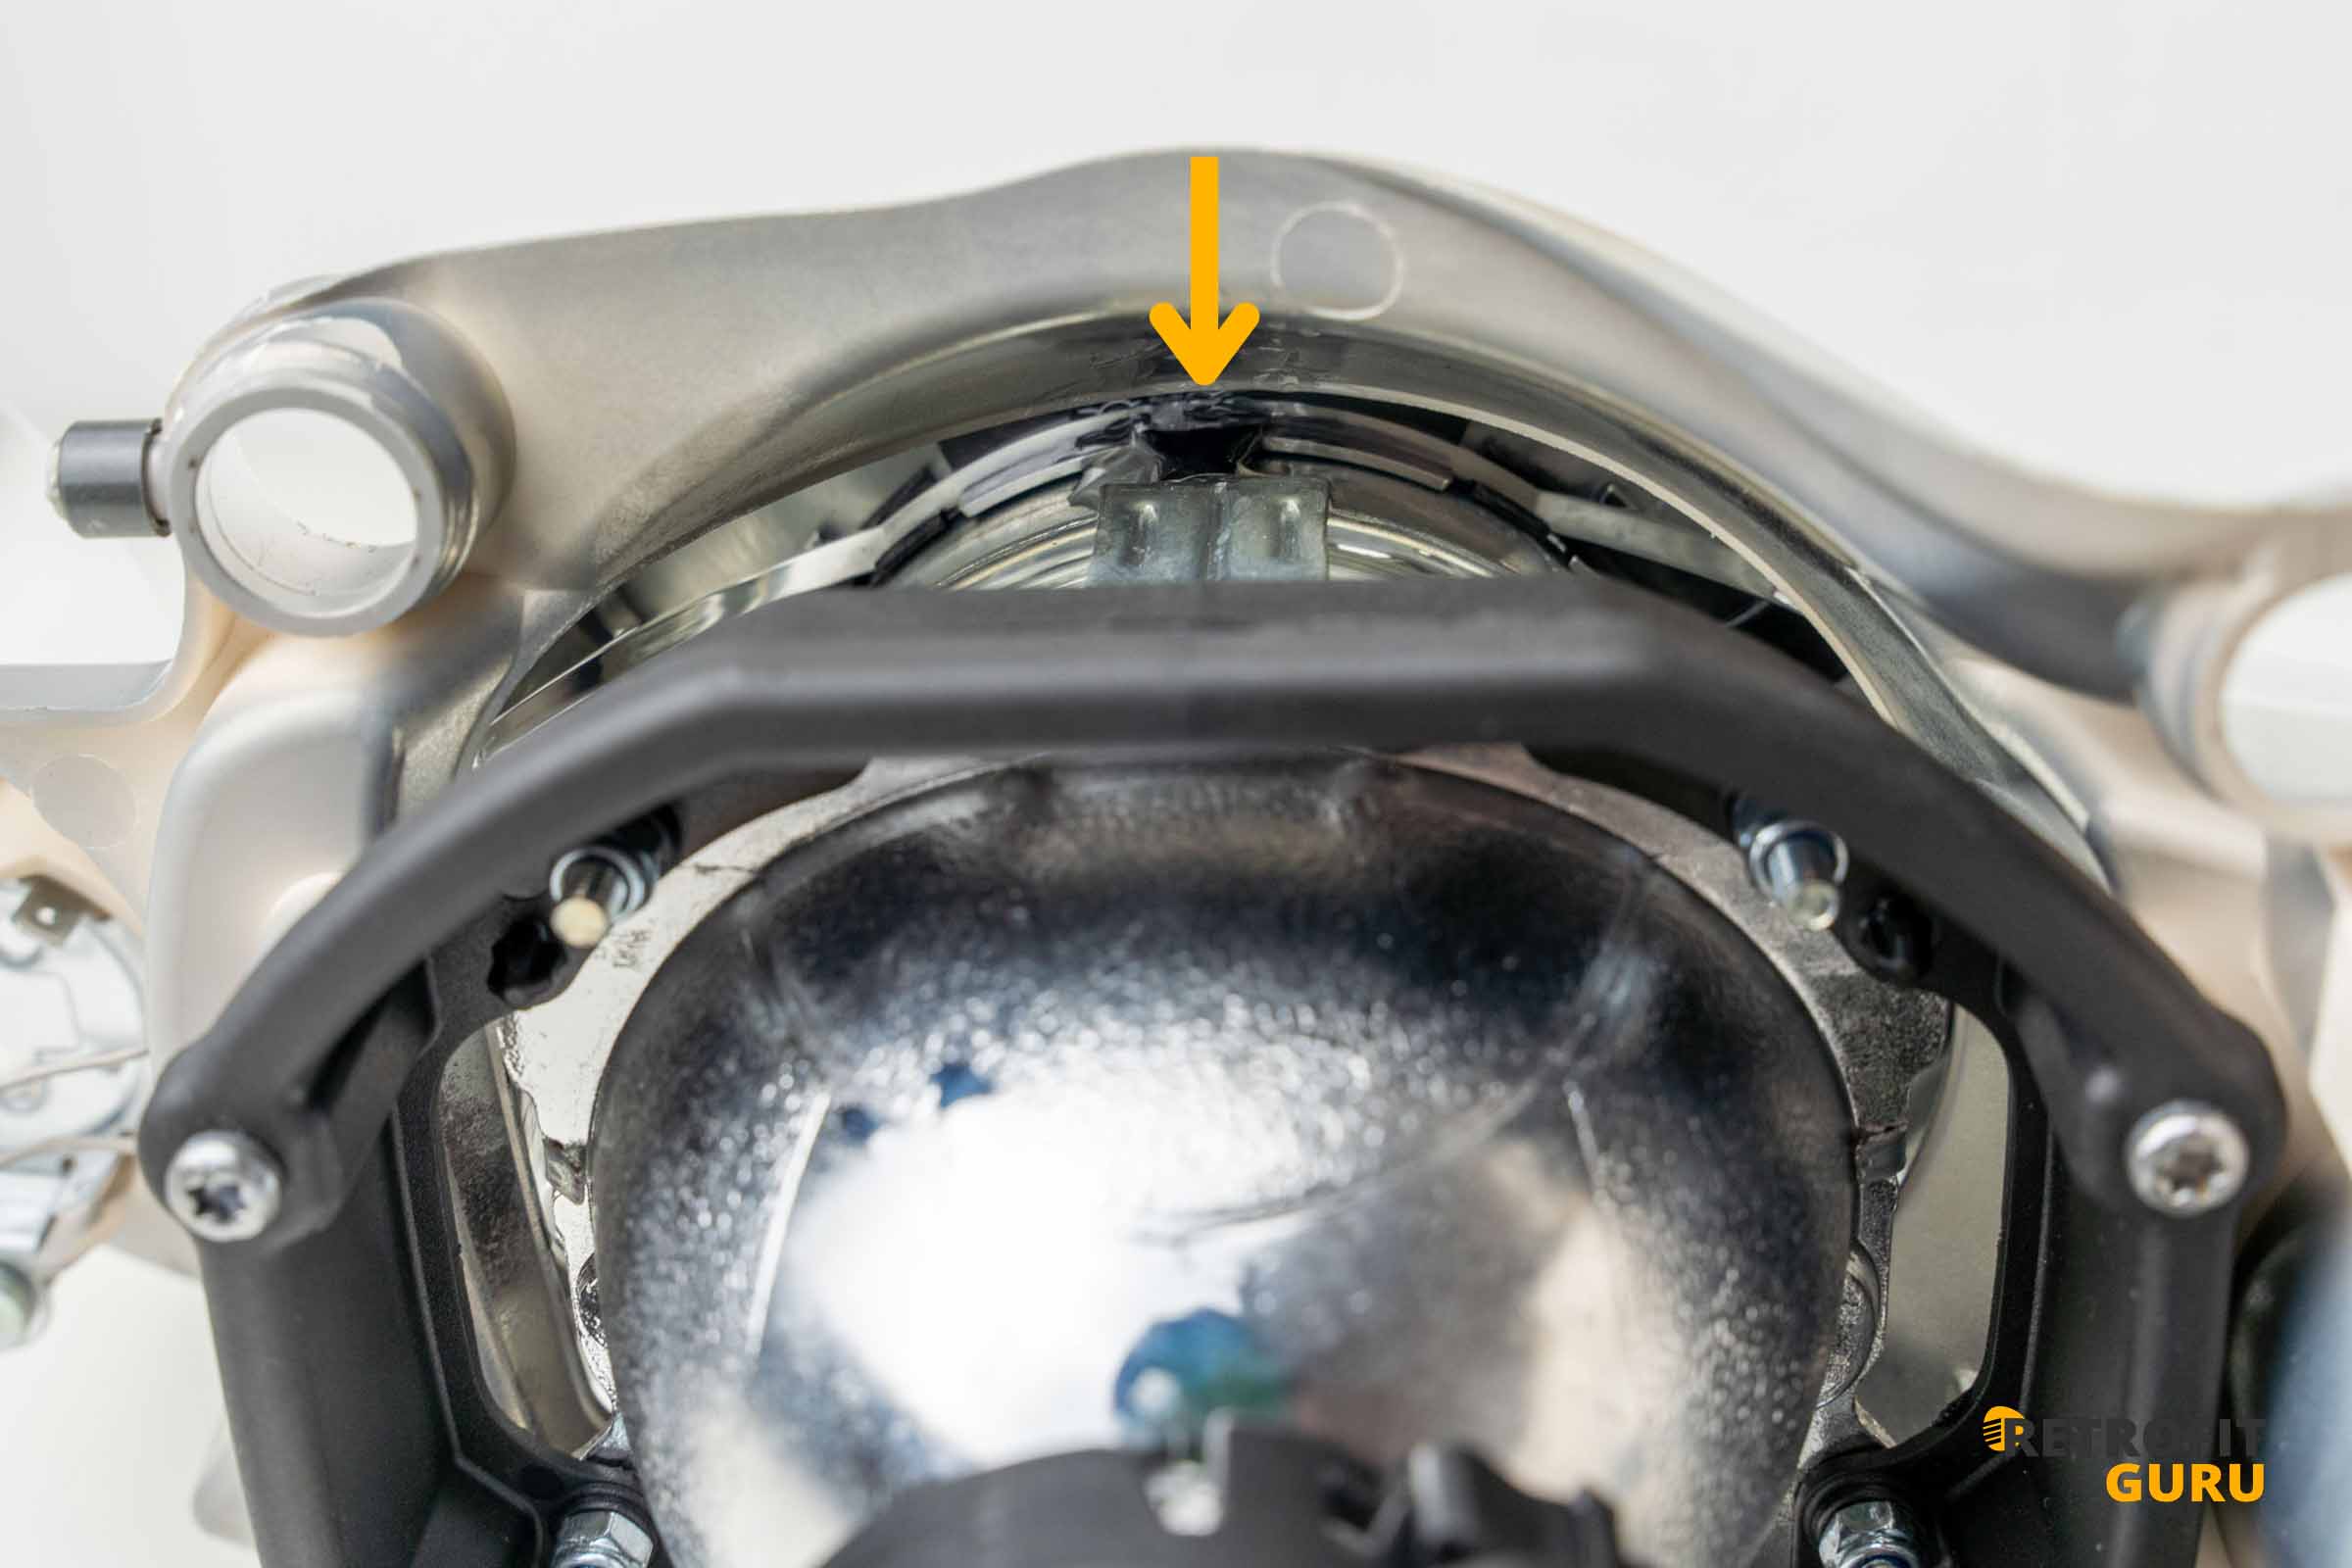
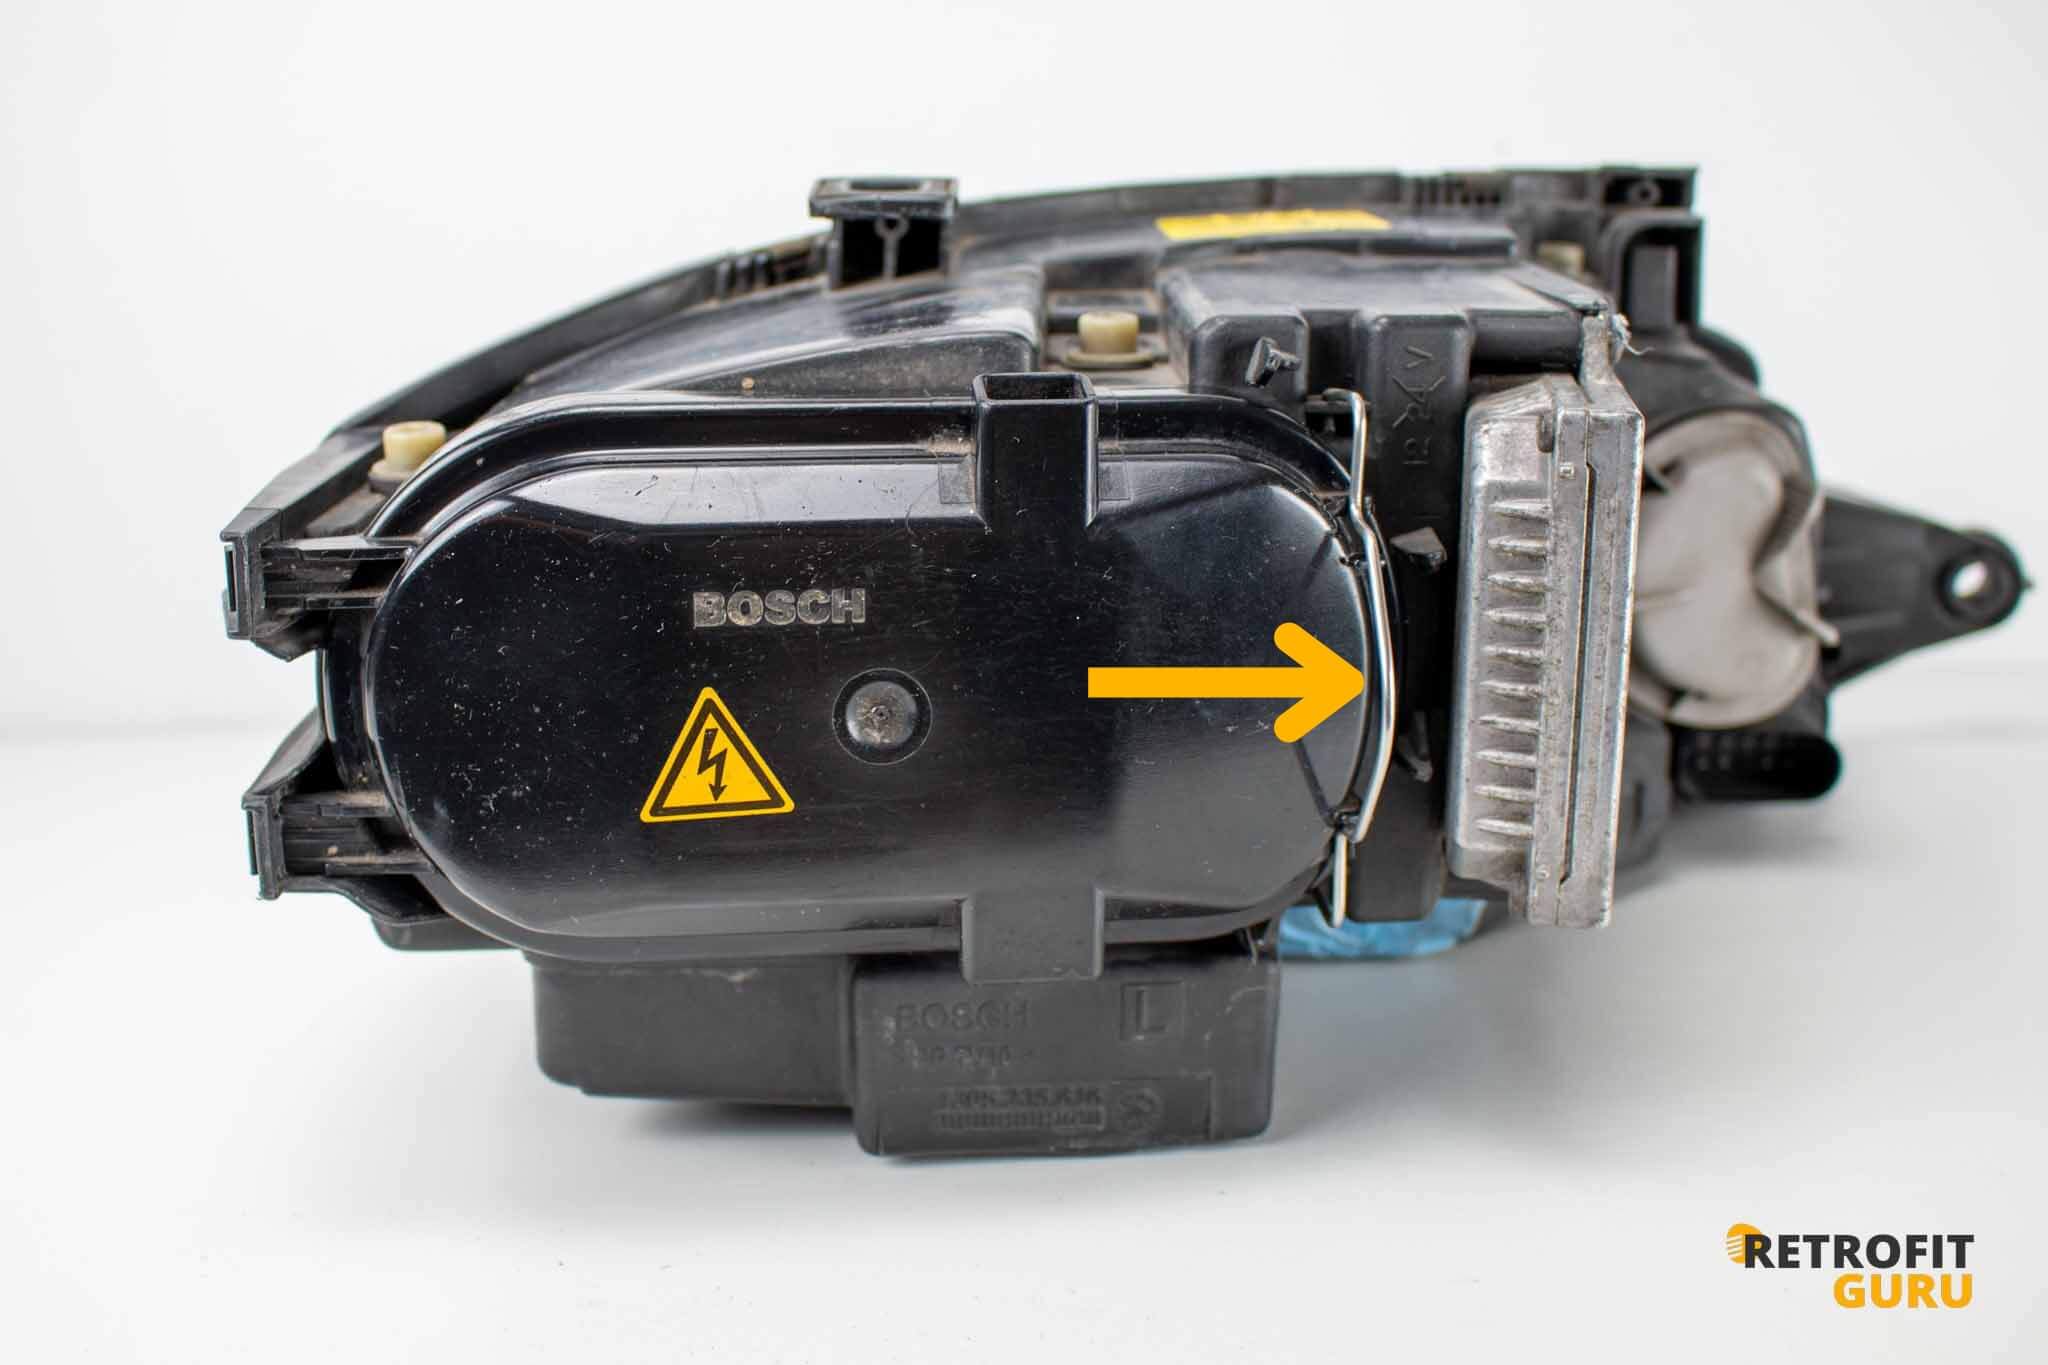
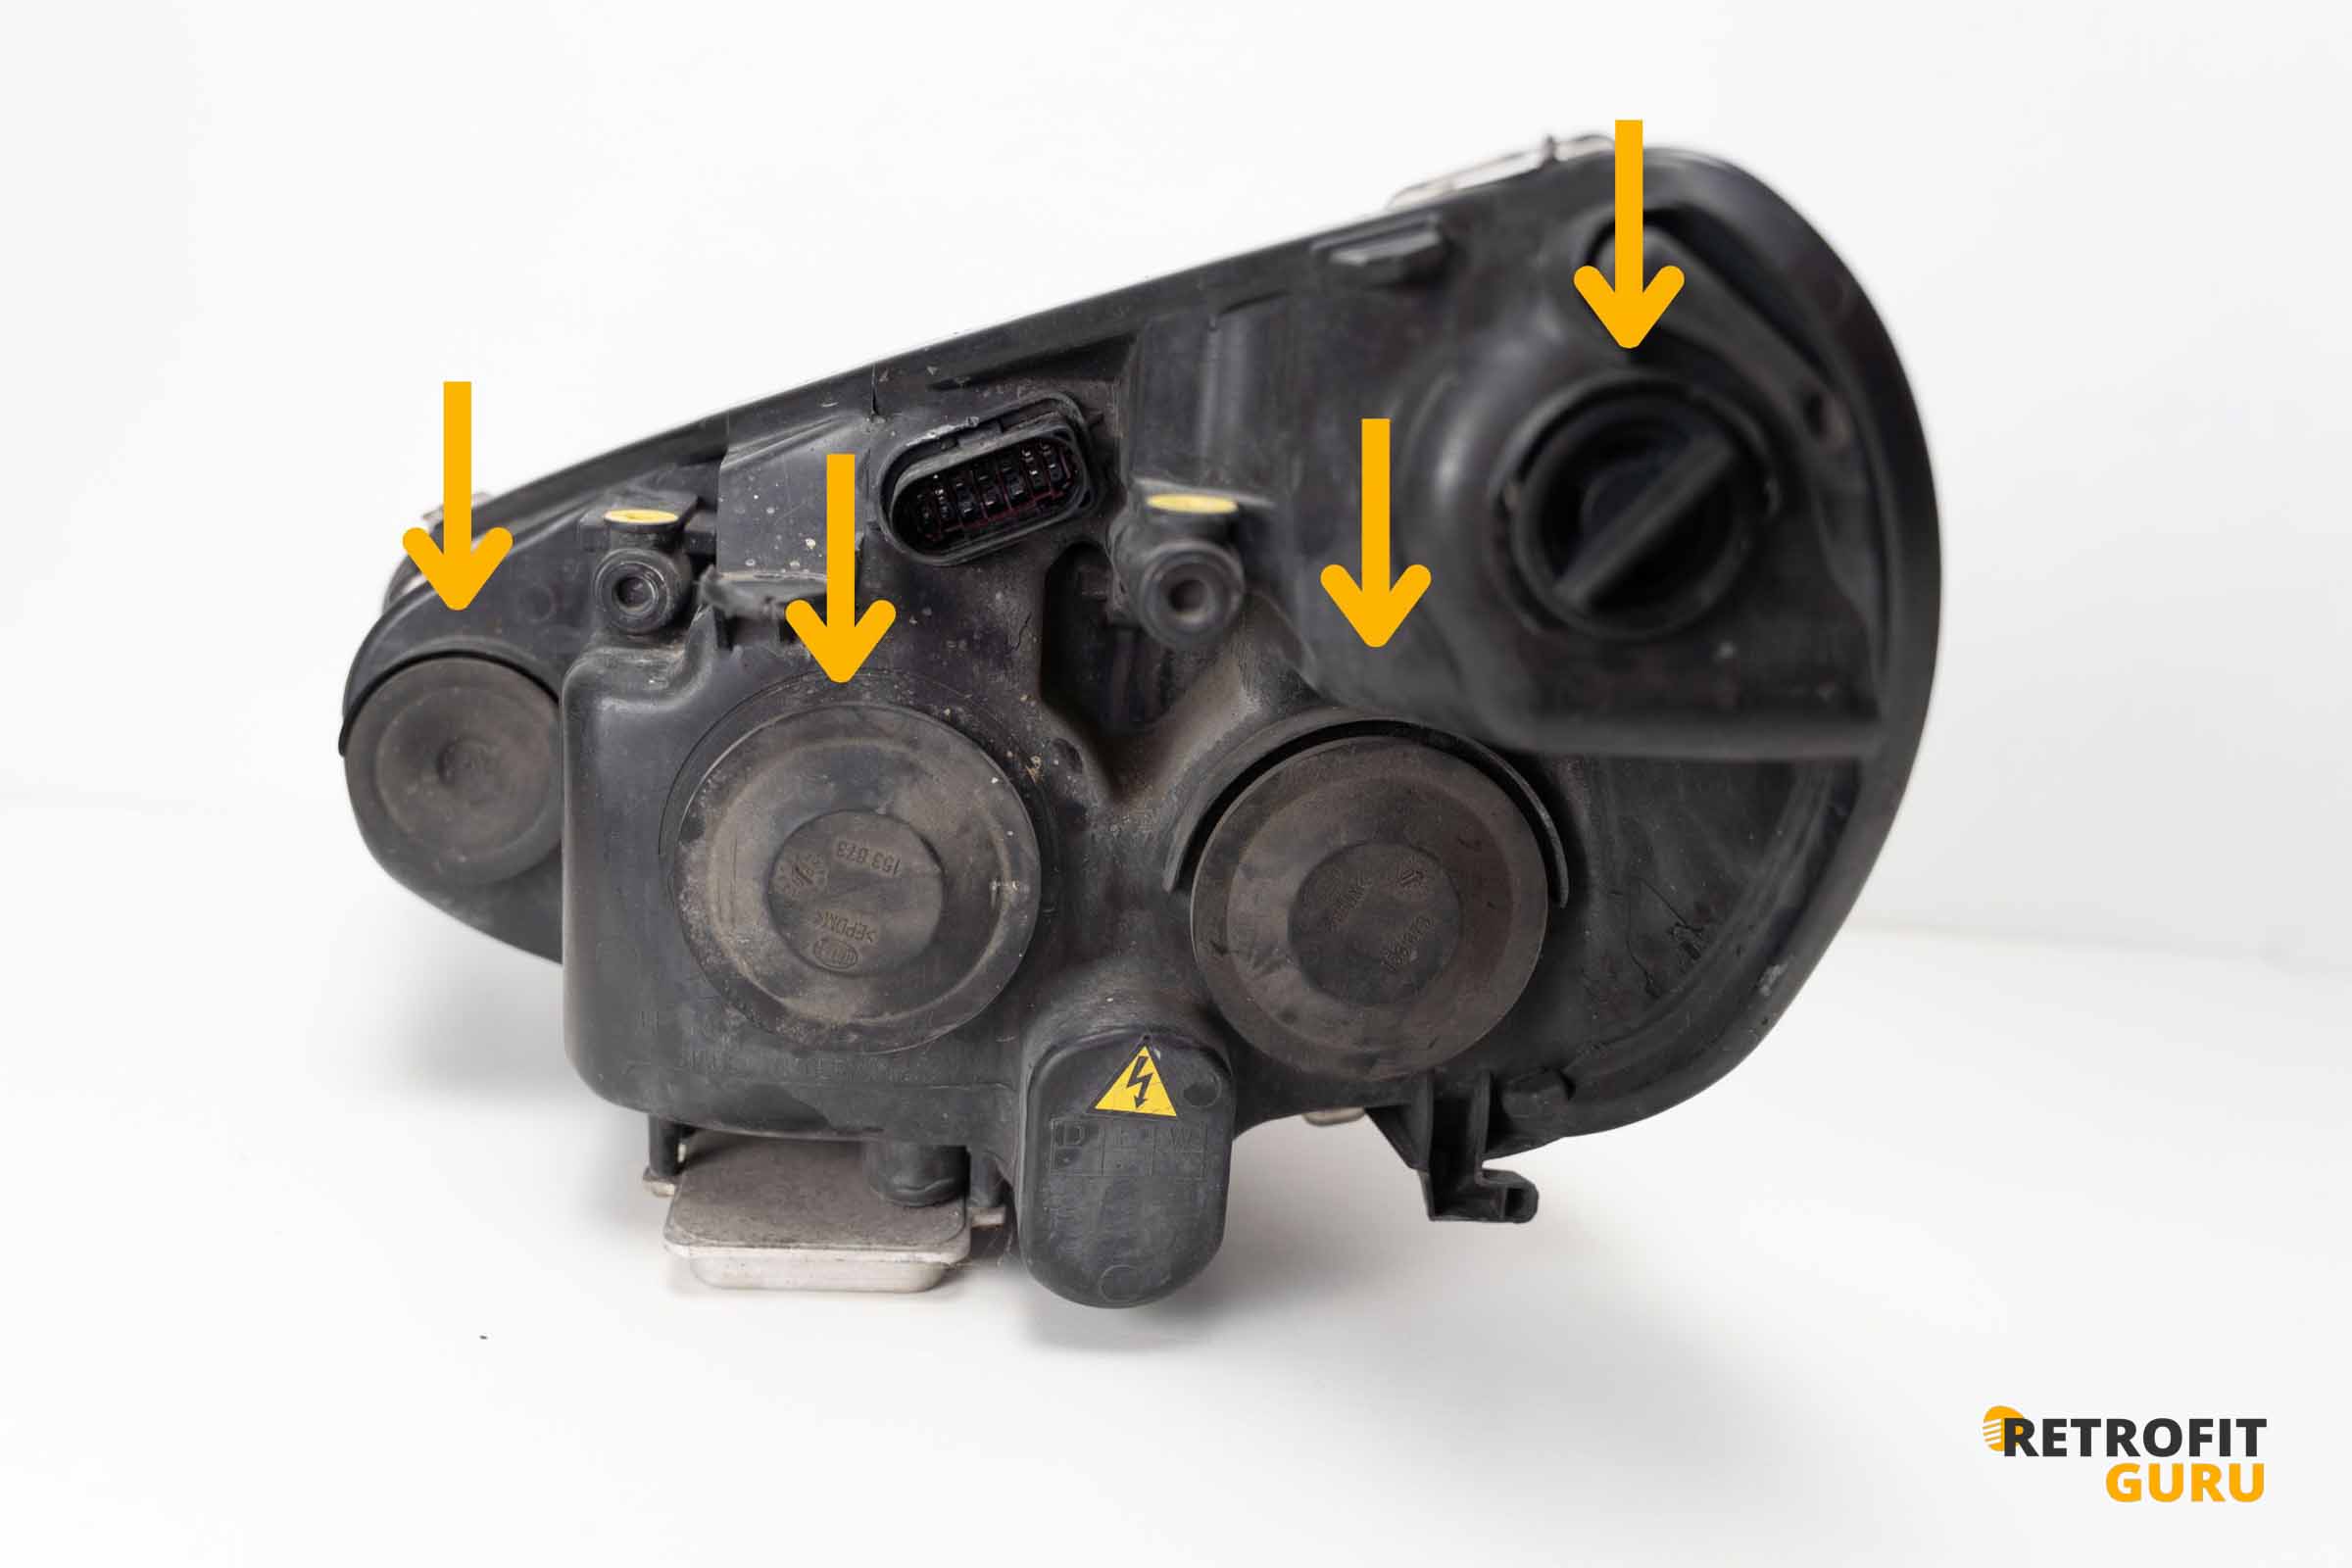
1) Removing the Auto-Leveling Motor
First, release the headlight leveling motor, as it holds the reflector assembly inside the housing. It is secured with two Torx screws.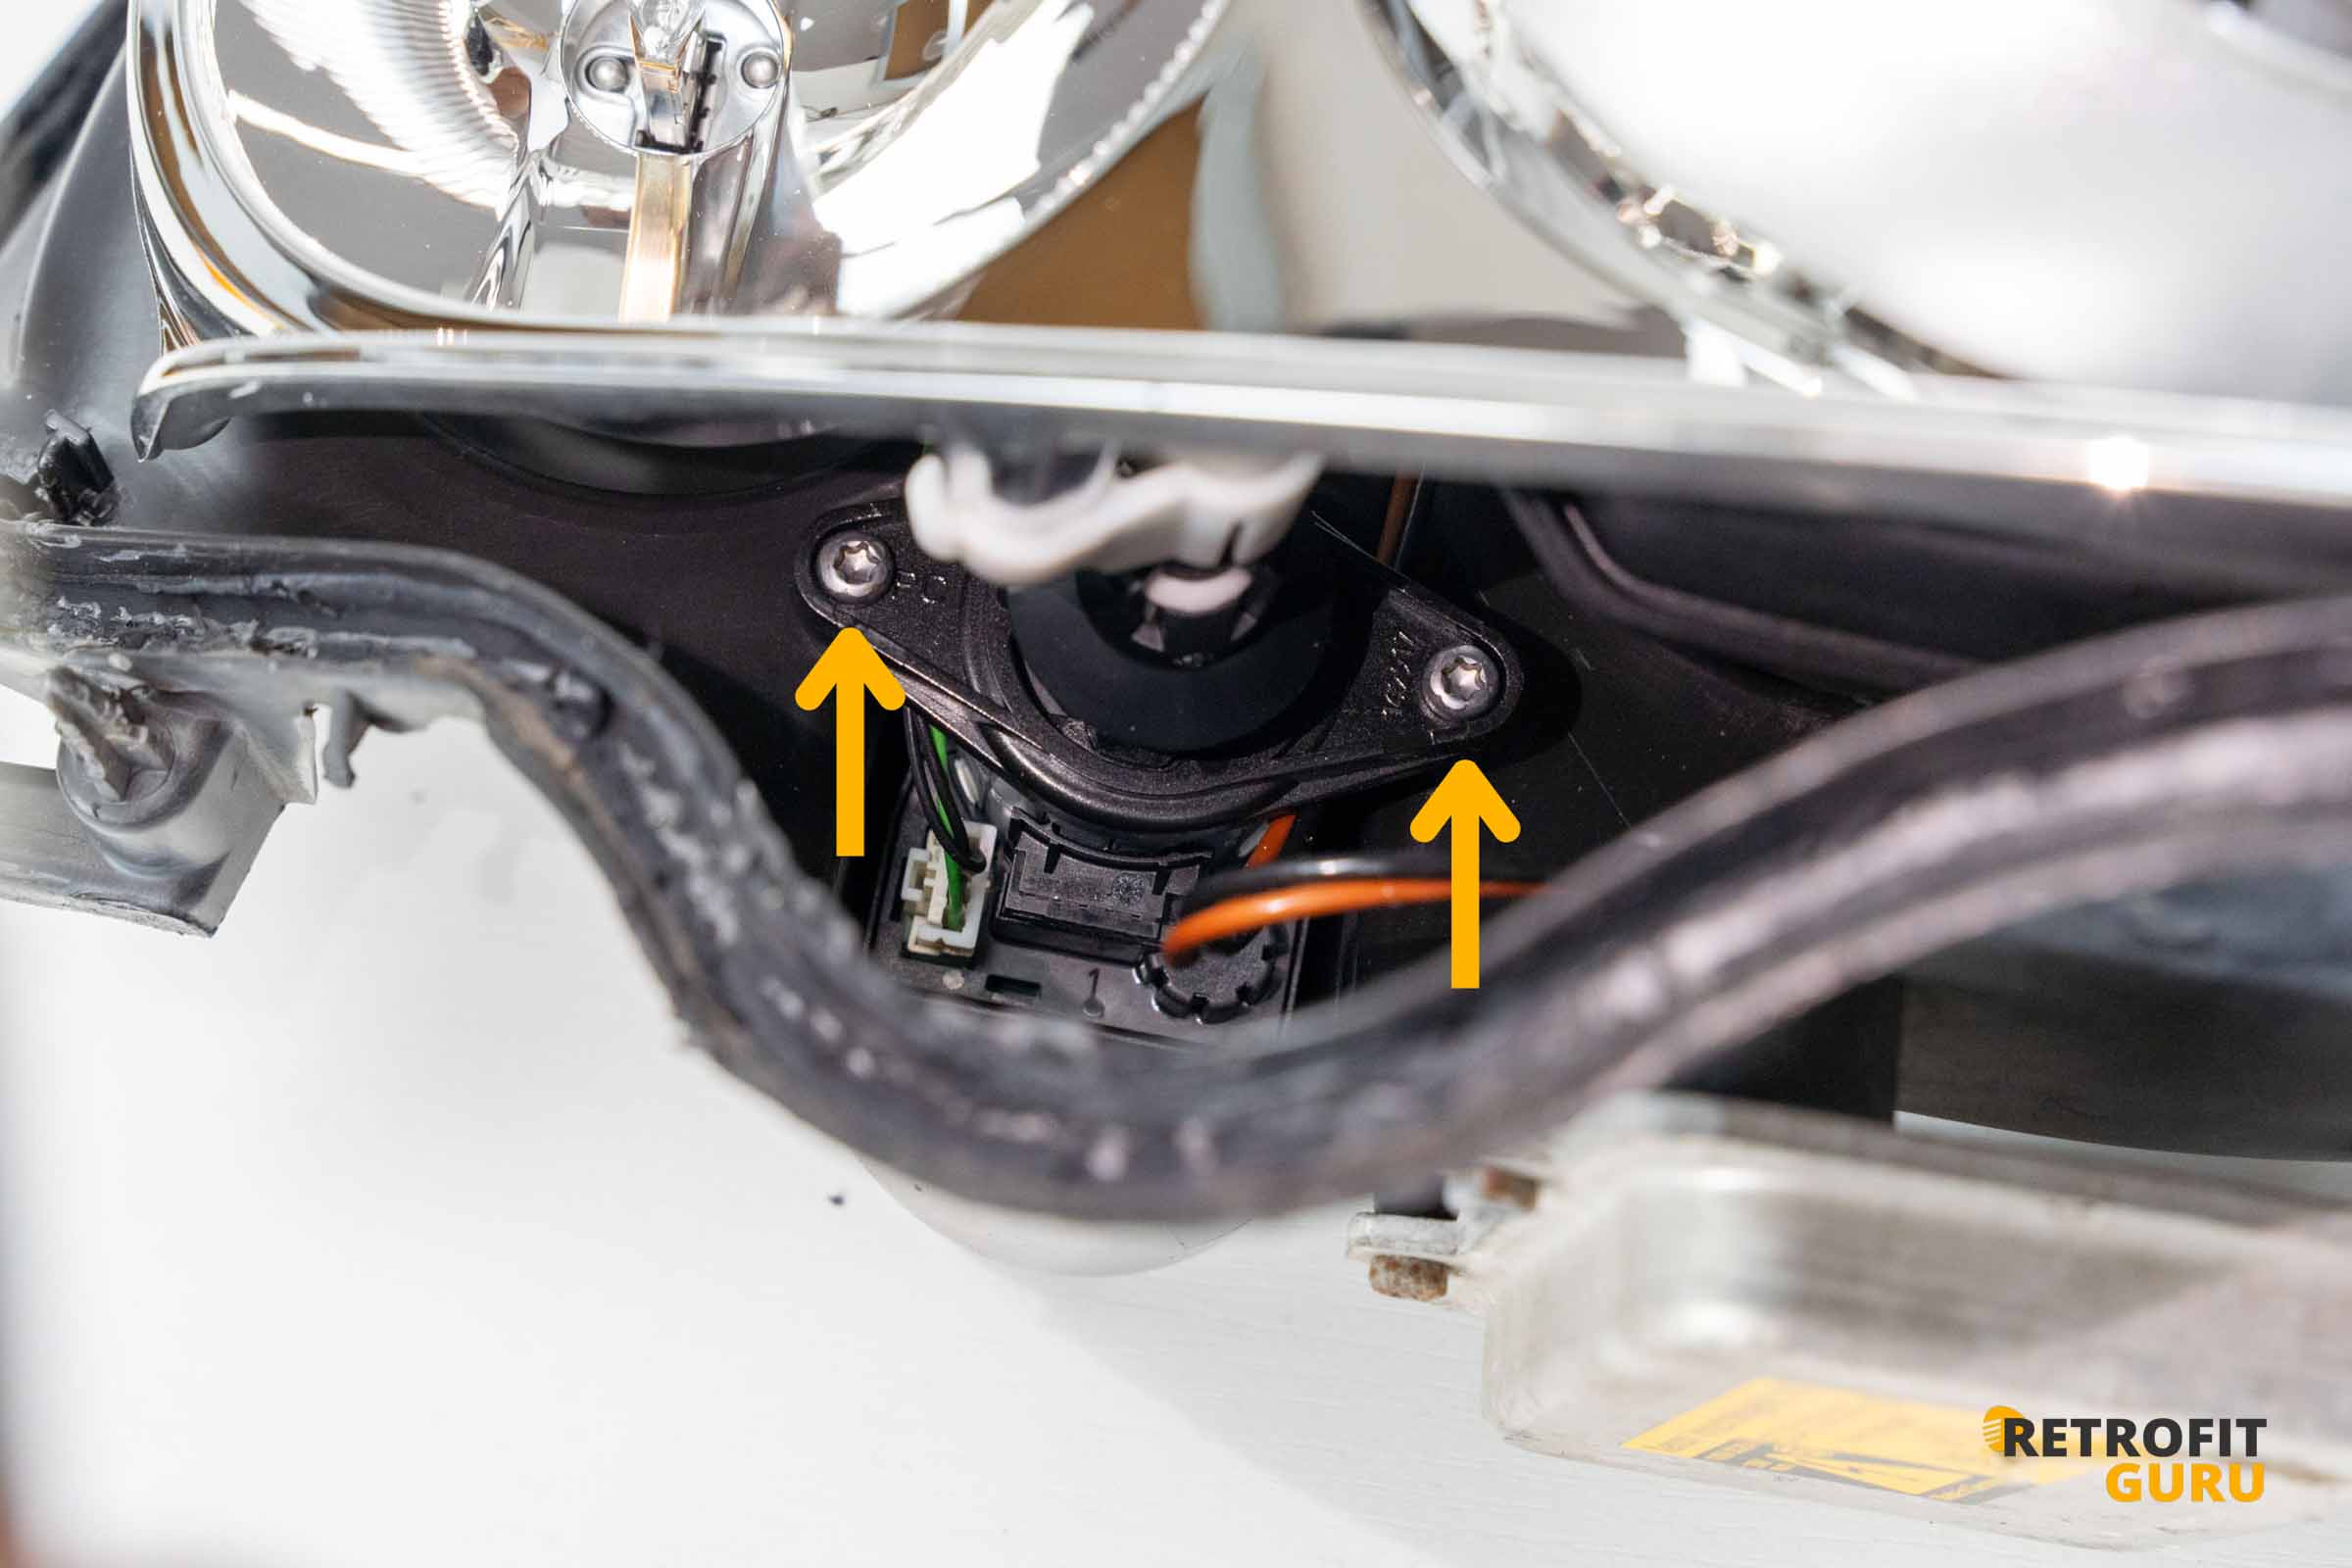
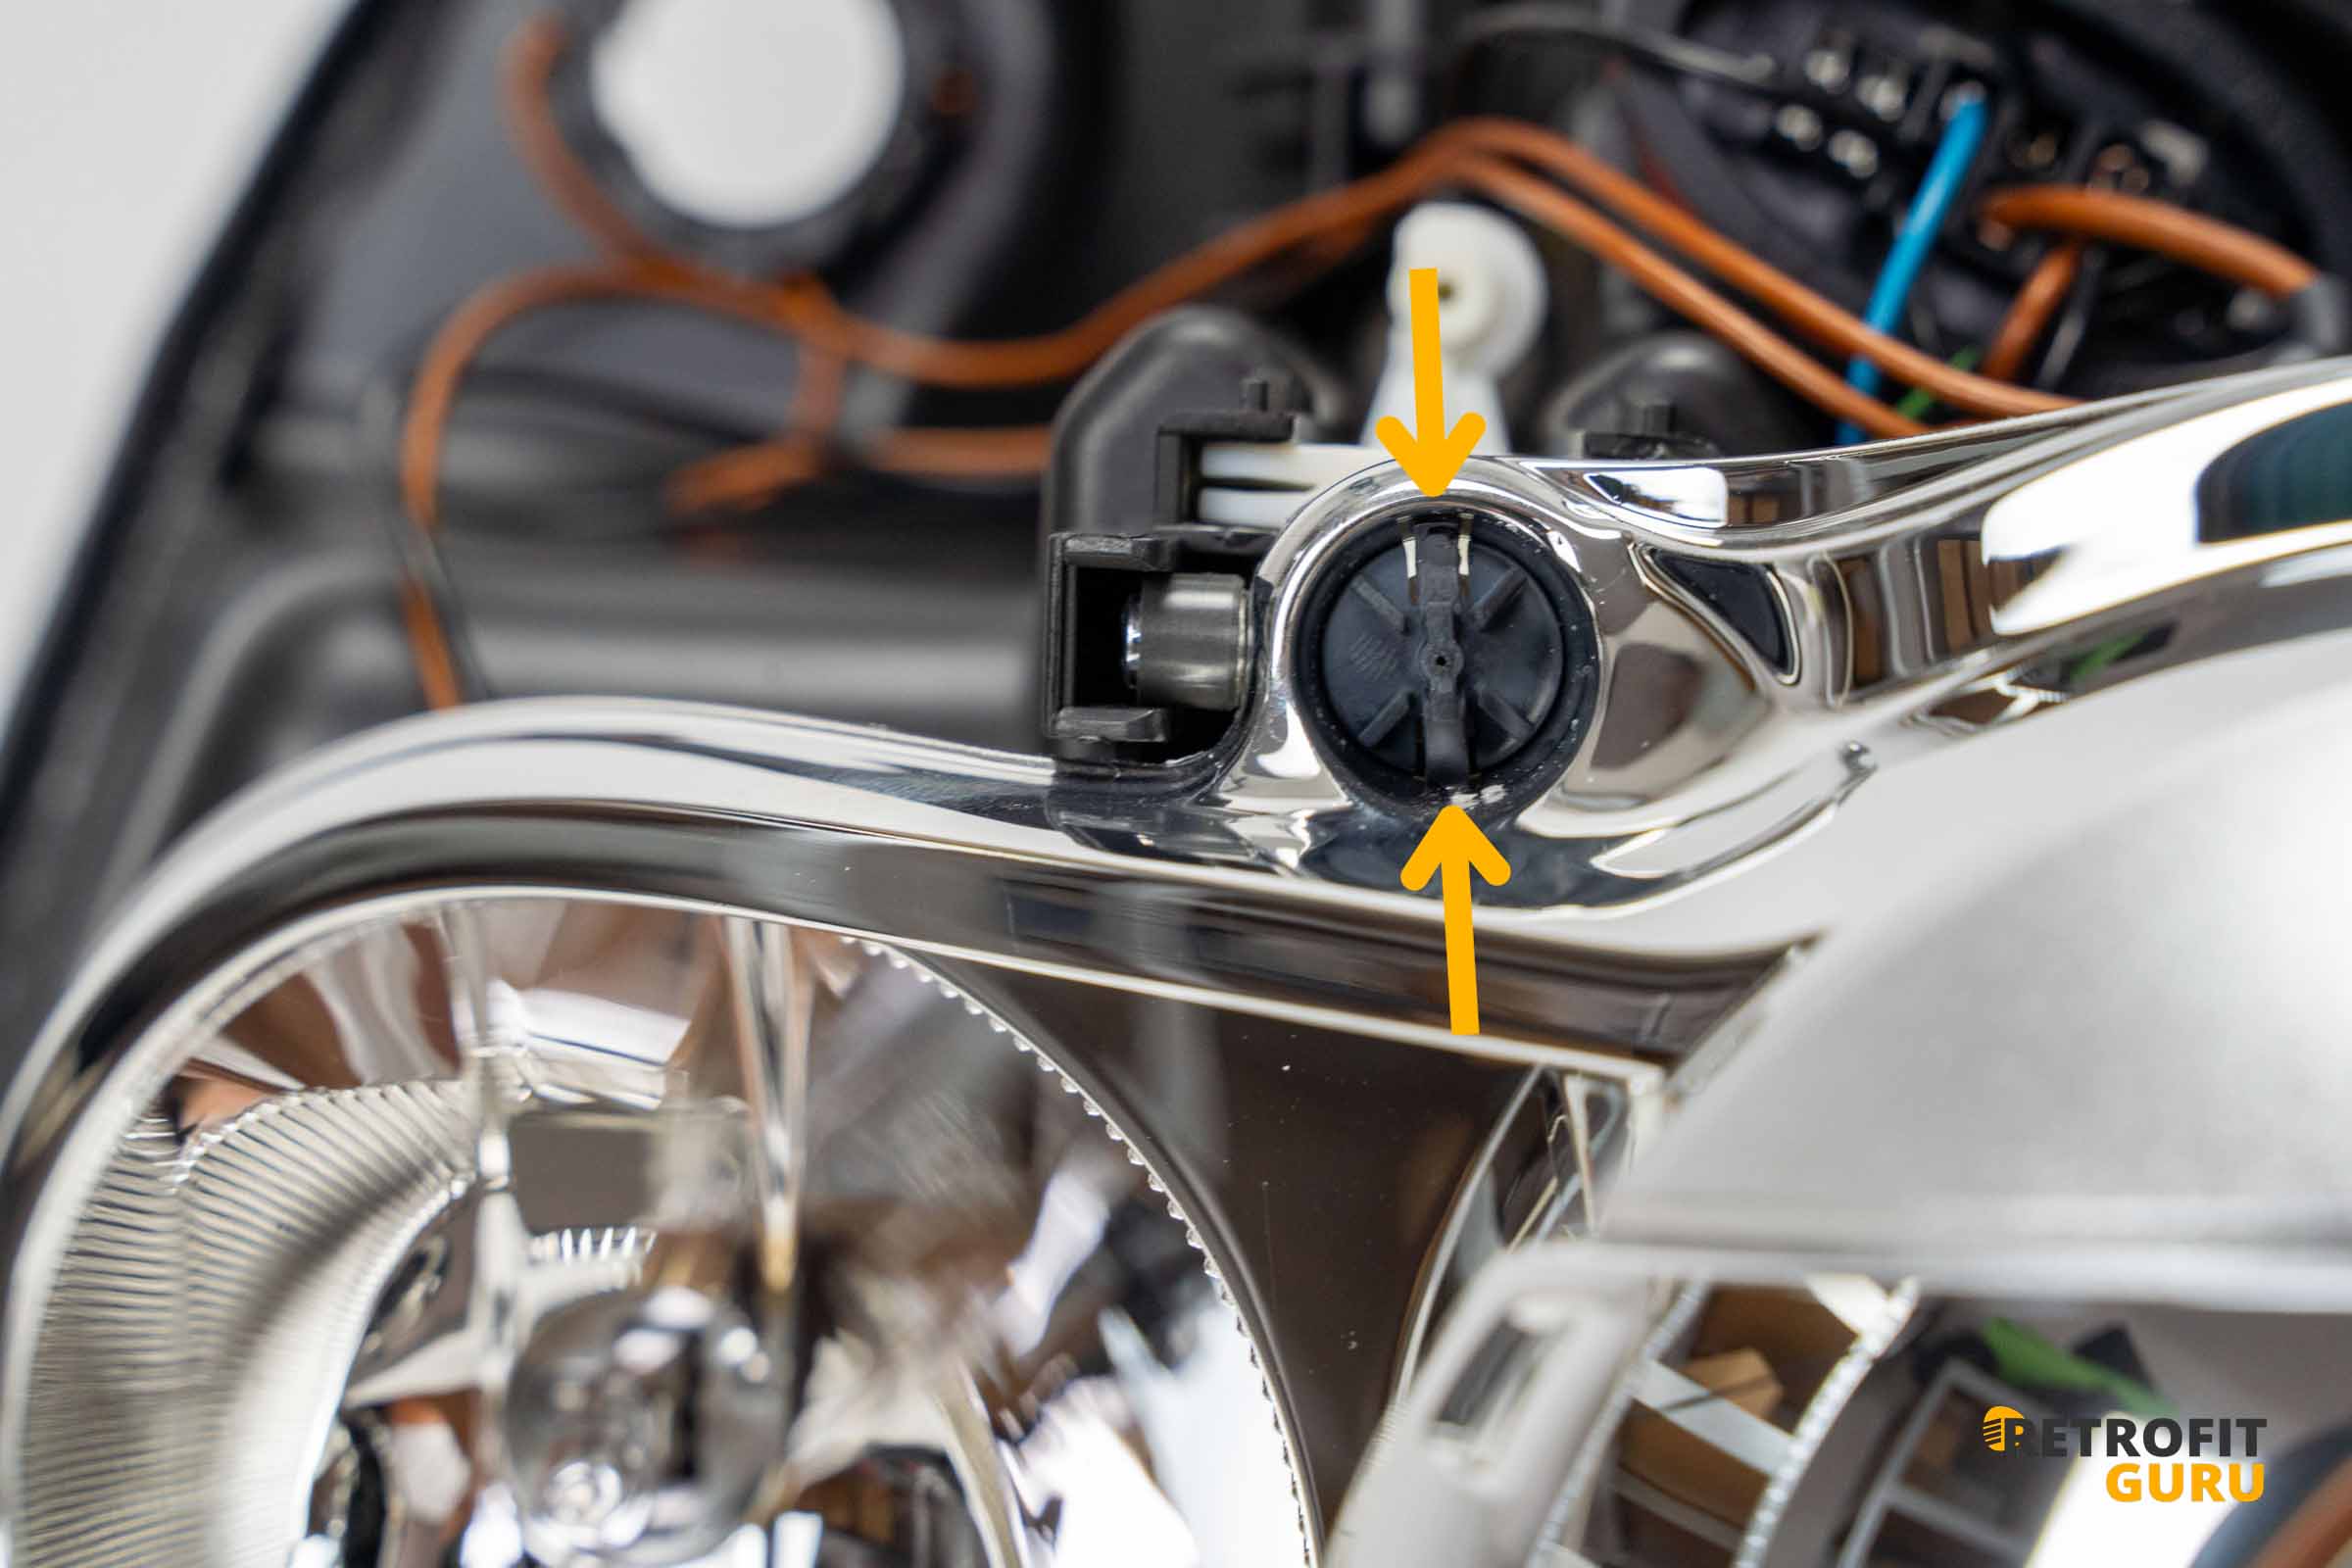
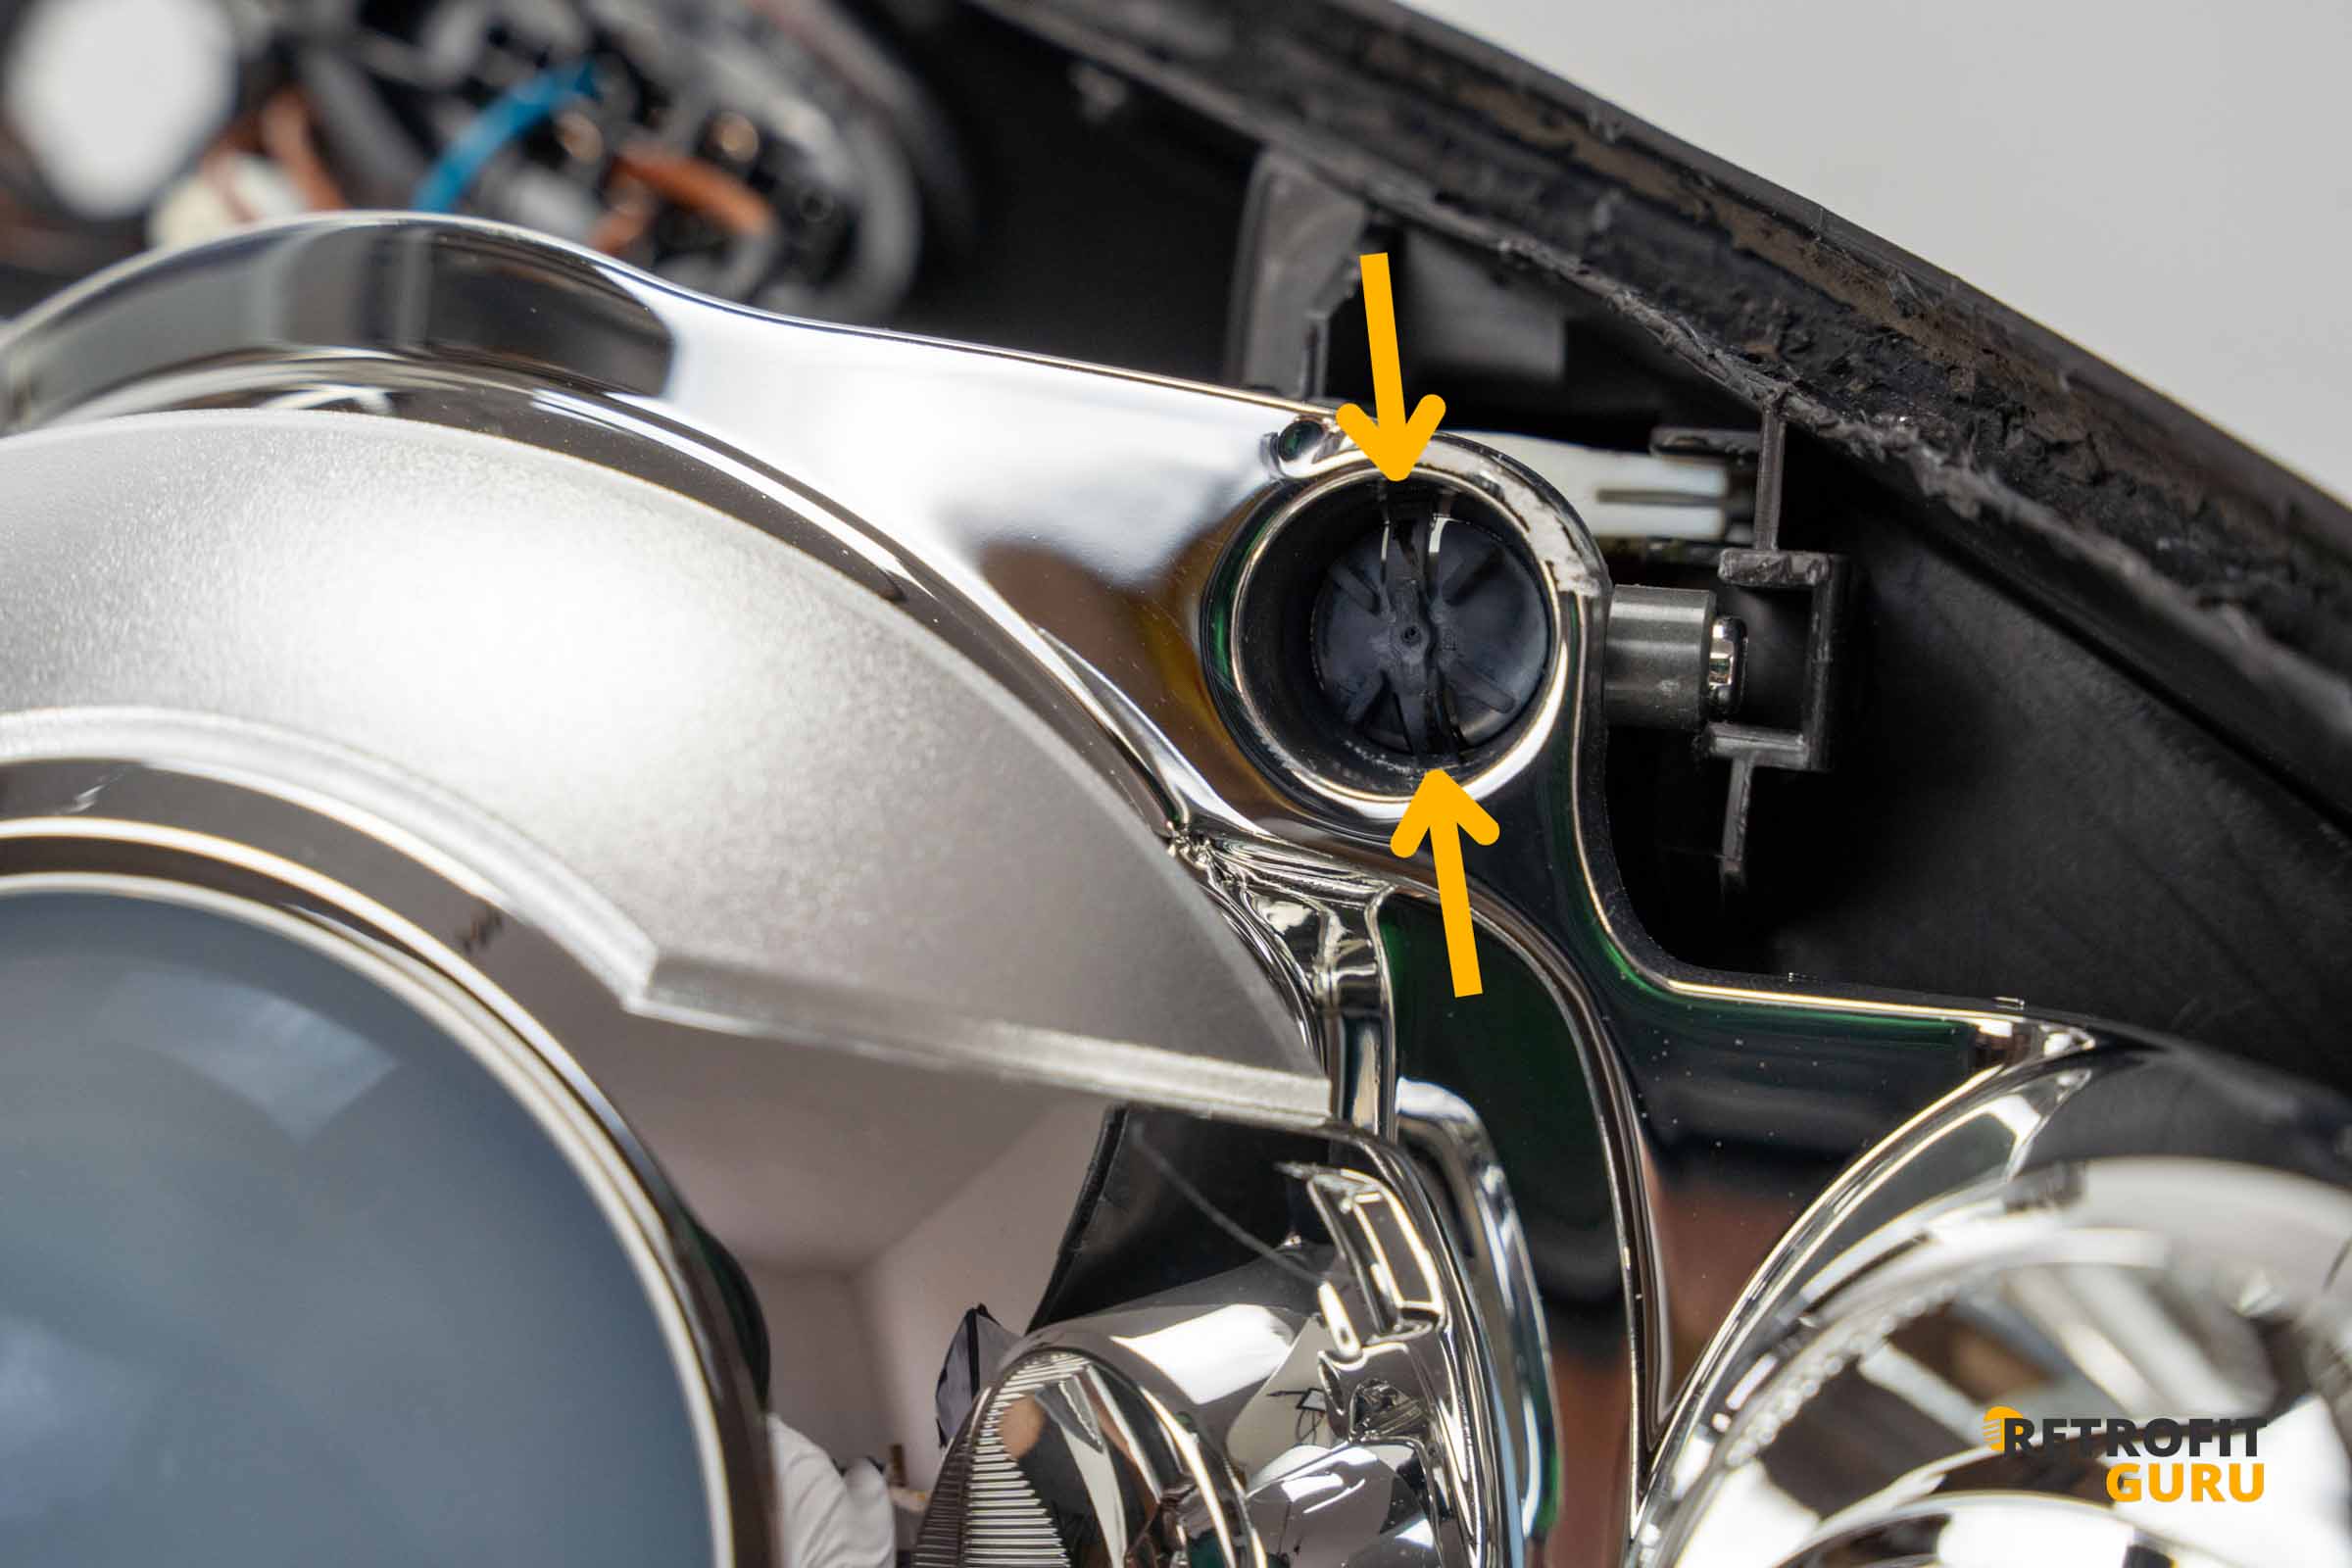
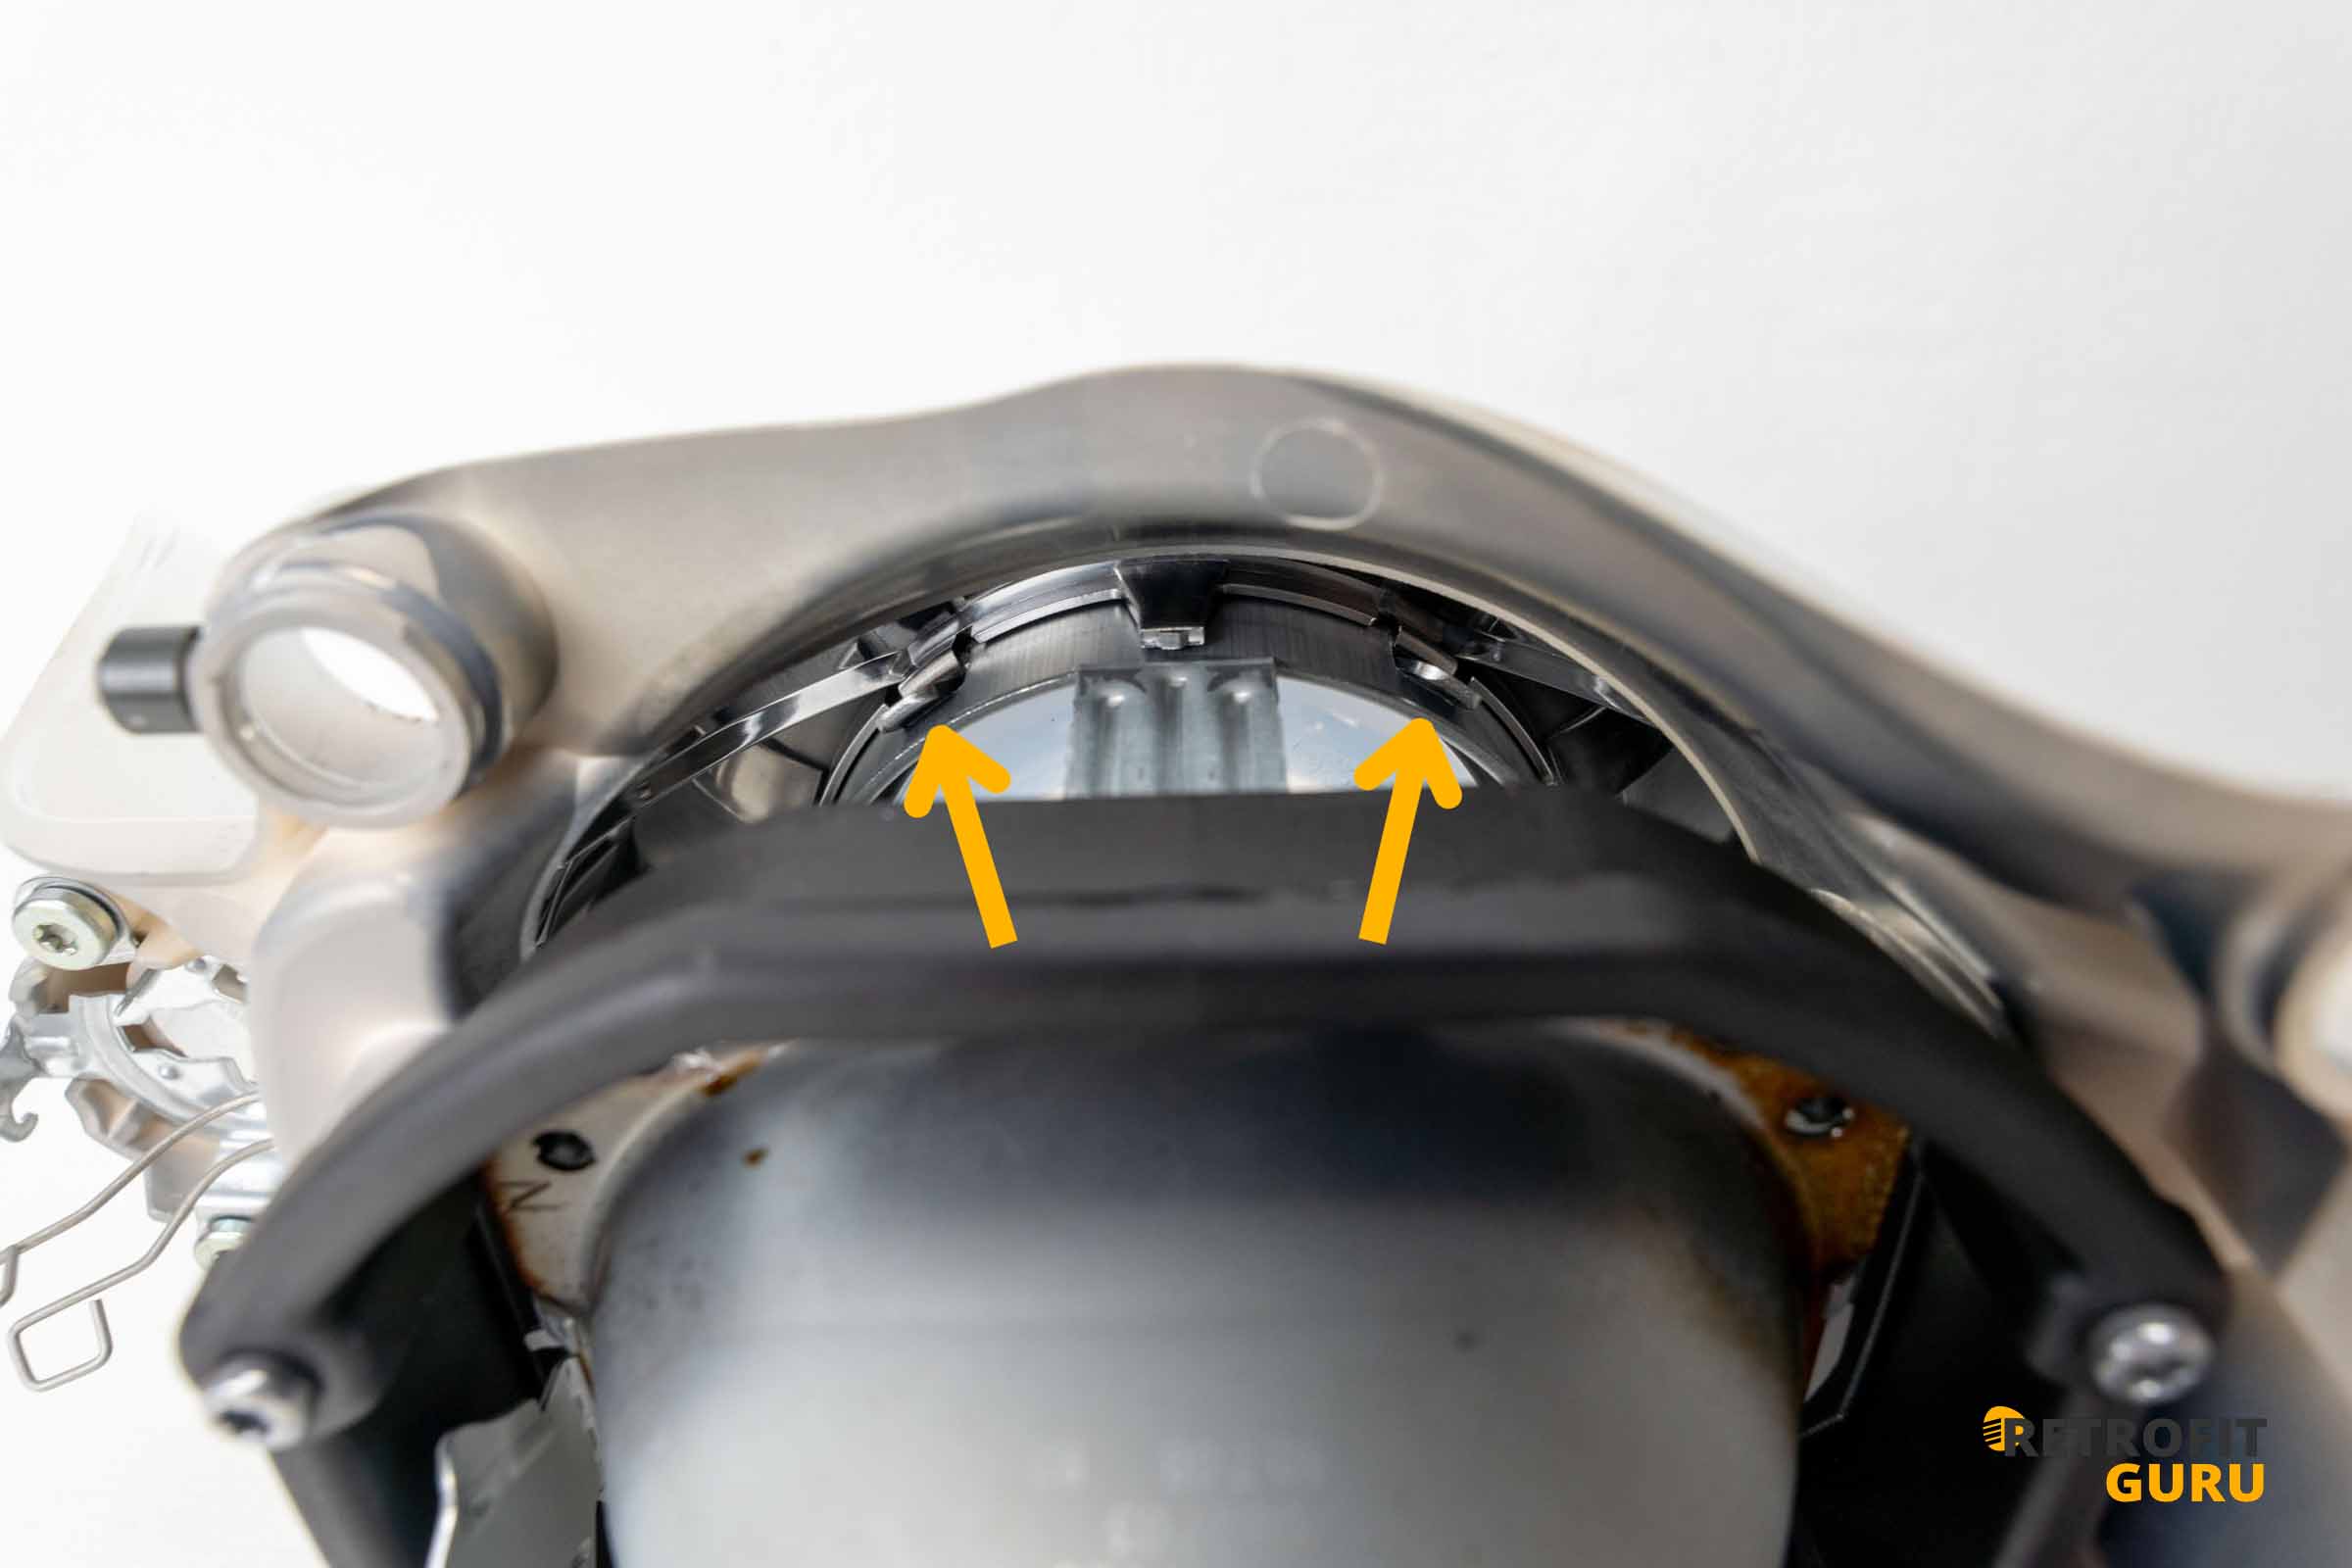
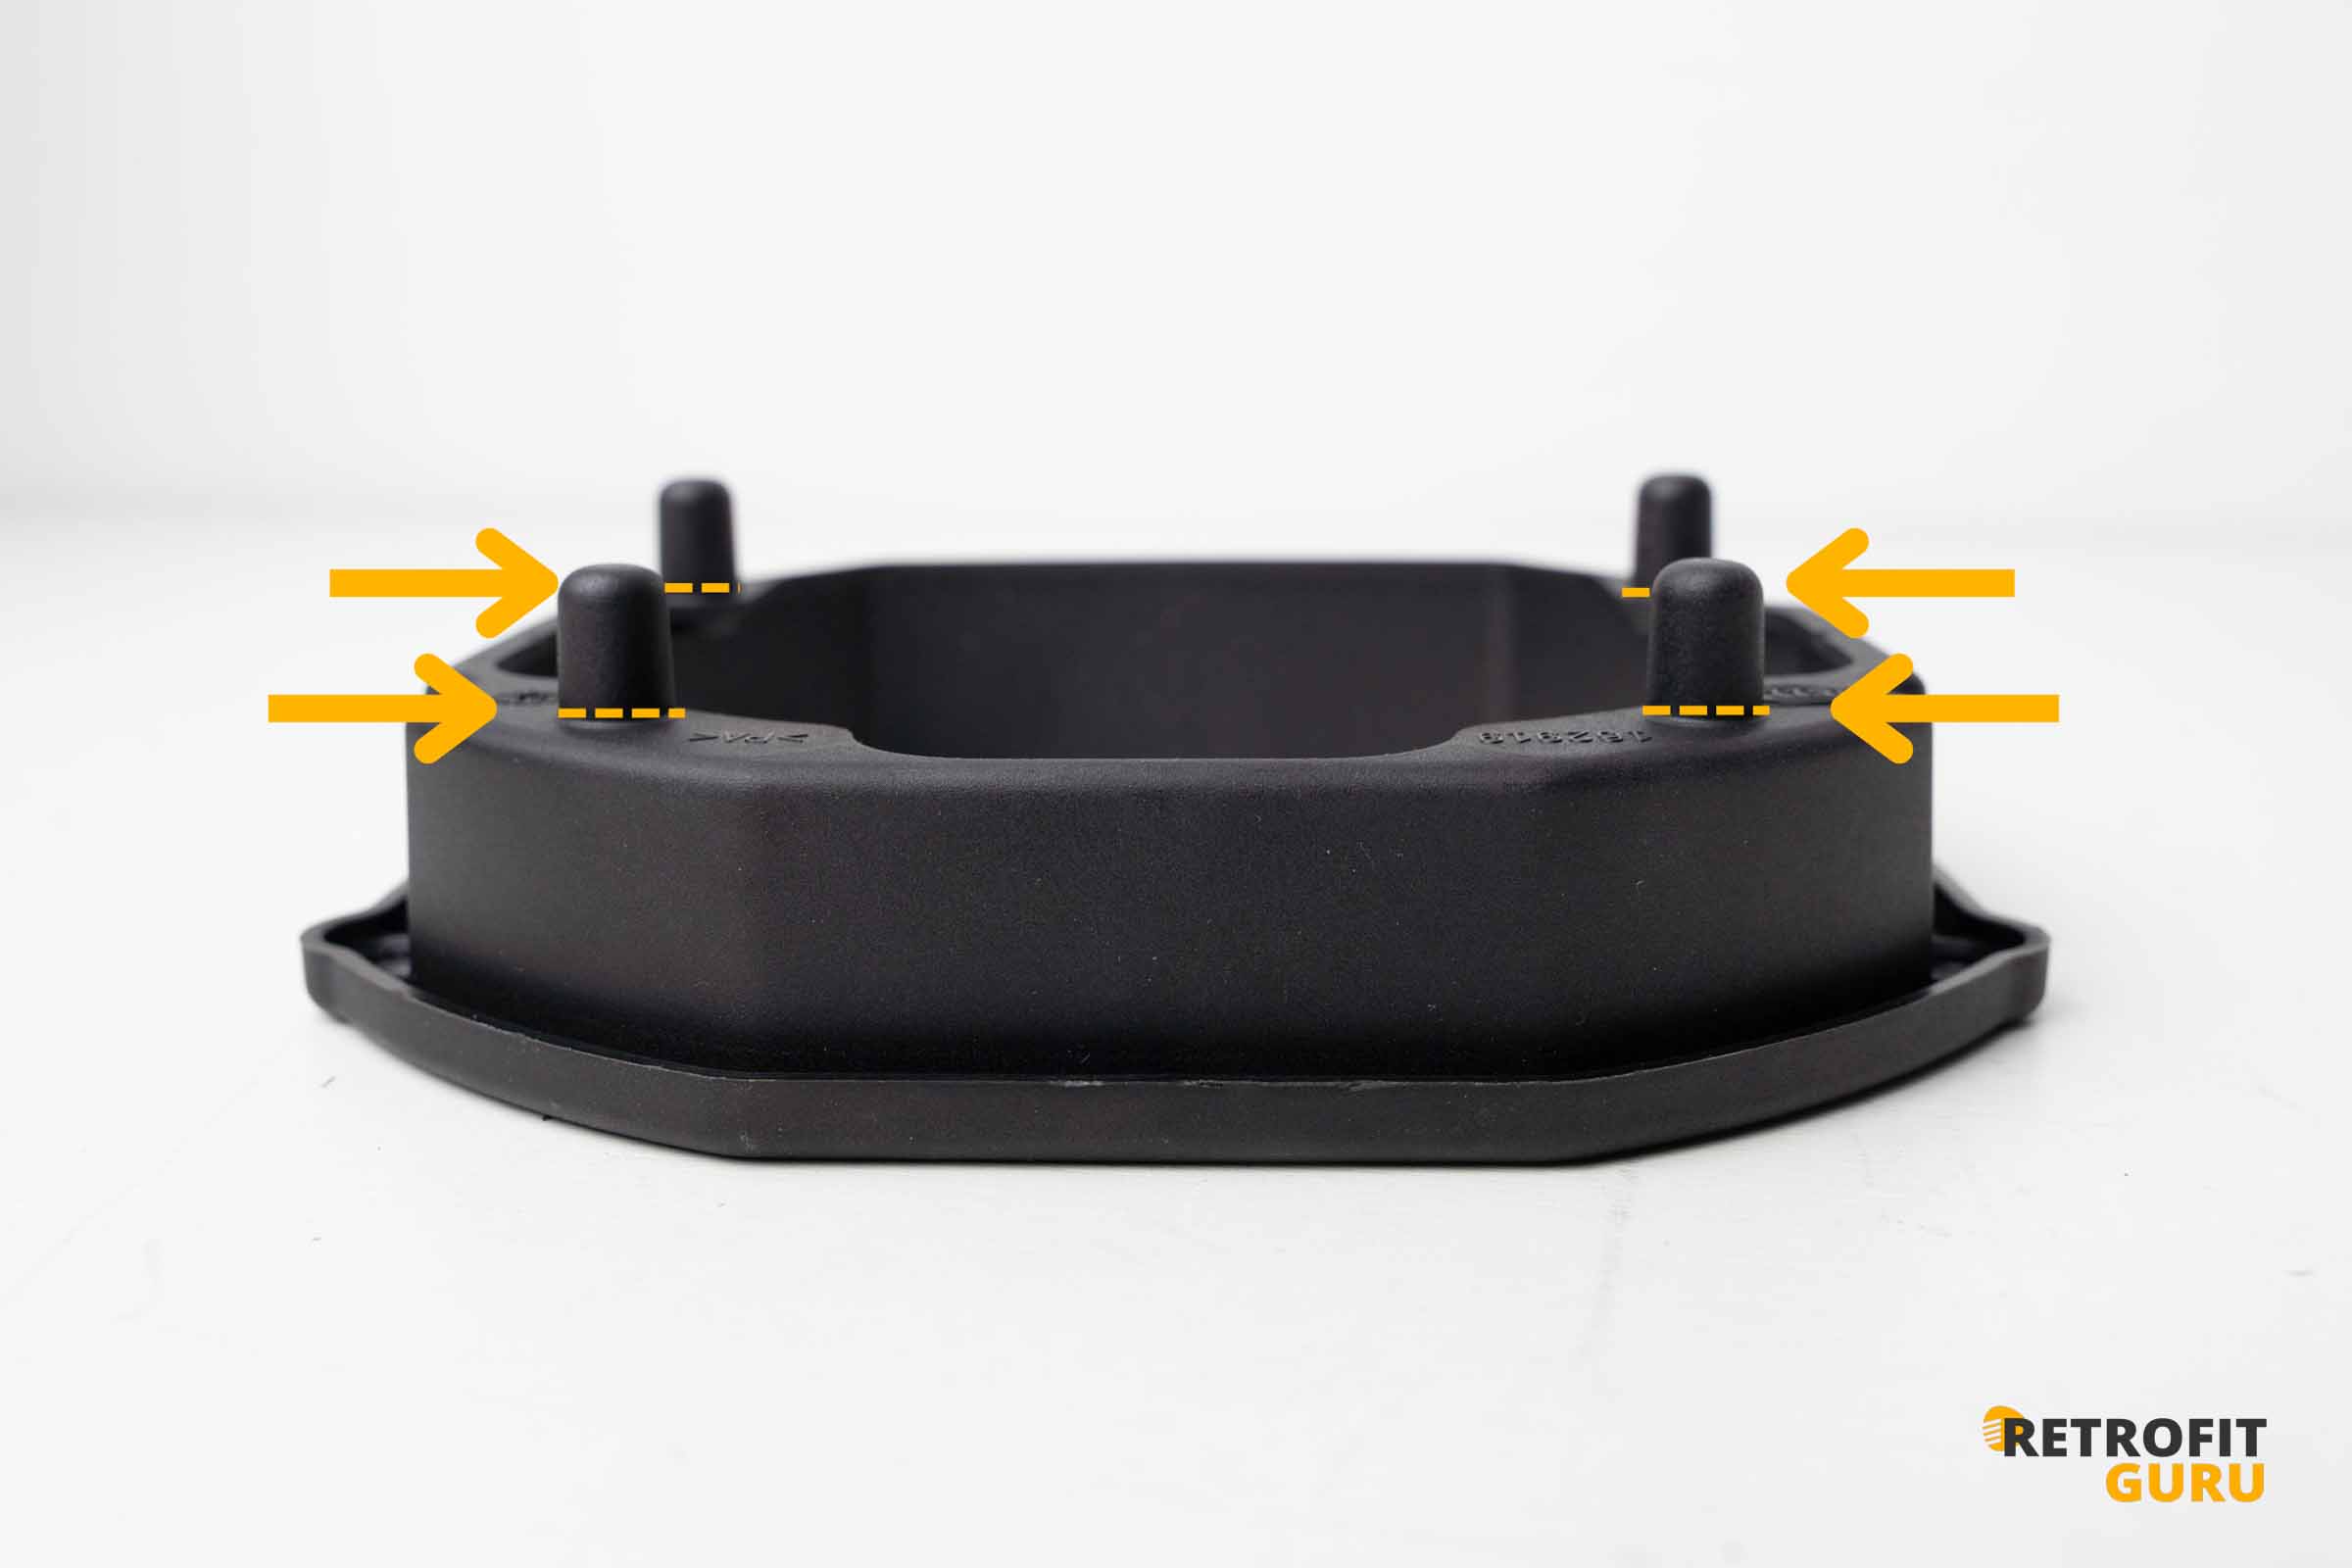
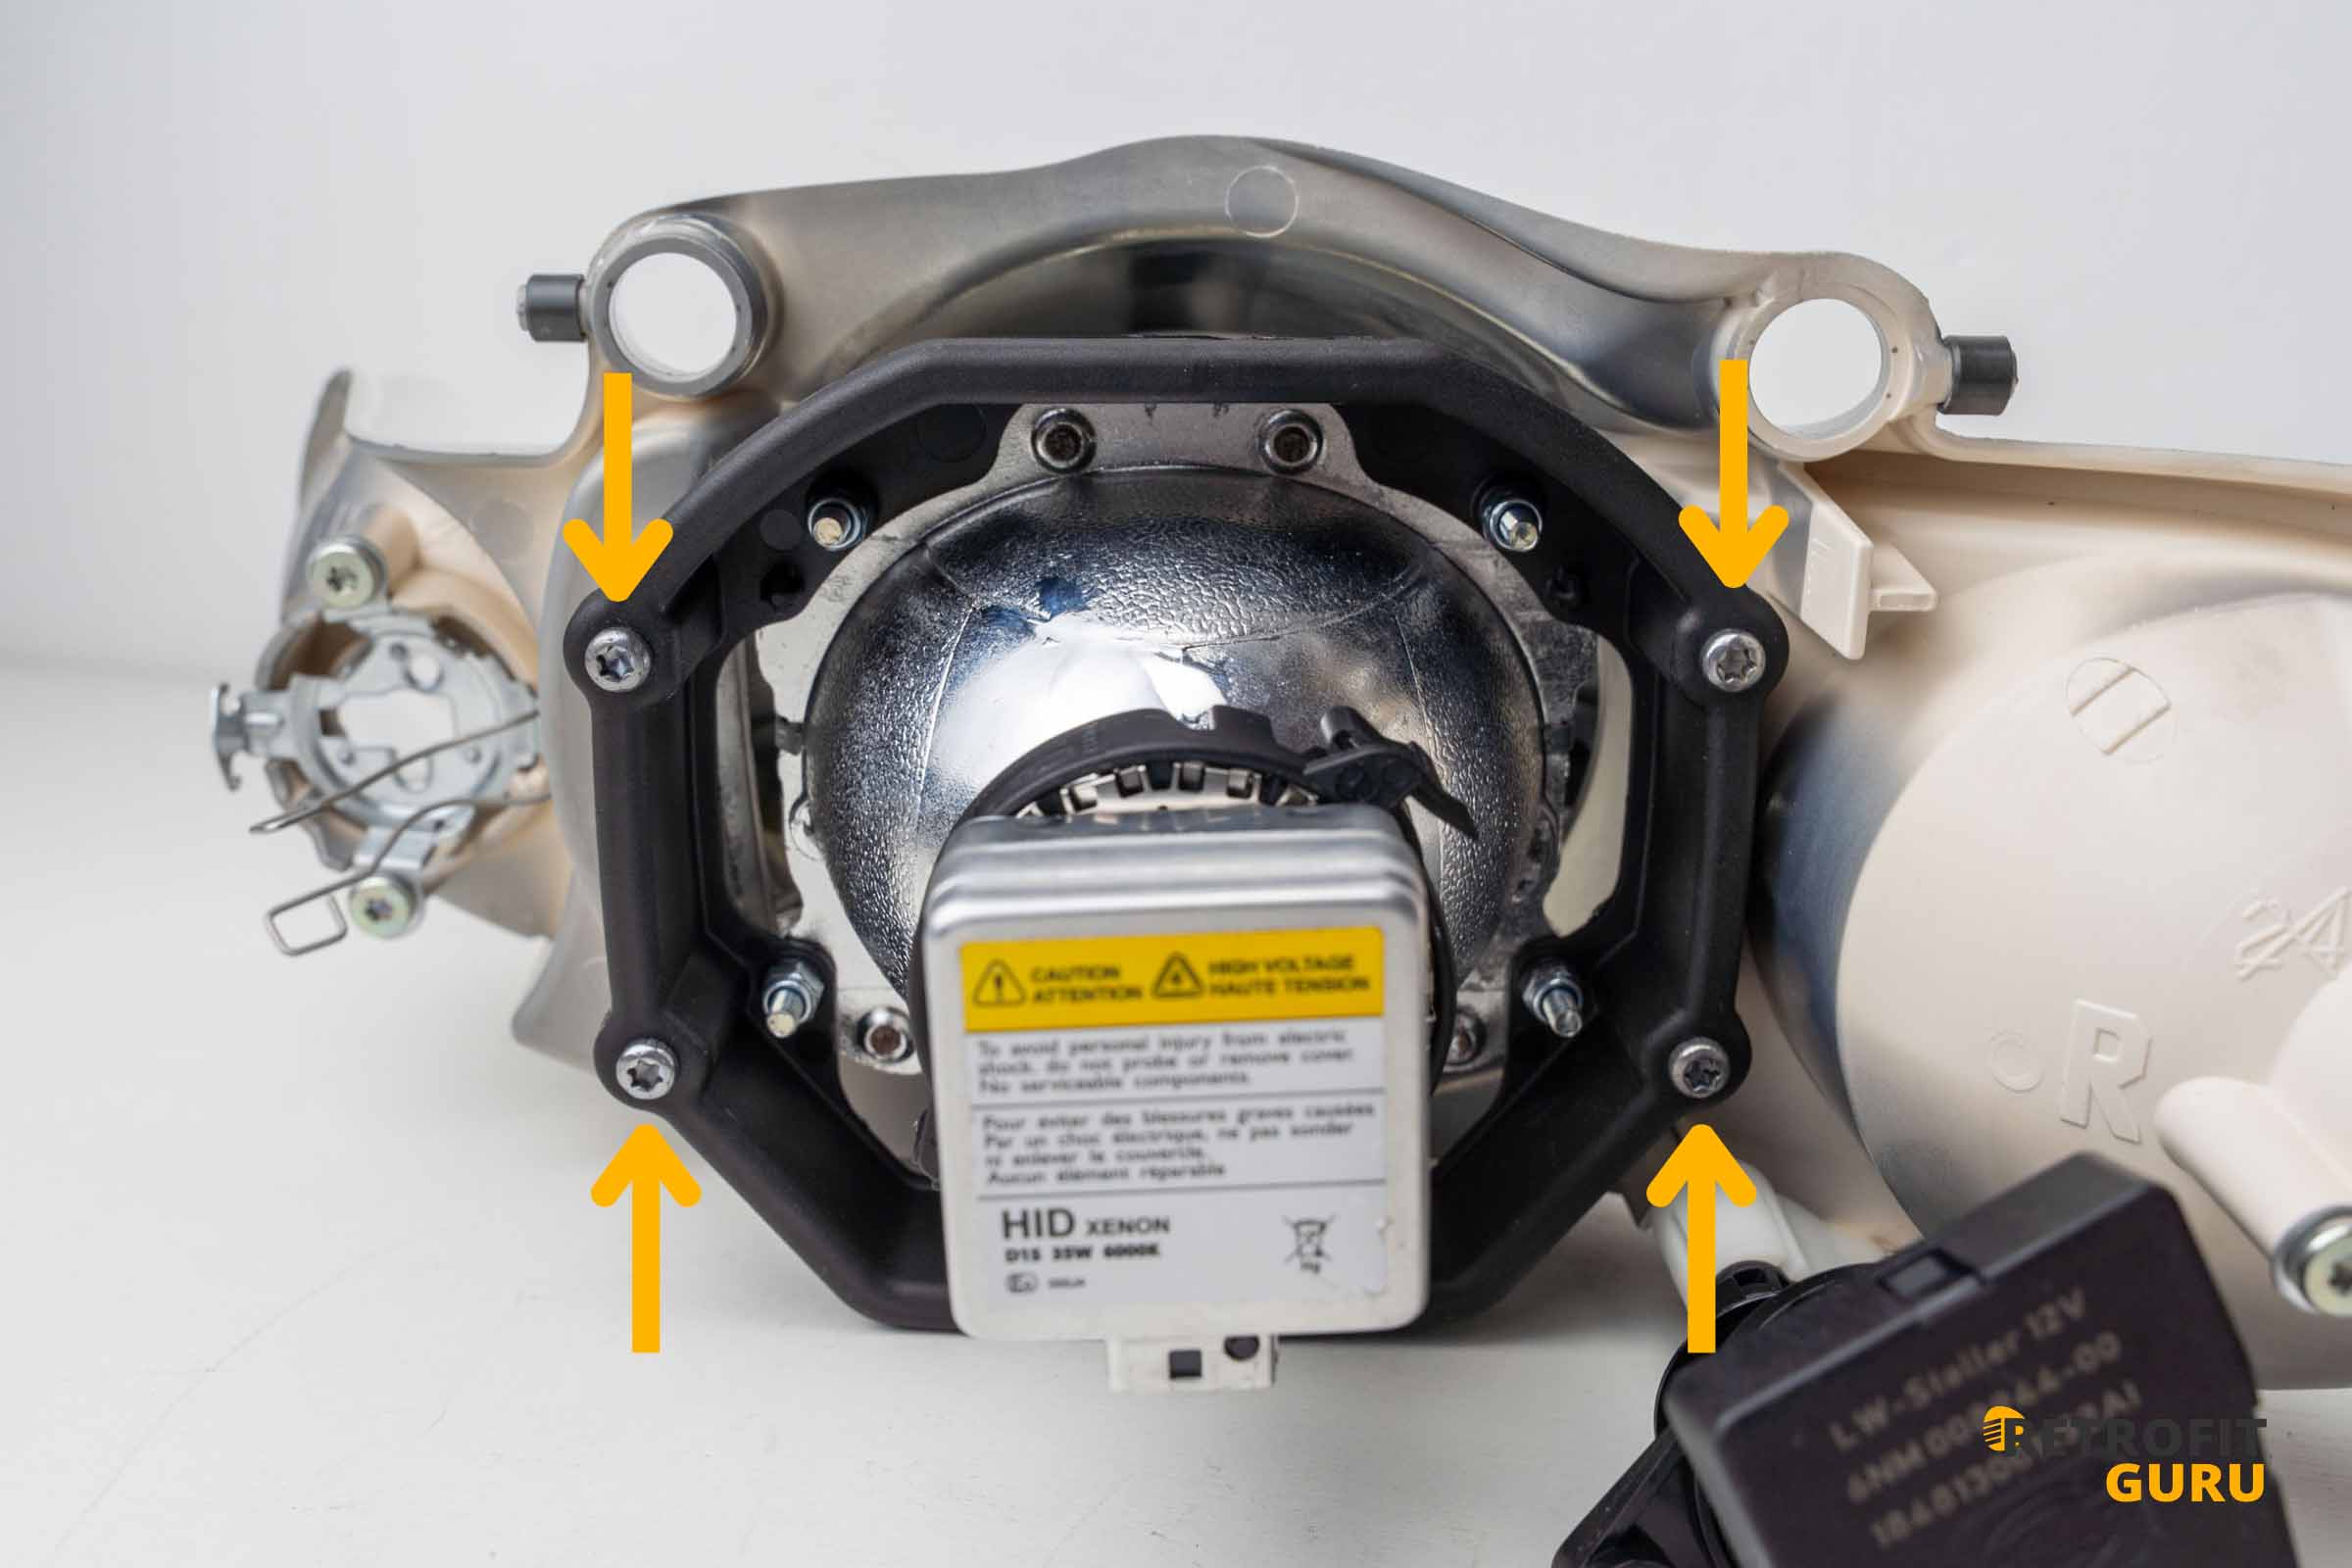
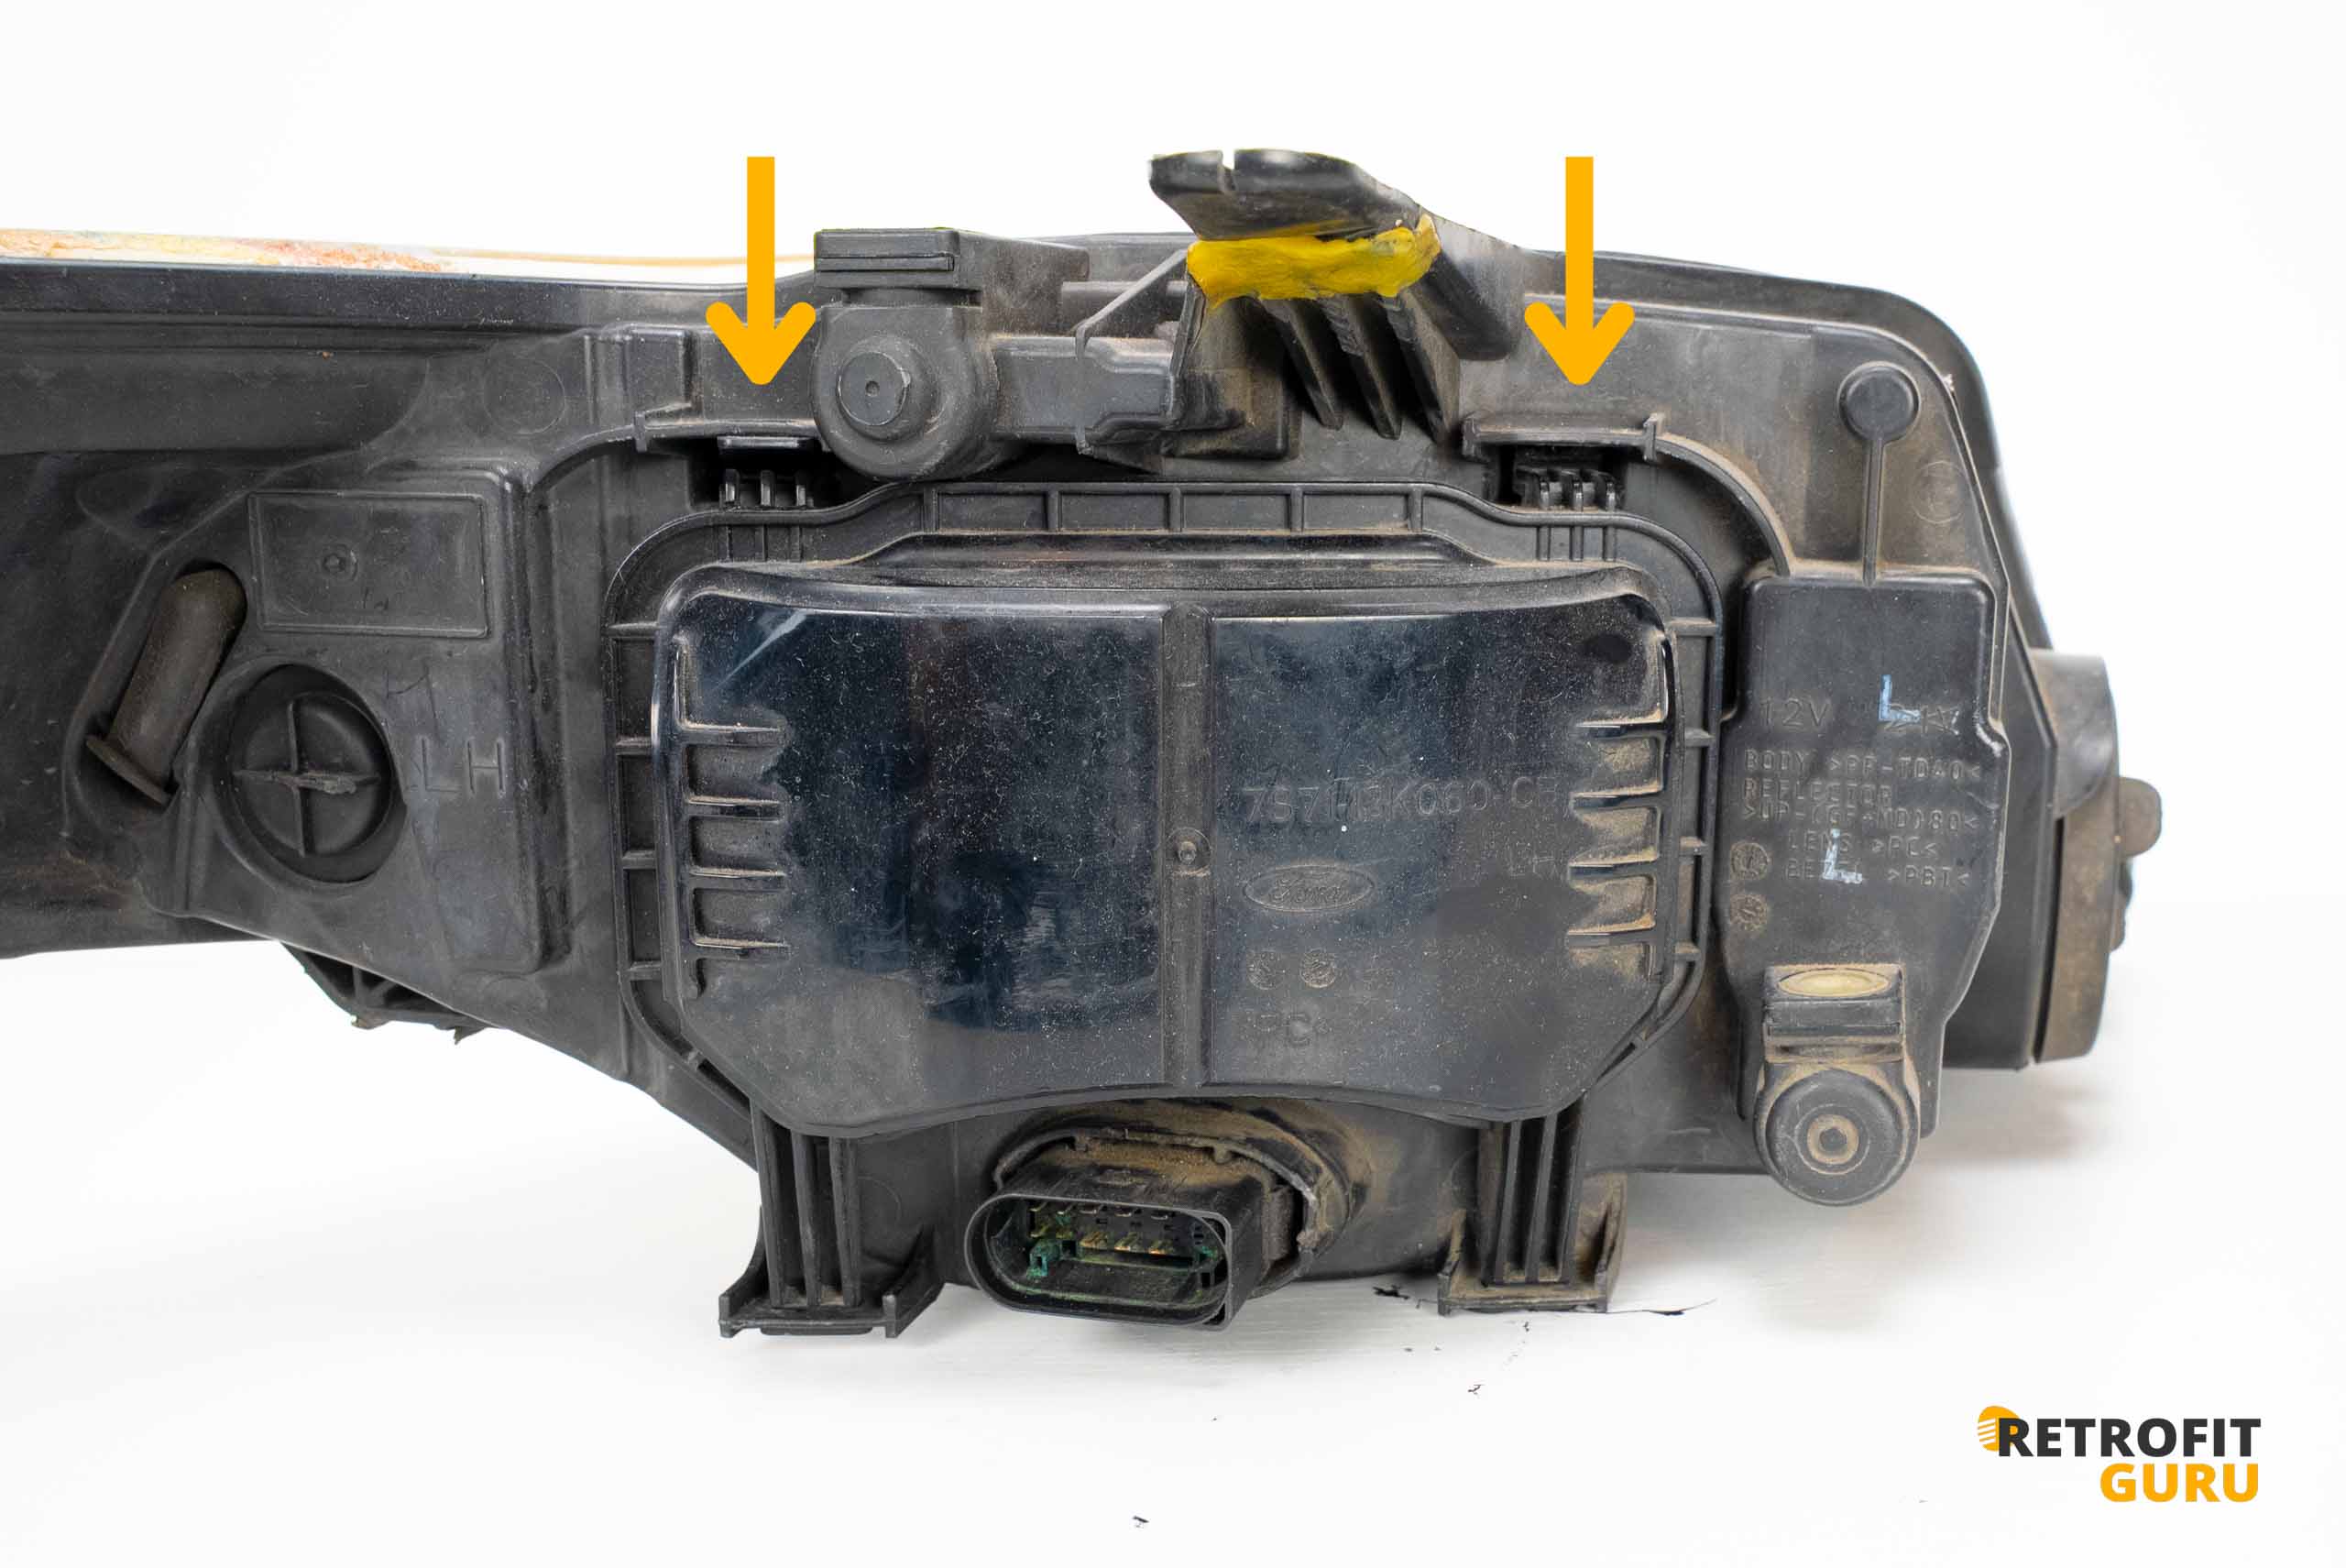
2) Releasing the Two Upper Retaining Clips
Inside the S-Max you’ll find two upper plastic clips that secure the reflector assembly. These must be released first; otherwise, the reflector will remain stuck in the housing.
Procedure:
Locate the two upper clips on each side above the projector.
Use a plastic trim tool to press the clip tabs inward — you will hear a light “click.”
Repeat on the second clip.
Once both are released, the reflector assembly is free and can be removed.
Avoid using a screwdriver or excessive force — older S-Max clips tend to crack.

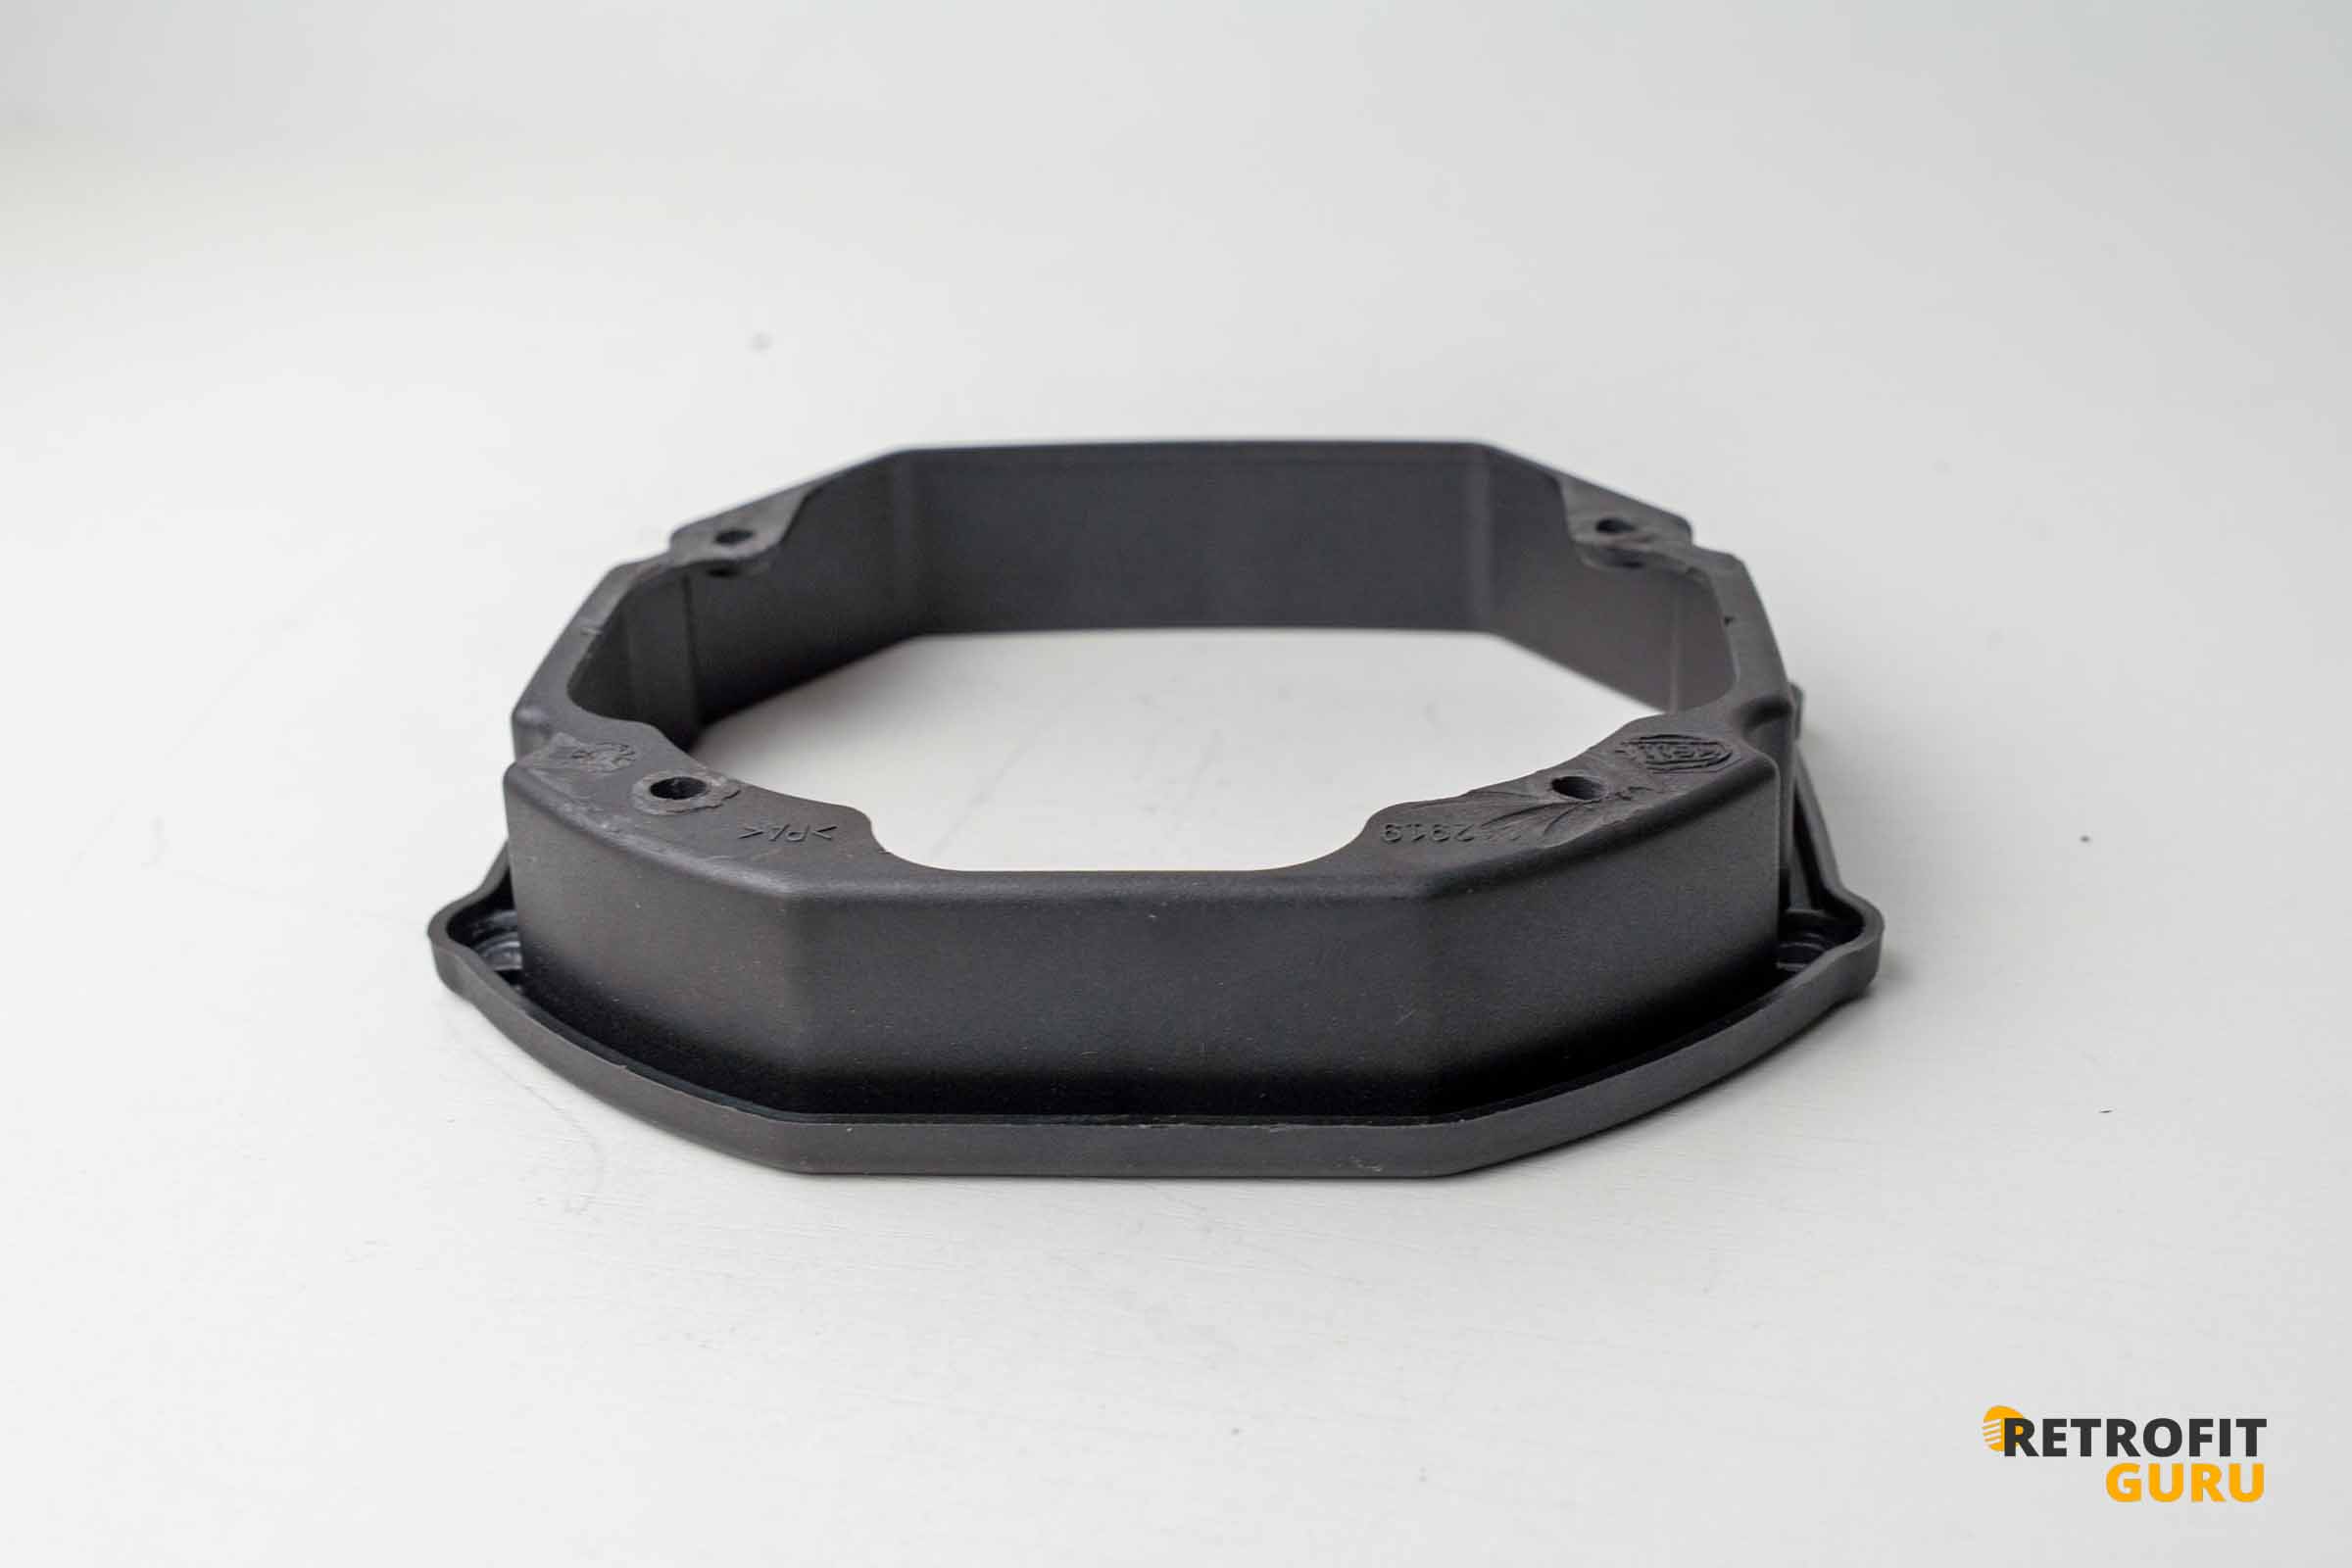
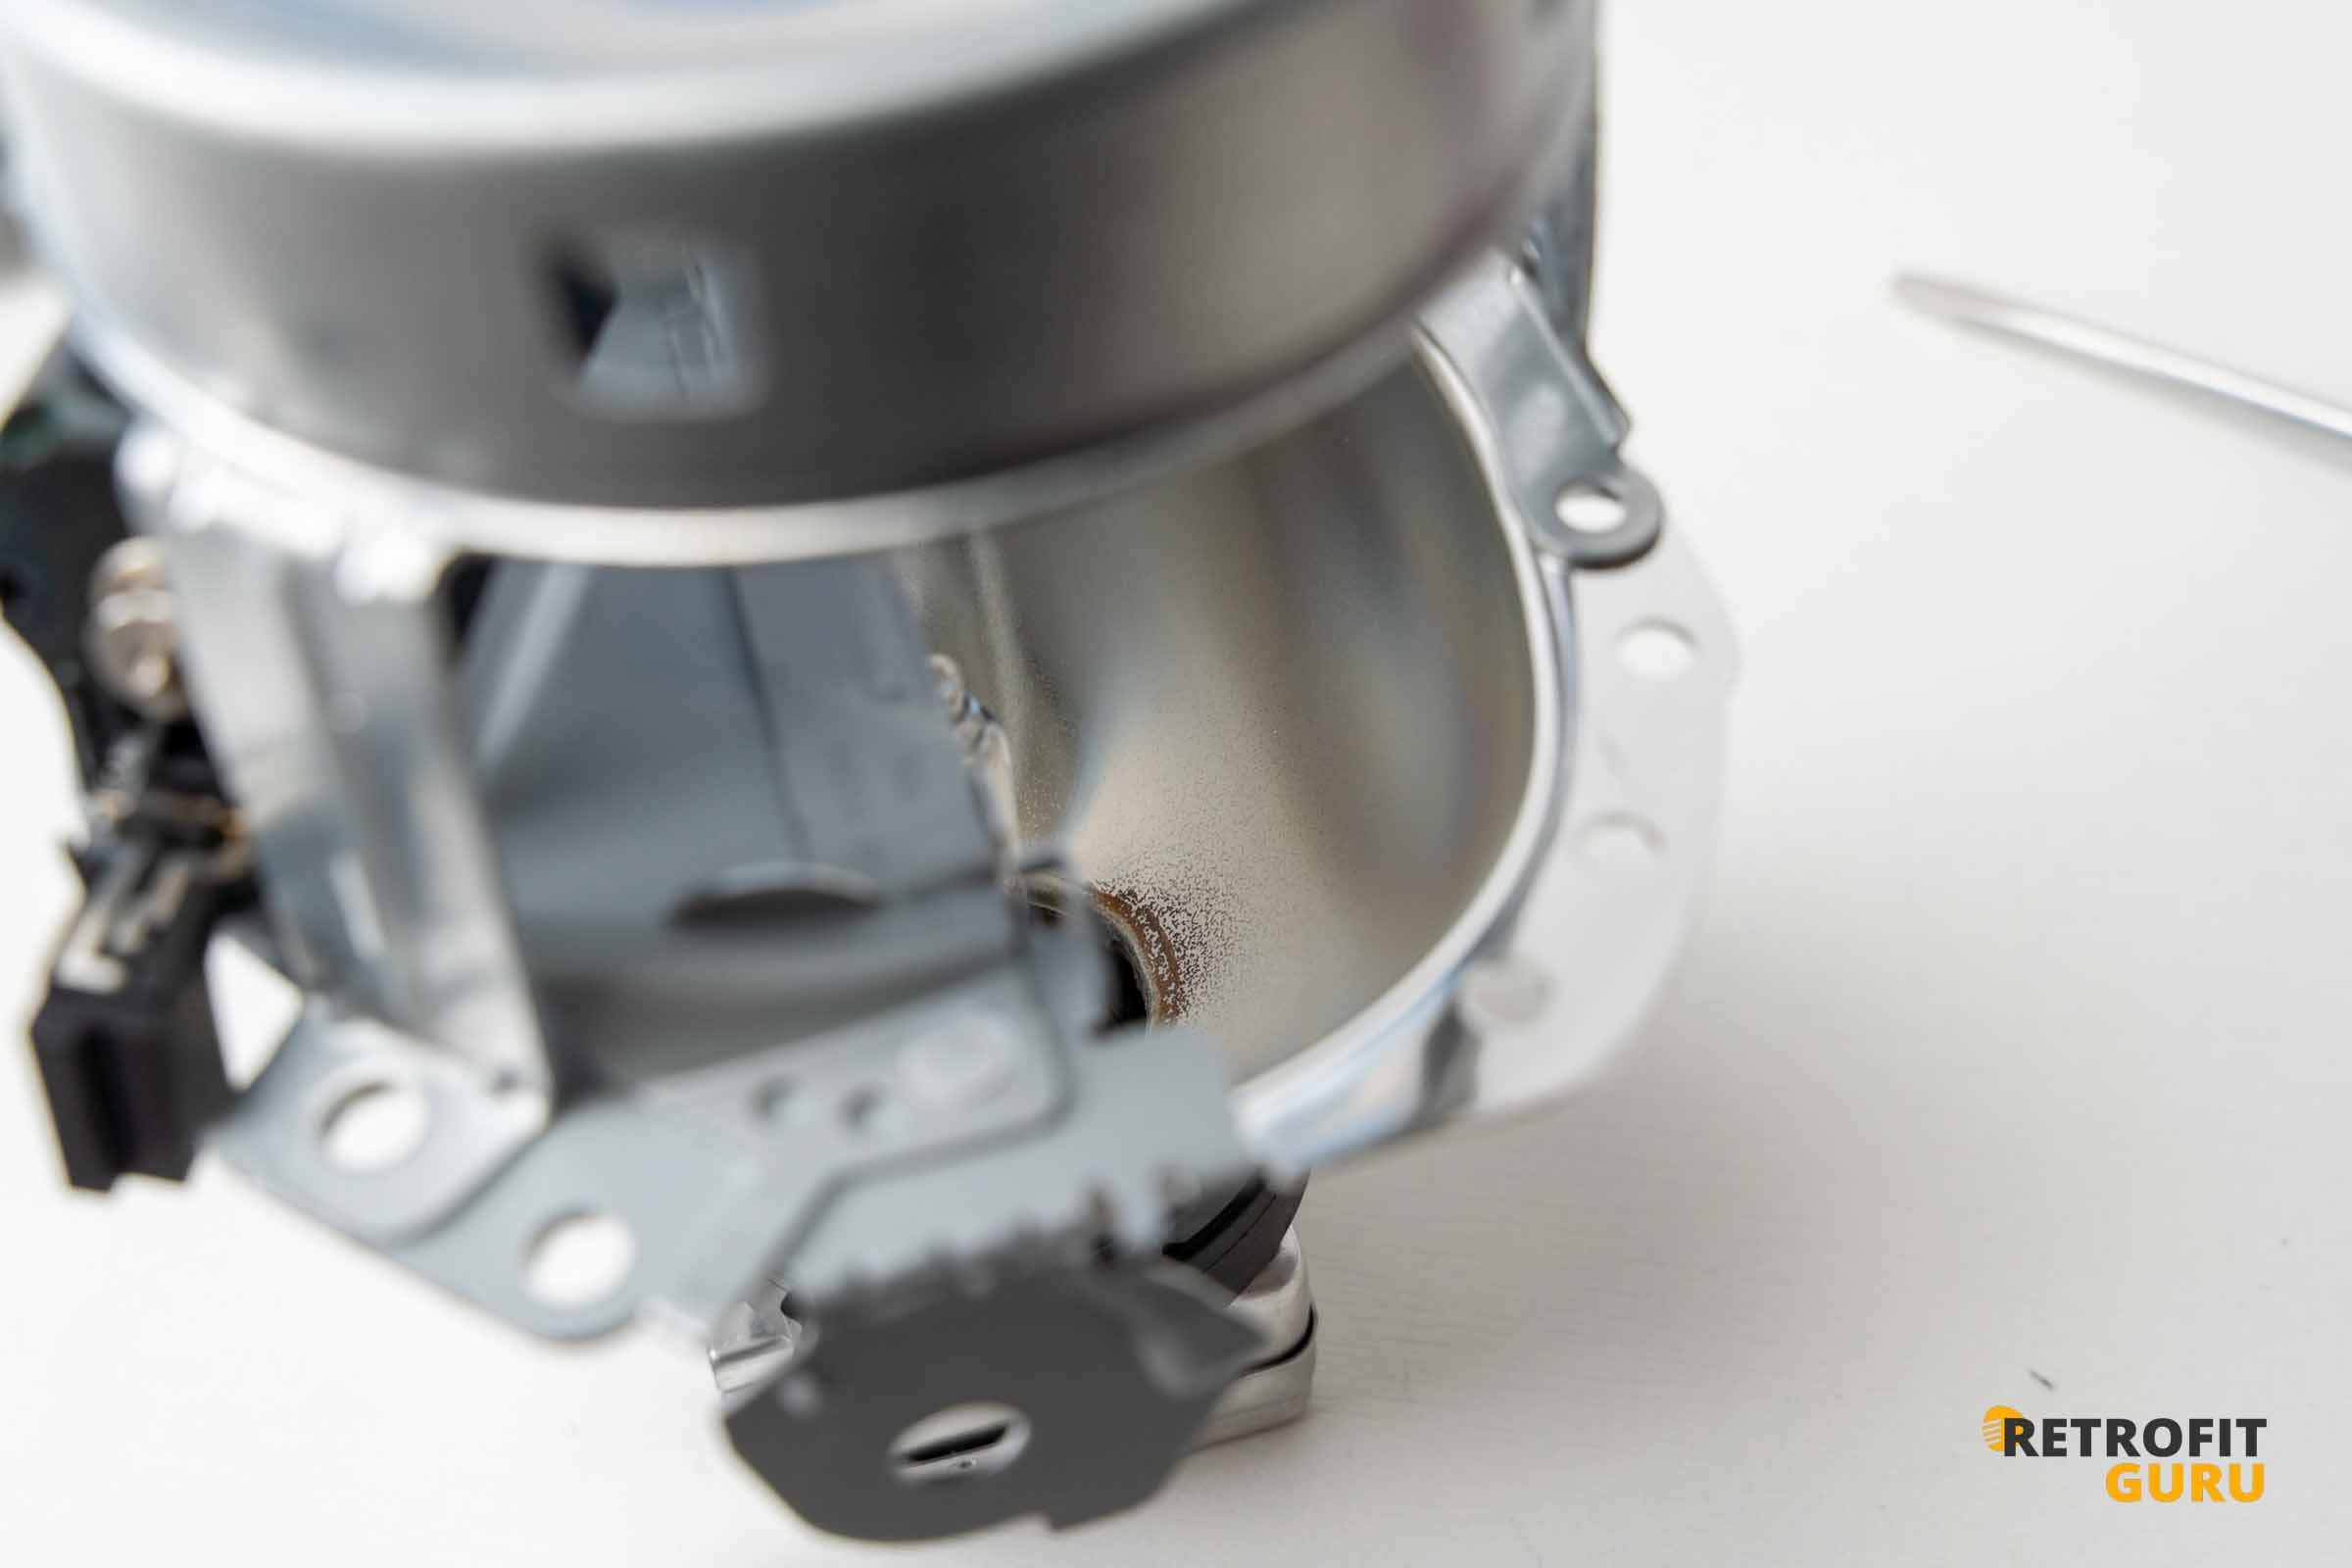
3) Removing the Entire Inner Reflector Unit
When the motor and clips are released, you can pull the entire reflector assembly outward.
Hold it by the sides, not by the projector lens or chrome surfaces, which may be fragile with age.
If it resists, check for any remaining clips or guide pins.
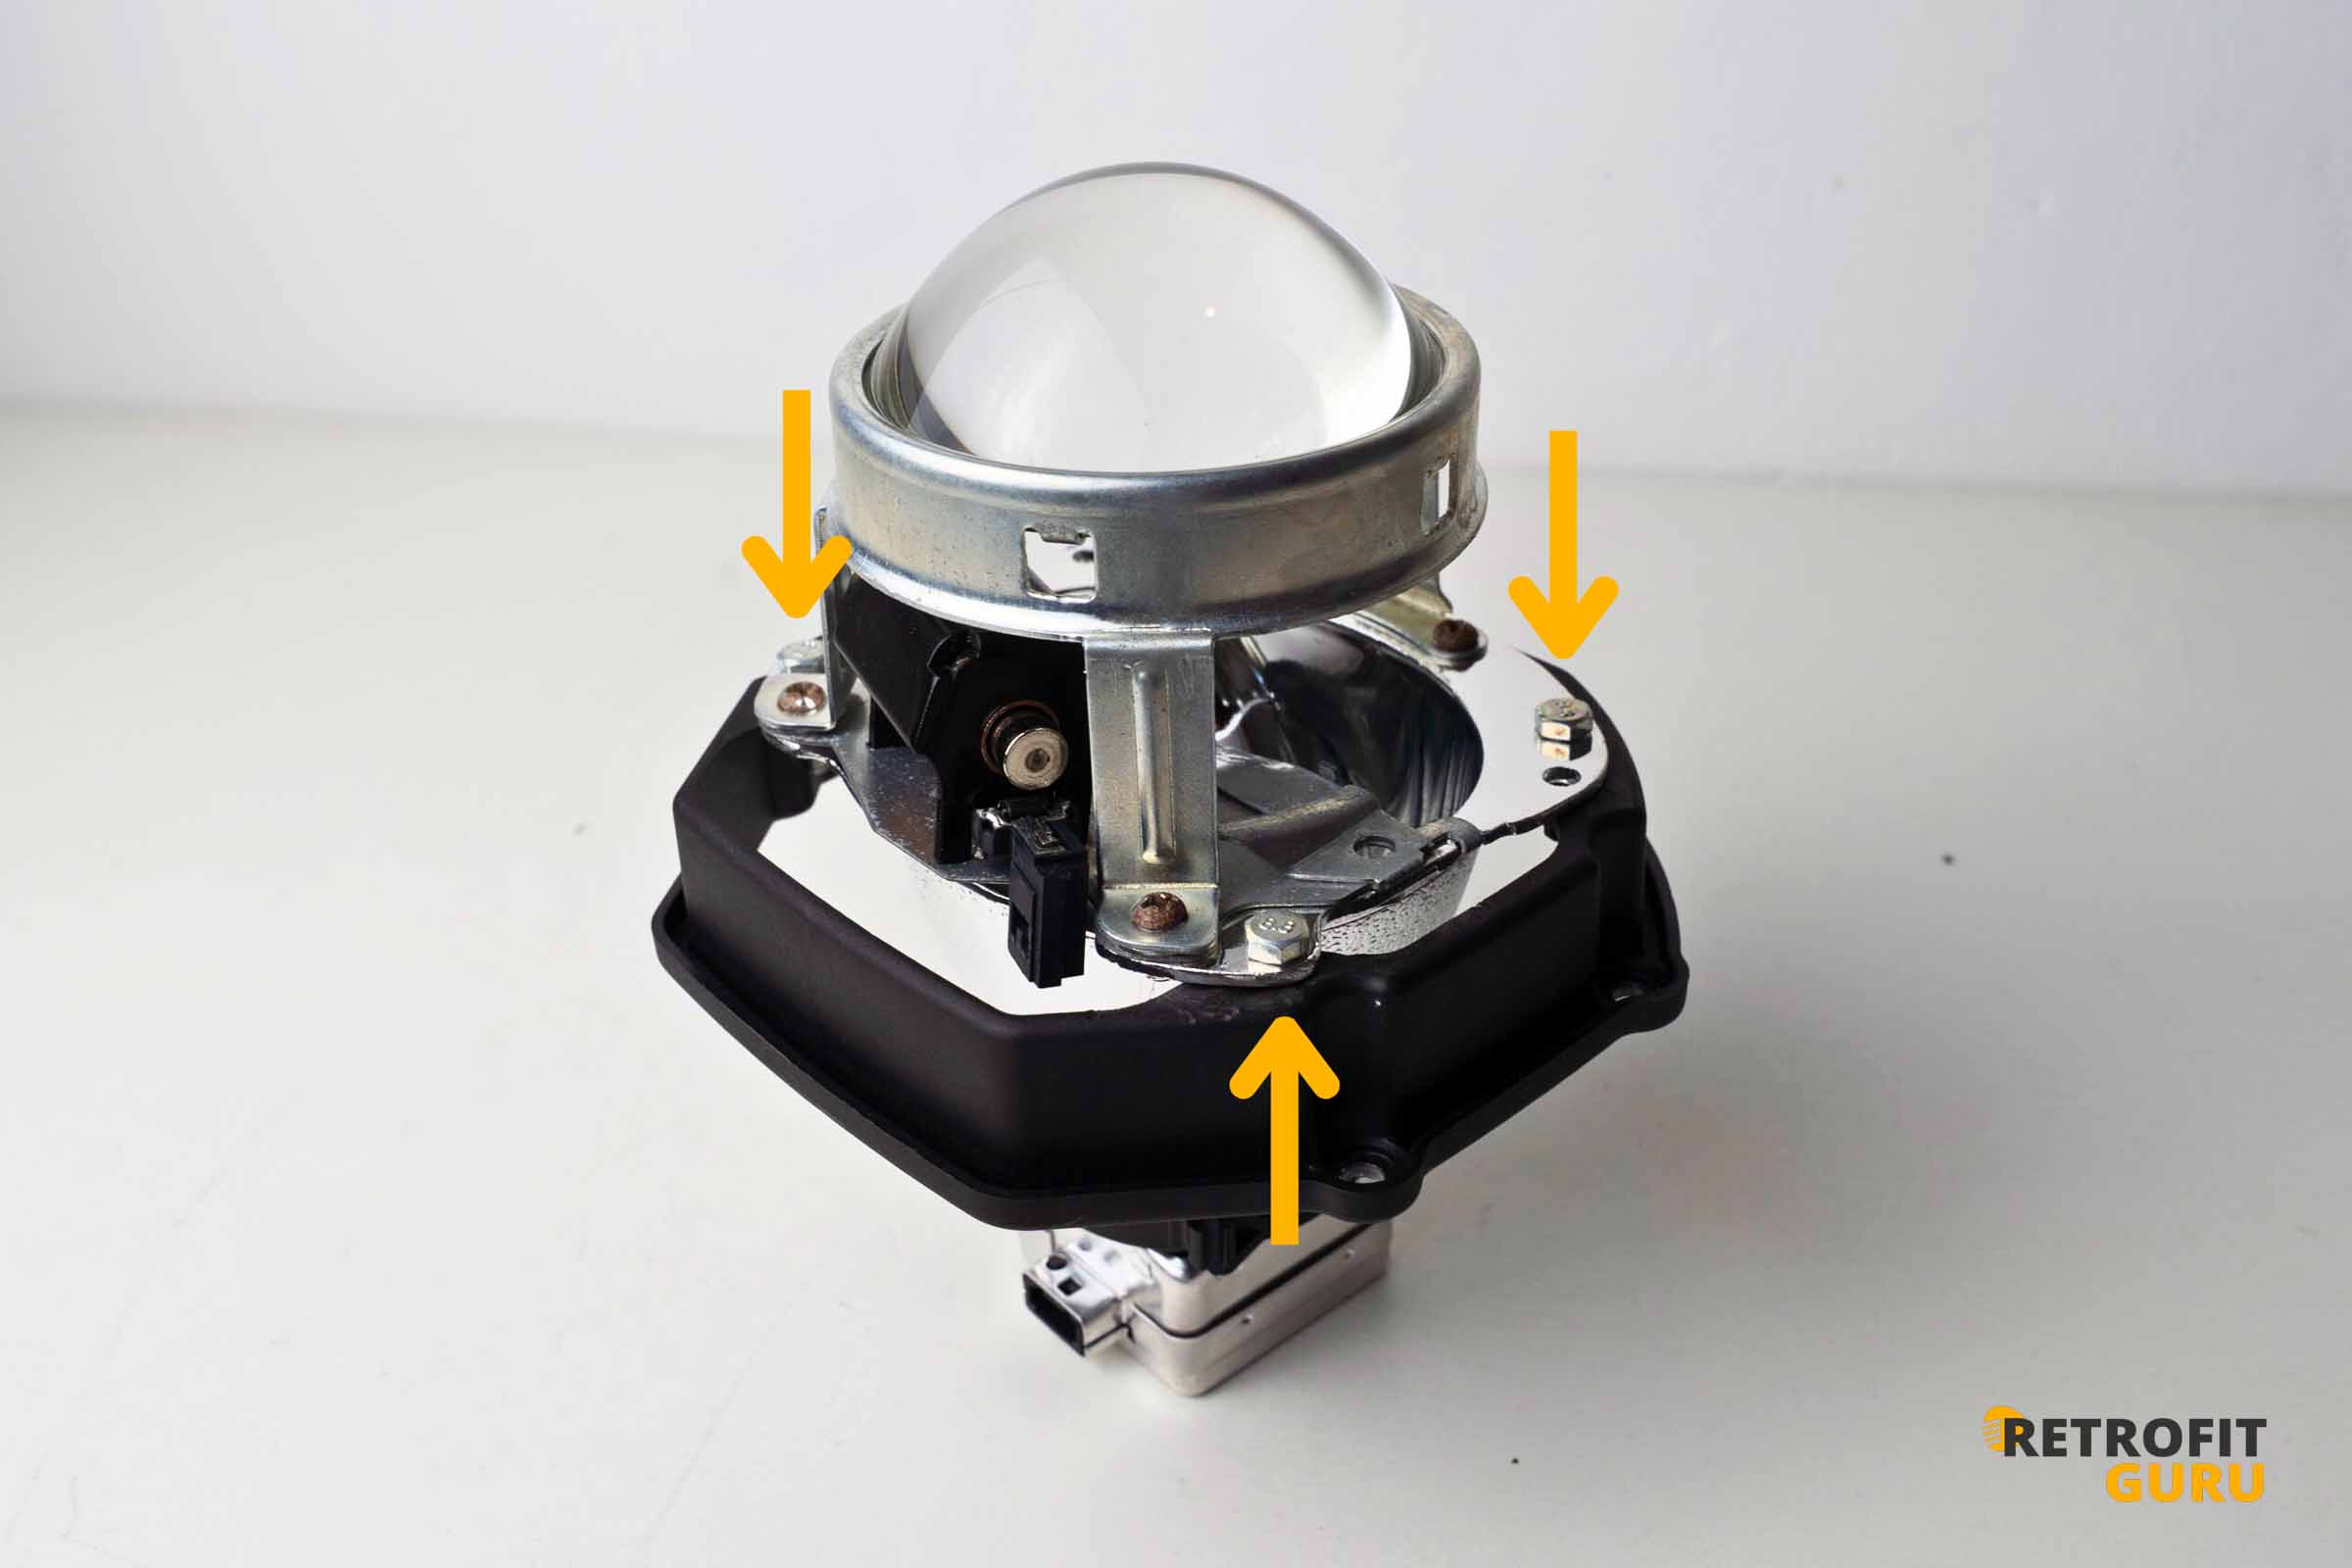
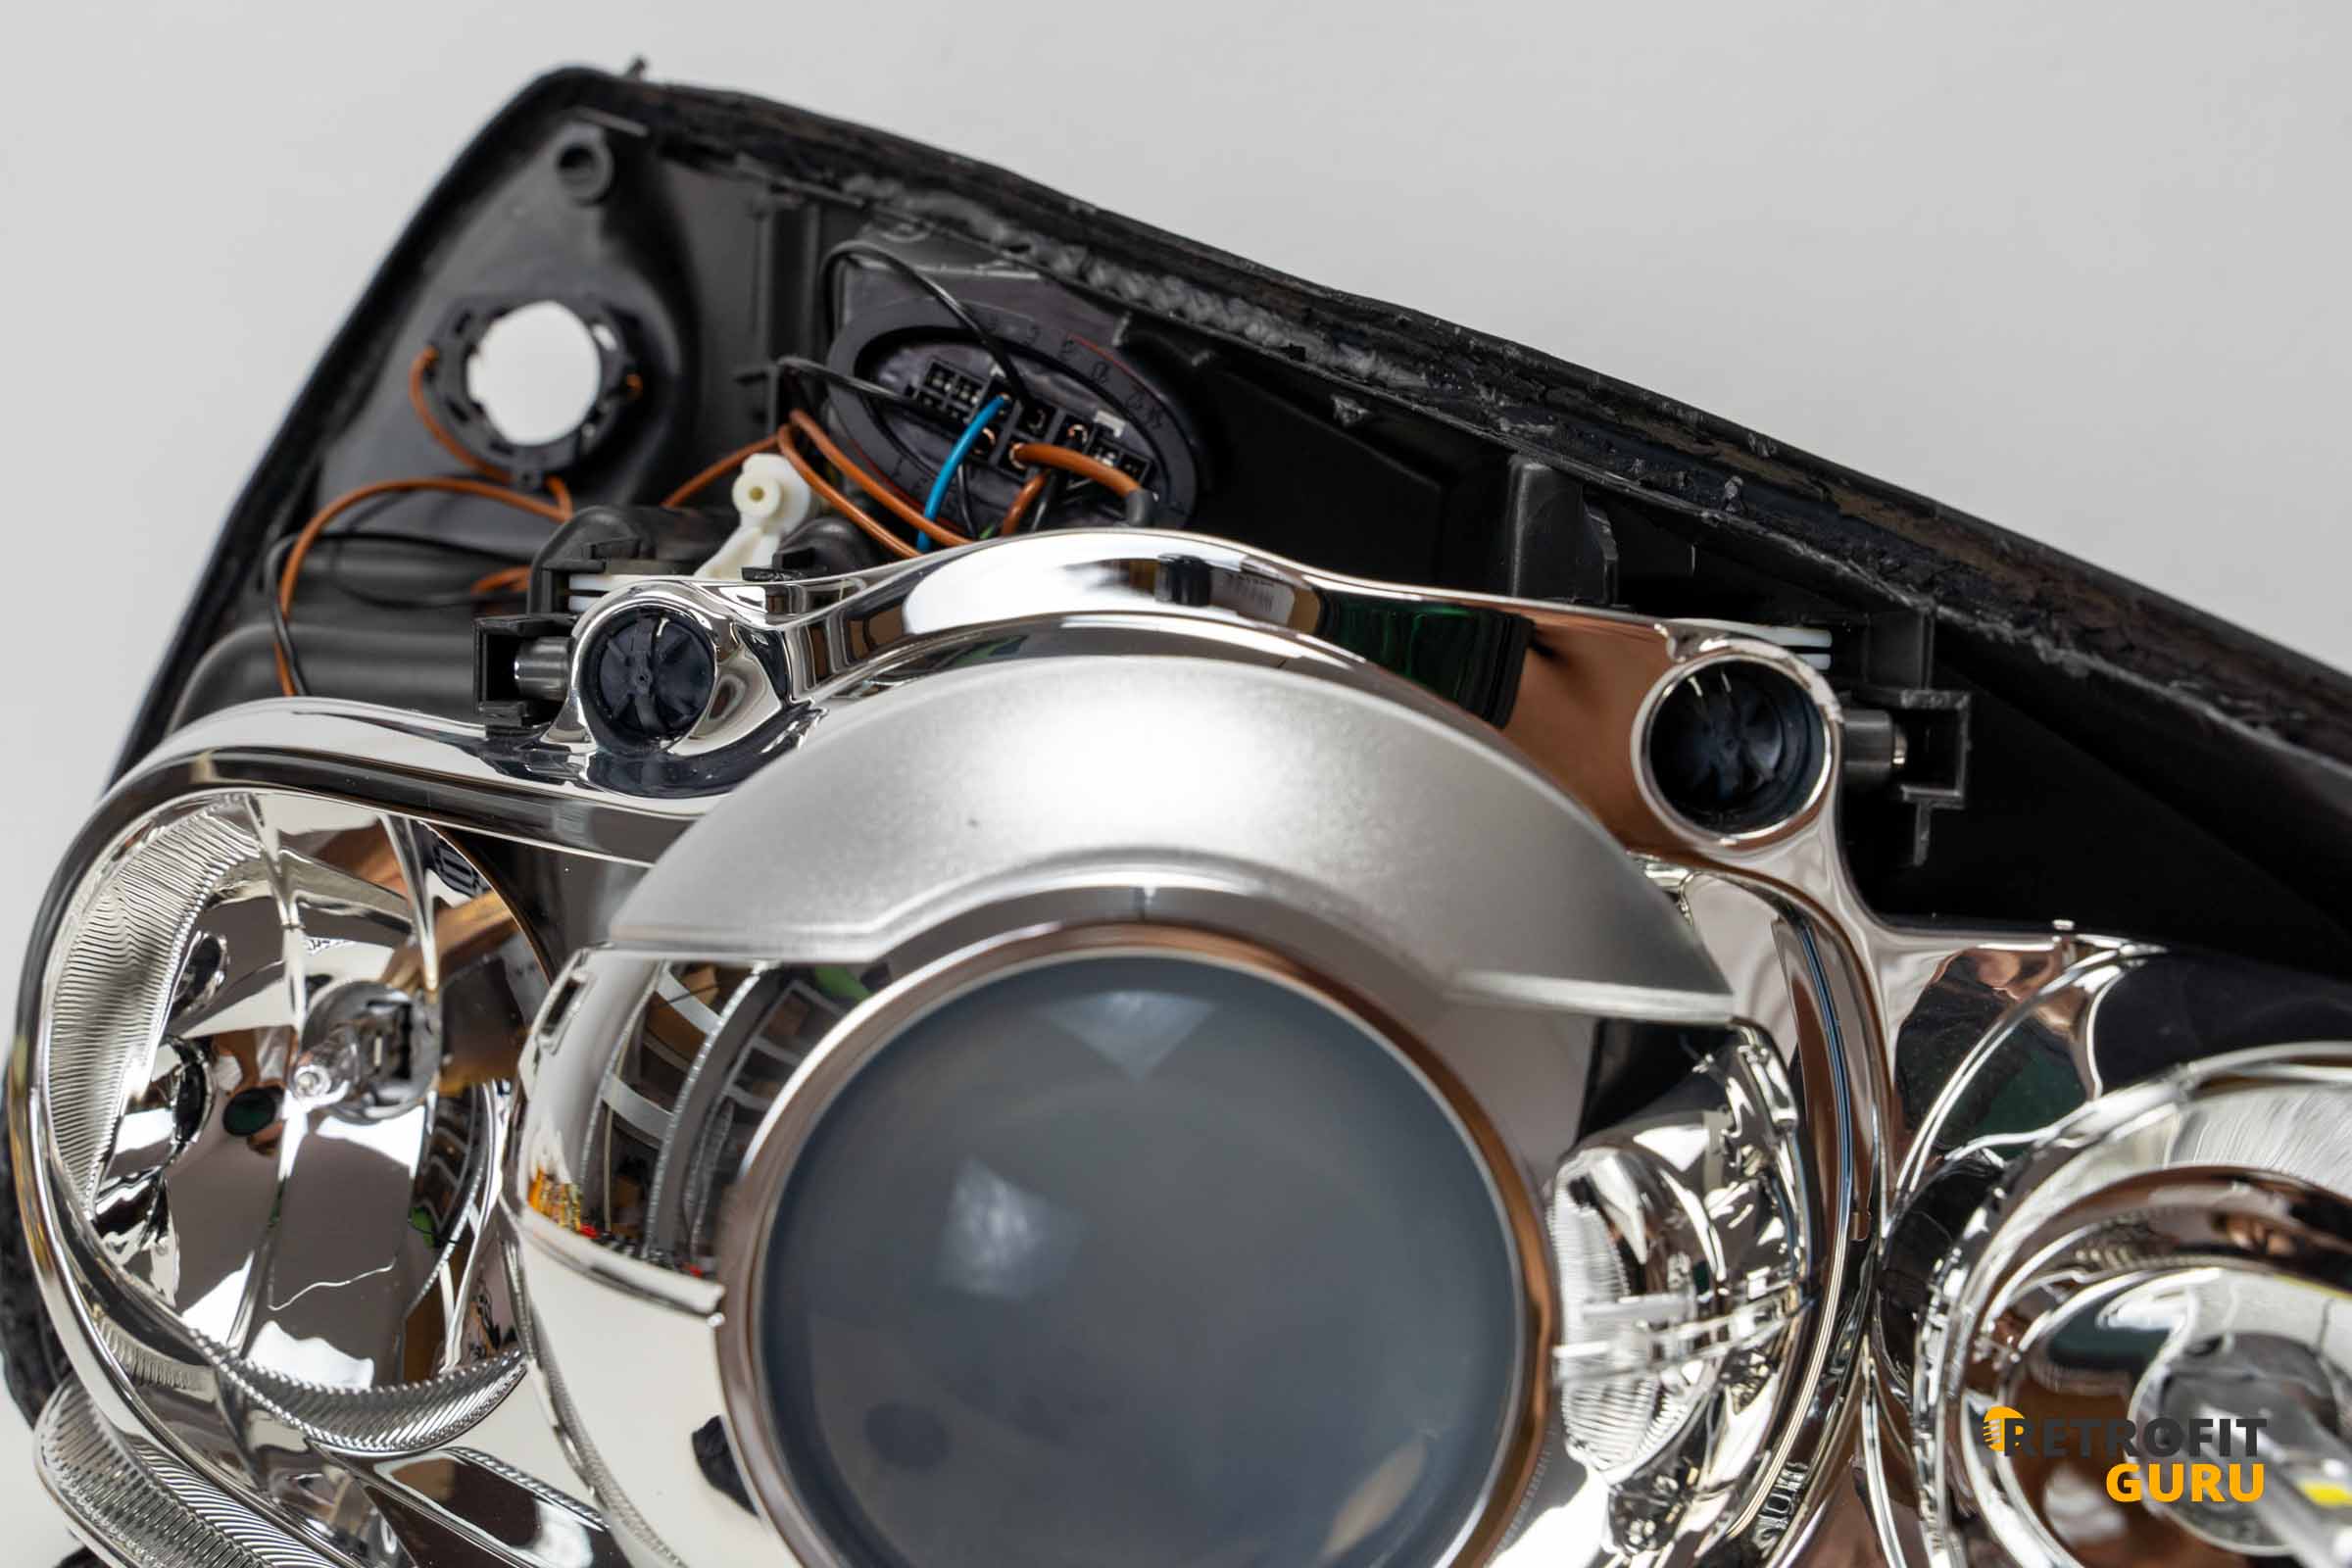
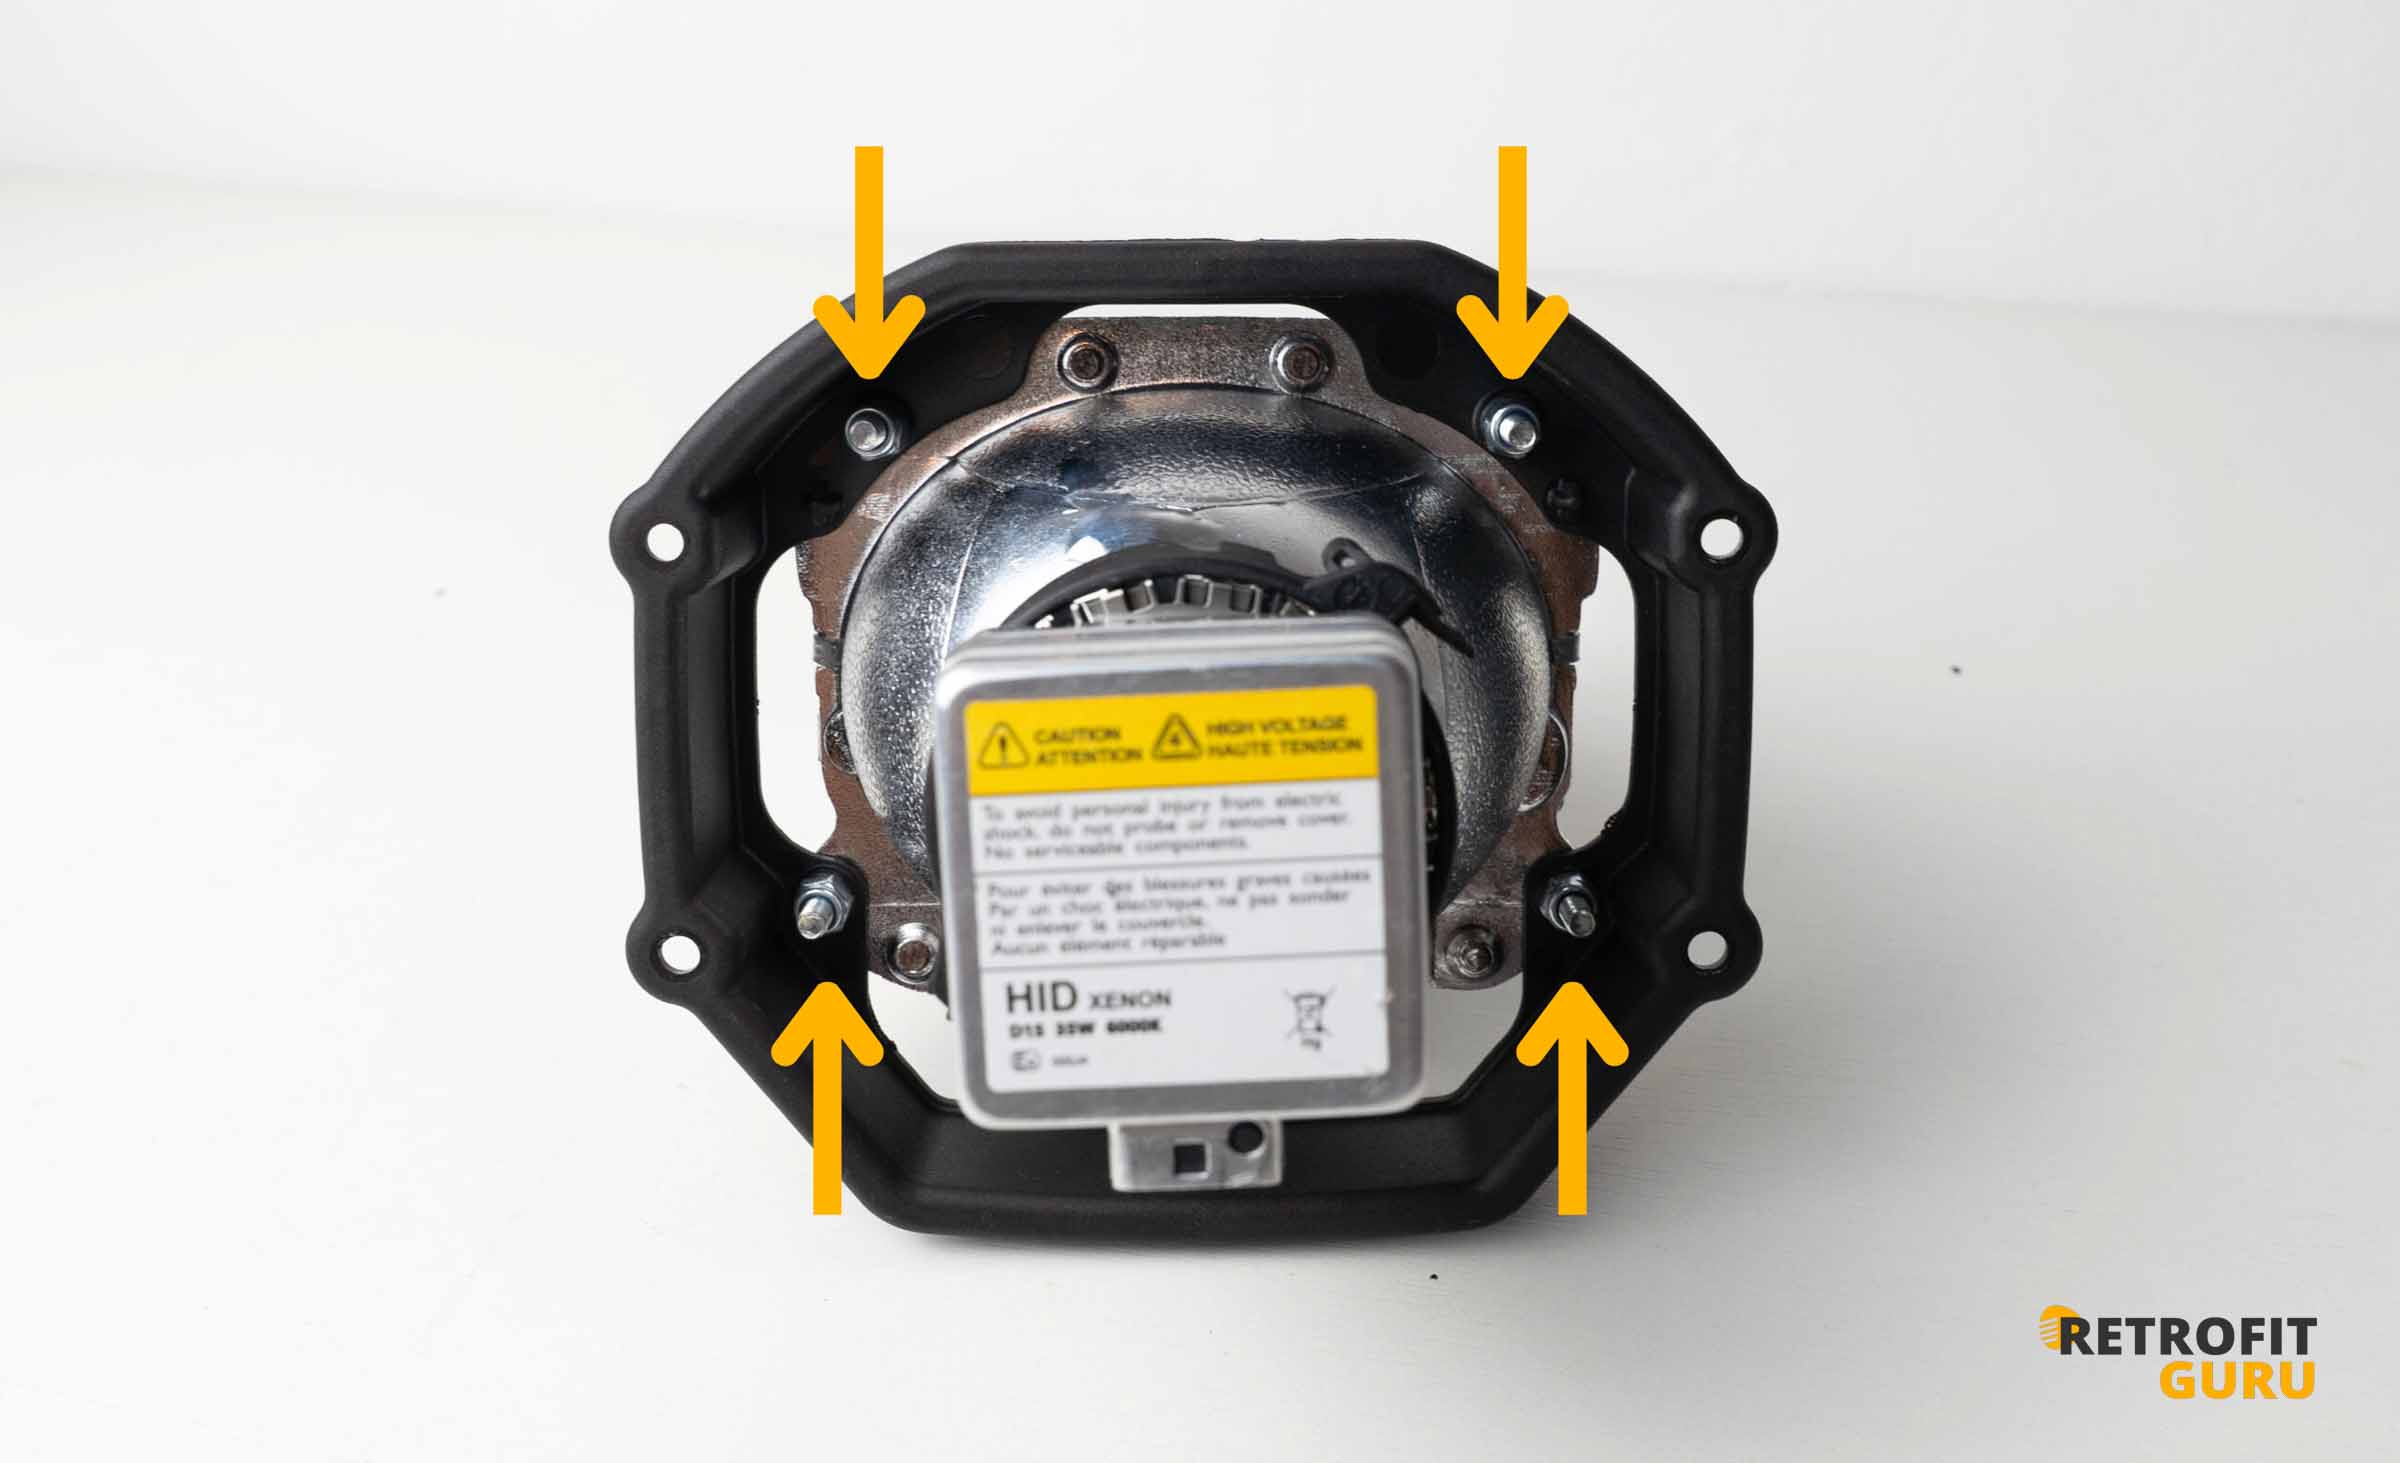
4) Removing the Original Xenon Projector
Procedure:
Disconnect the shutter (electromagnetic cutoff) cable if you haven’t already.
Unscrew all mounting screws holding the projector and its bracket.
Slide the projector out.
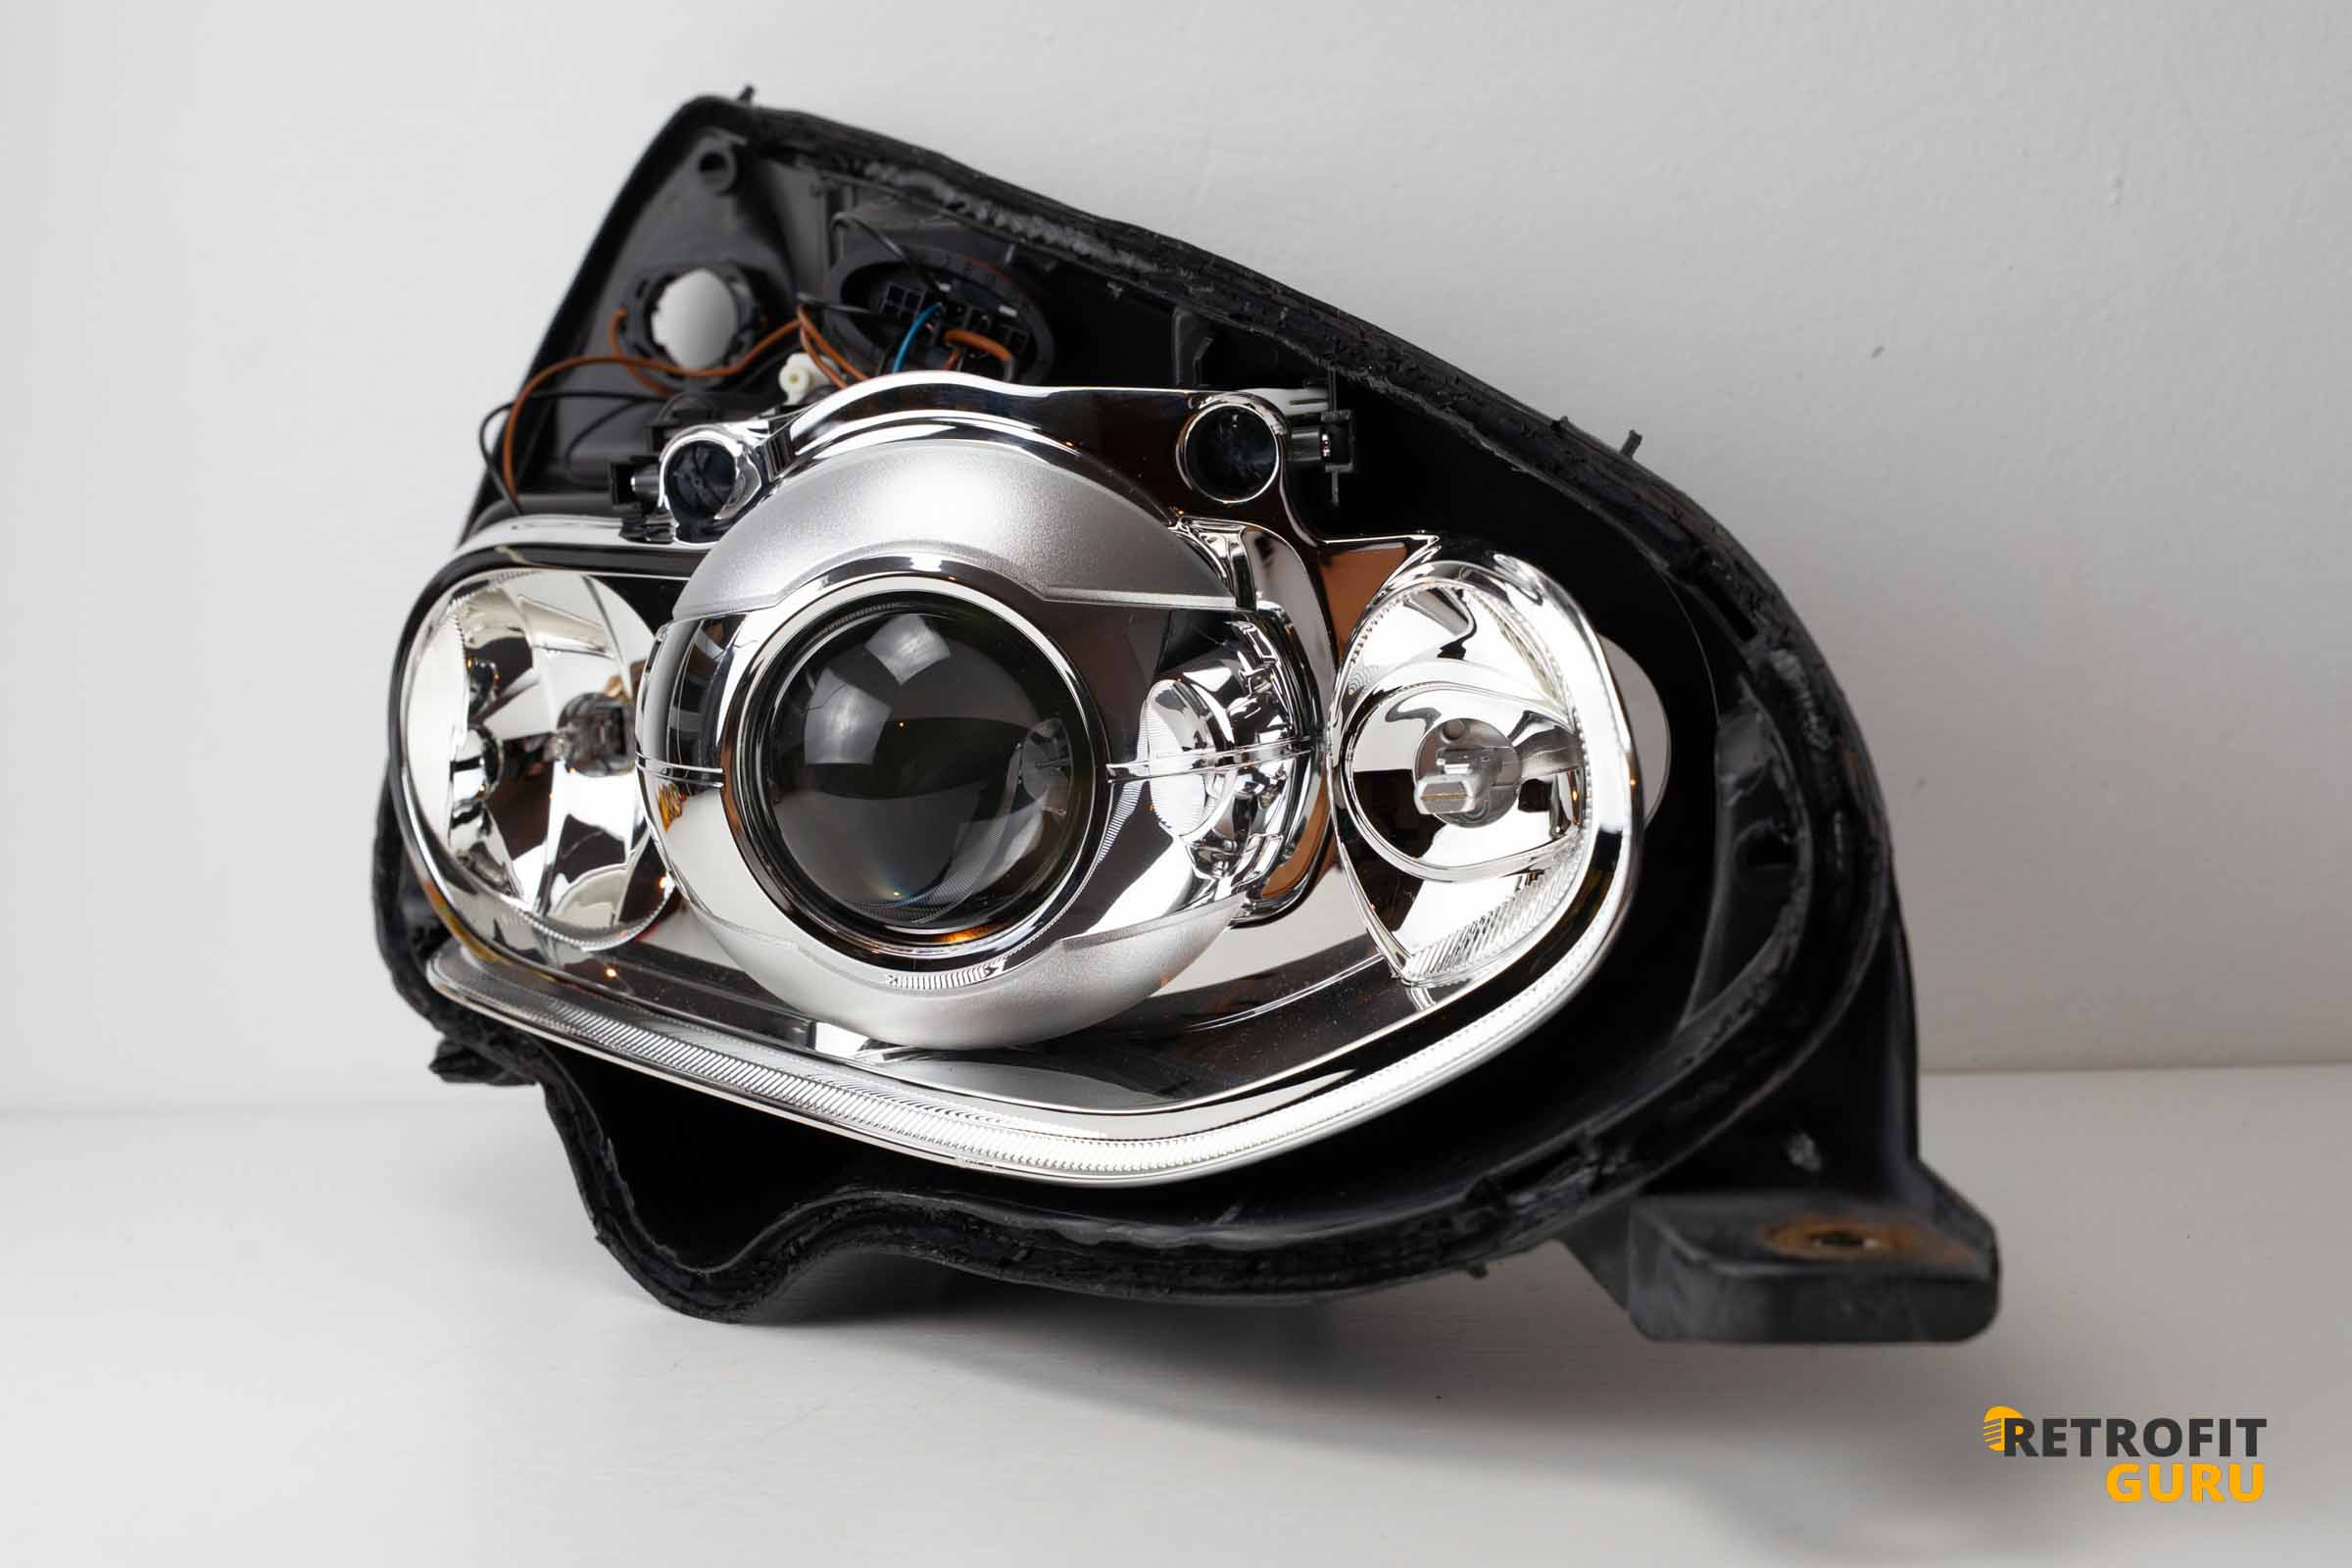
5) Installing the New Bi-Xenon Projector
Procedure:
Attach the xenon bulb to the new projector.
Insert the complete projector-and-bracket assembly back into the reflector.

6) Resealing the Headlight
Before resealing, we recommend:
reconnecting the bulbs,
connecting the ballast,
powering on the headlights to verify proper function.
Once everything works correctly, you can reseal the headlight.
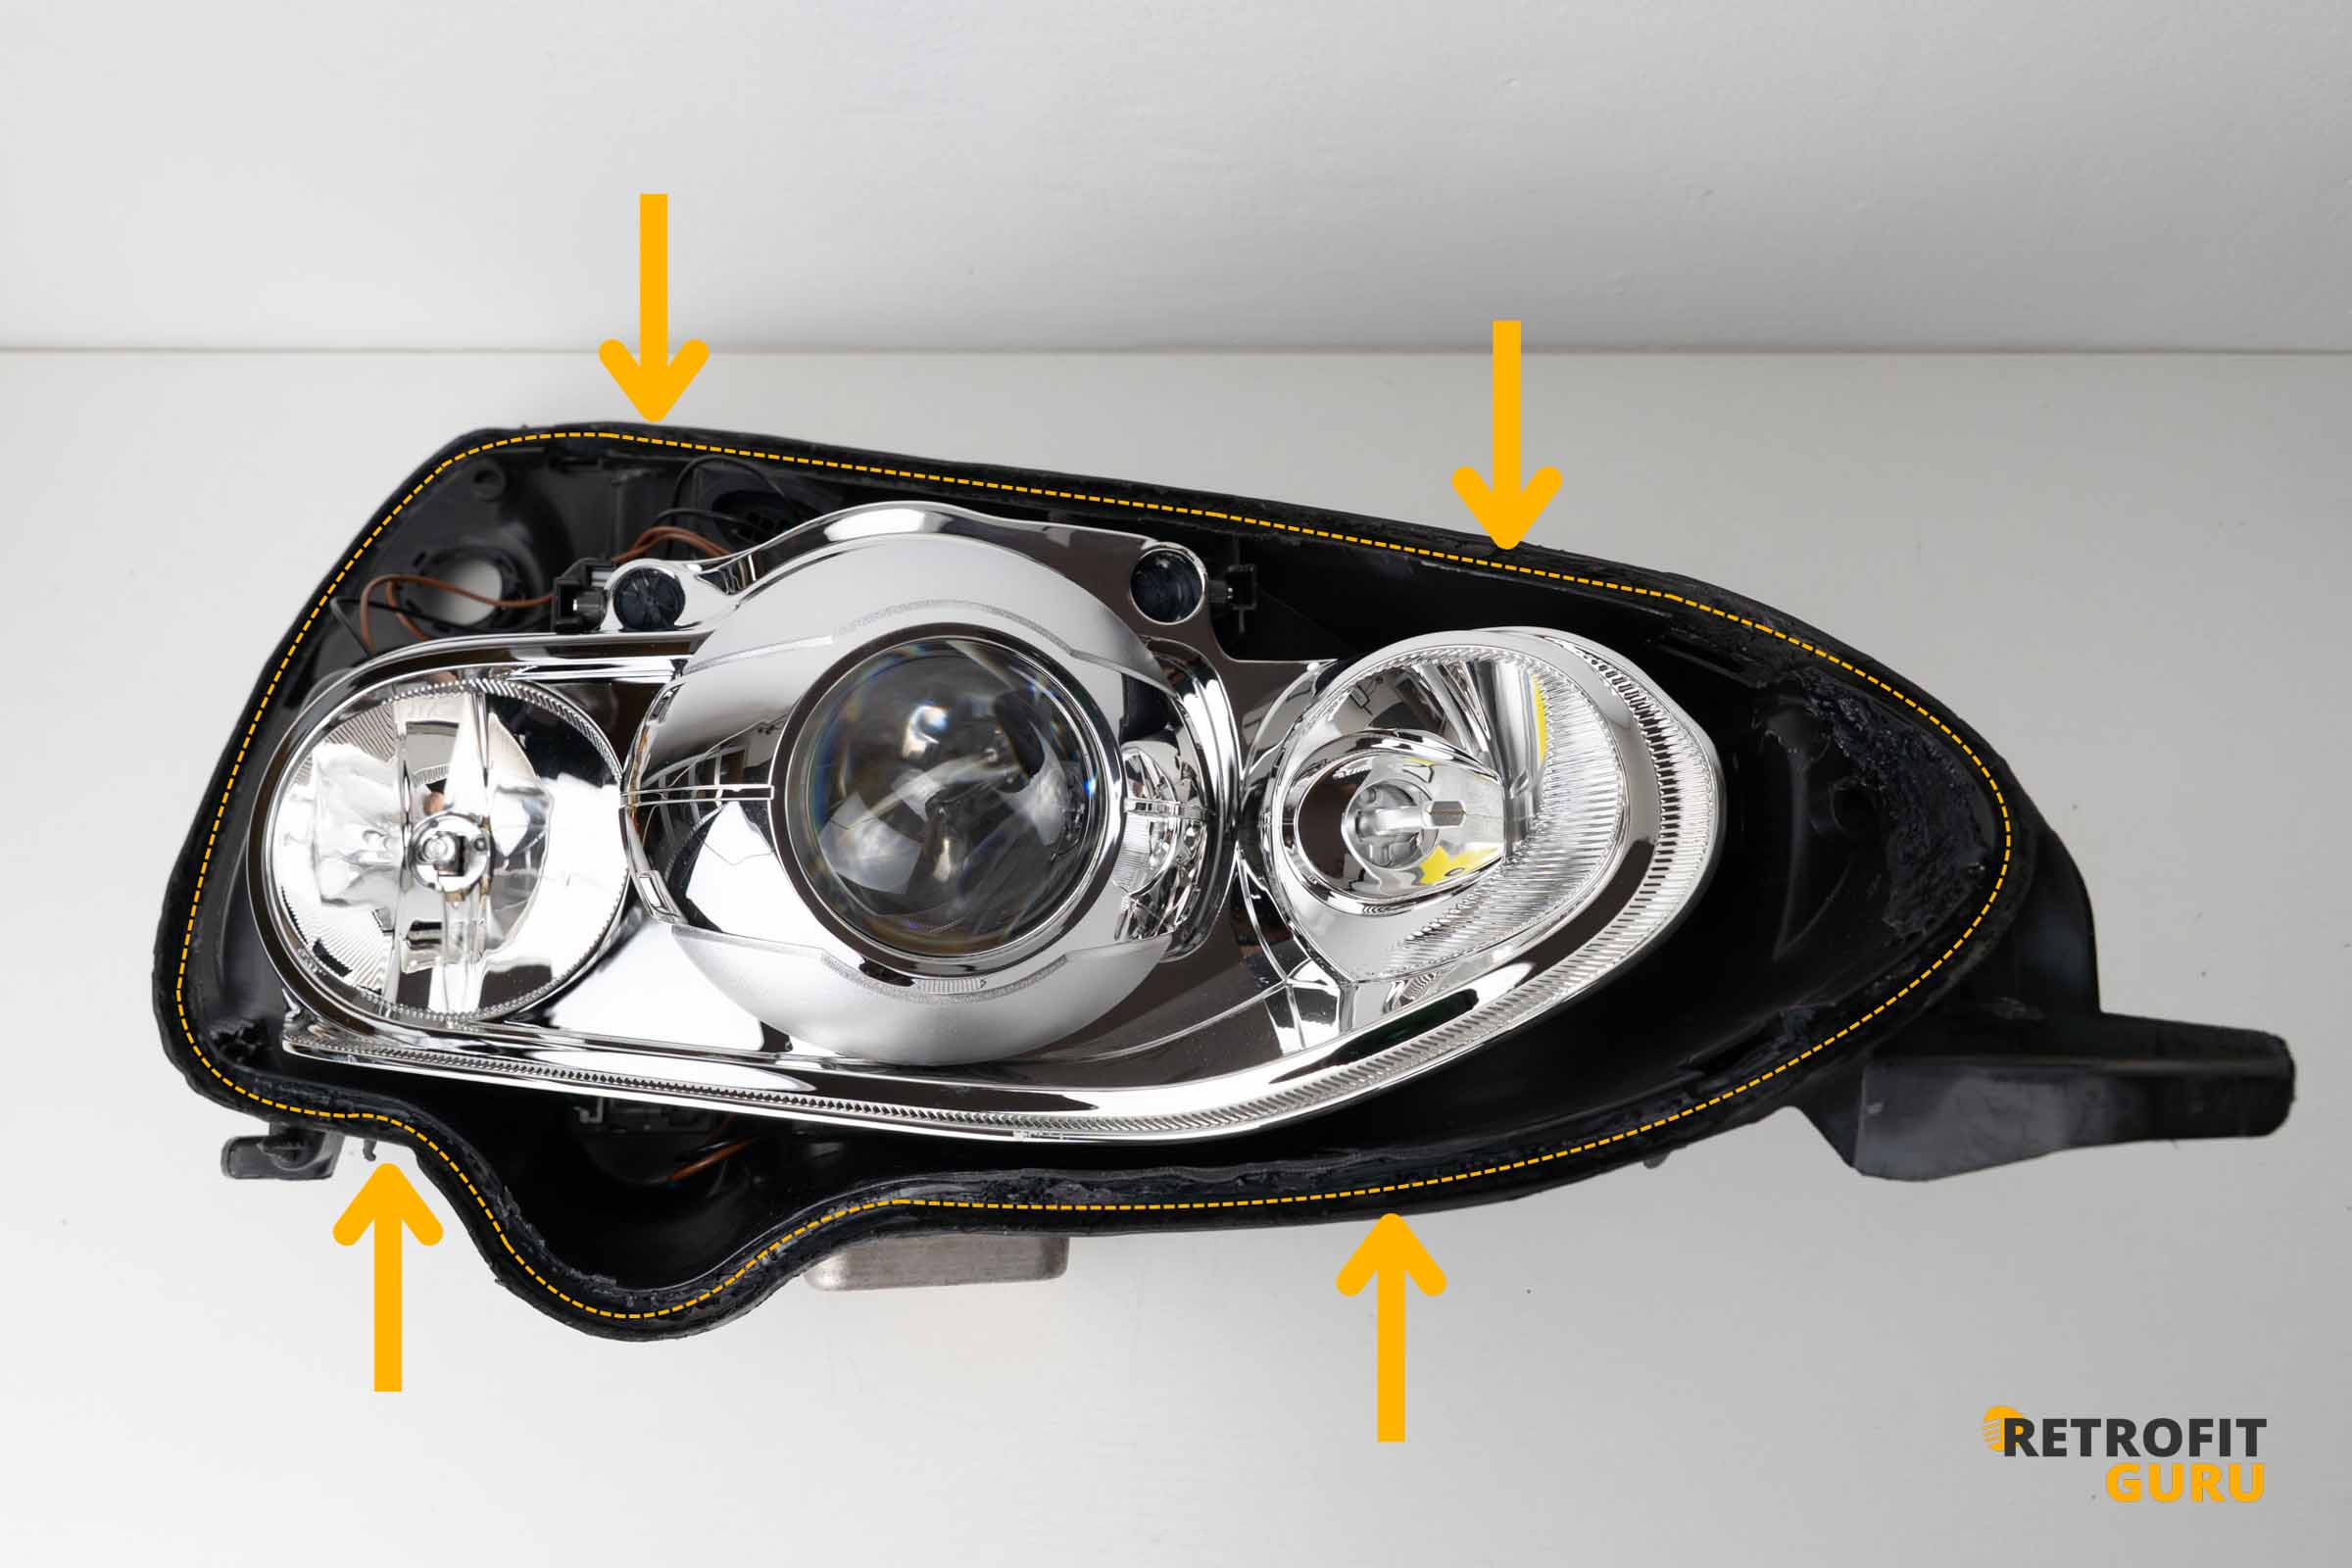
Procedure: