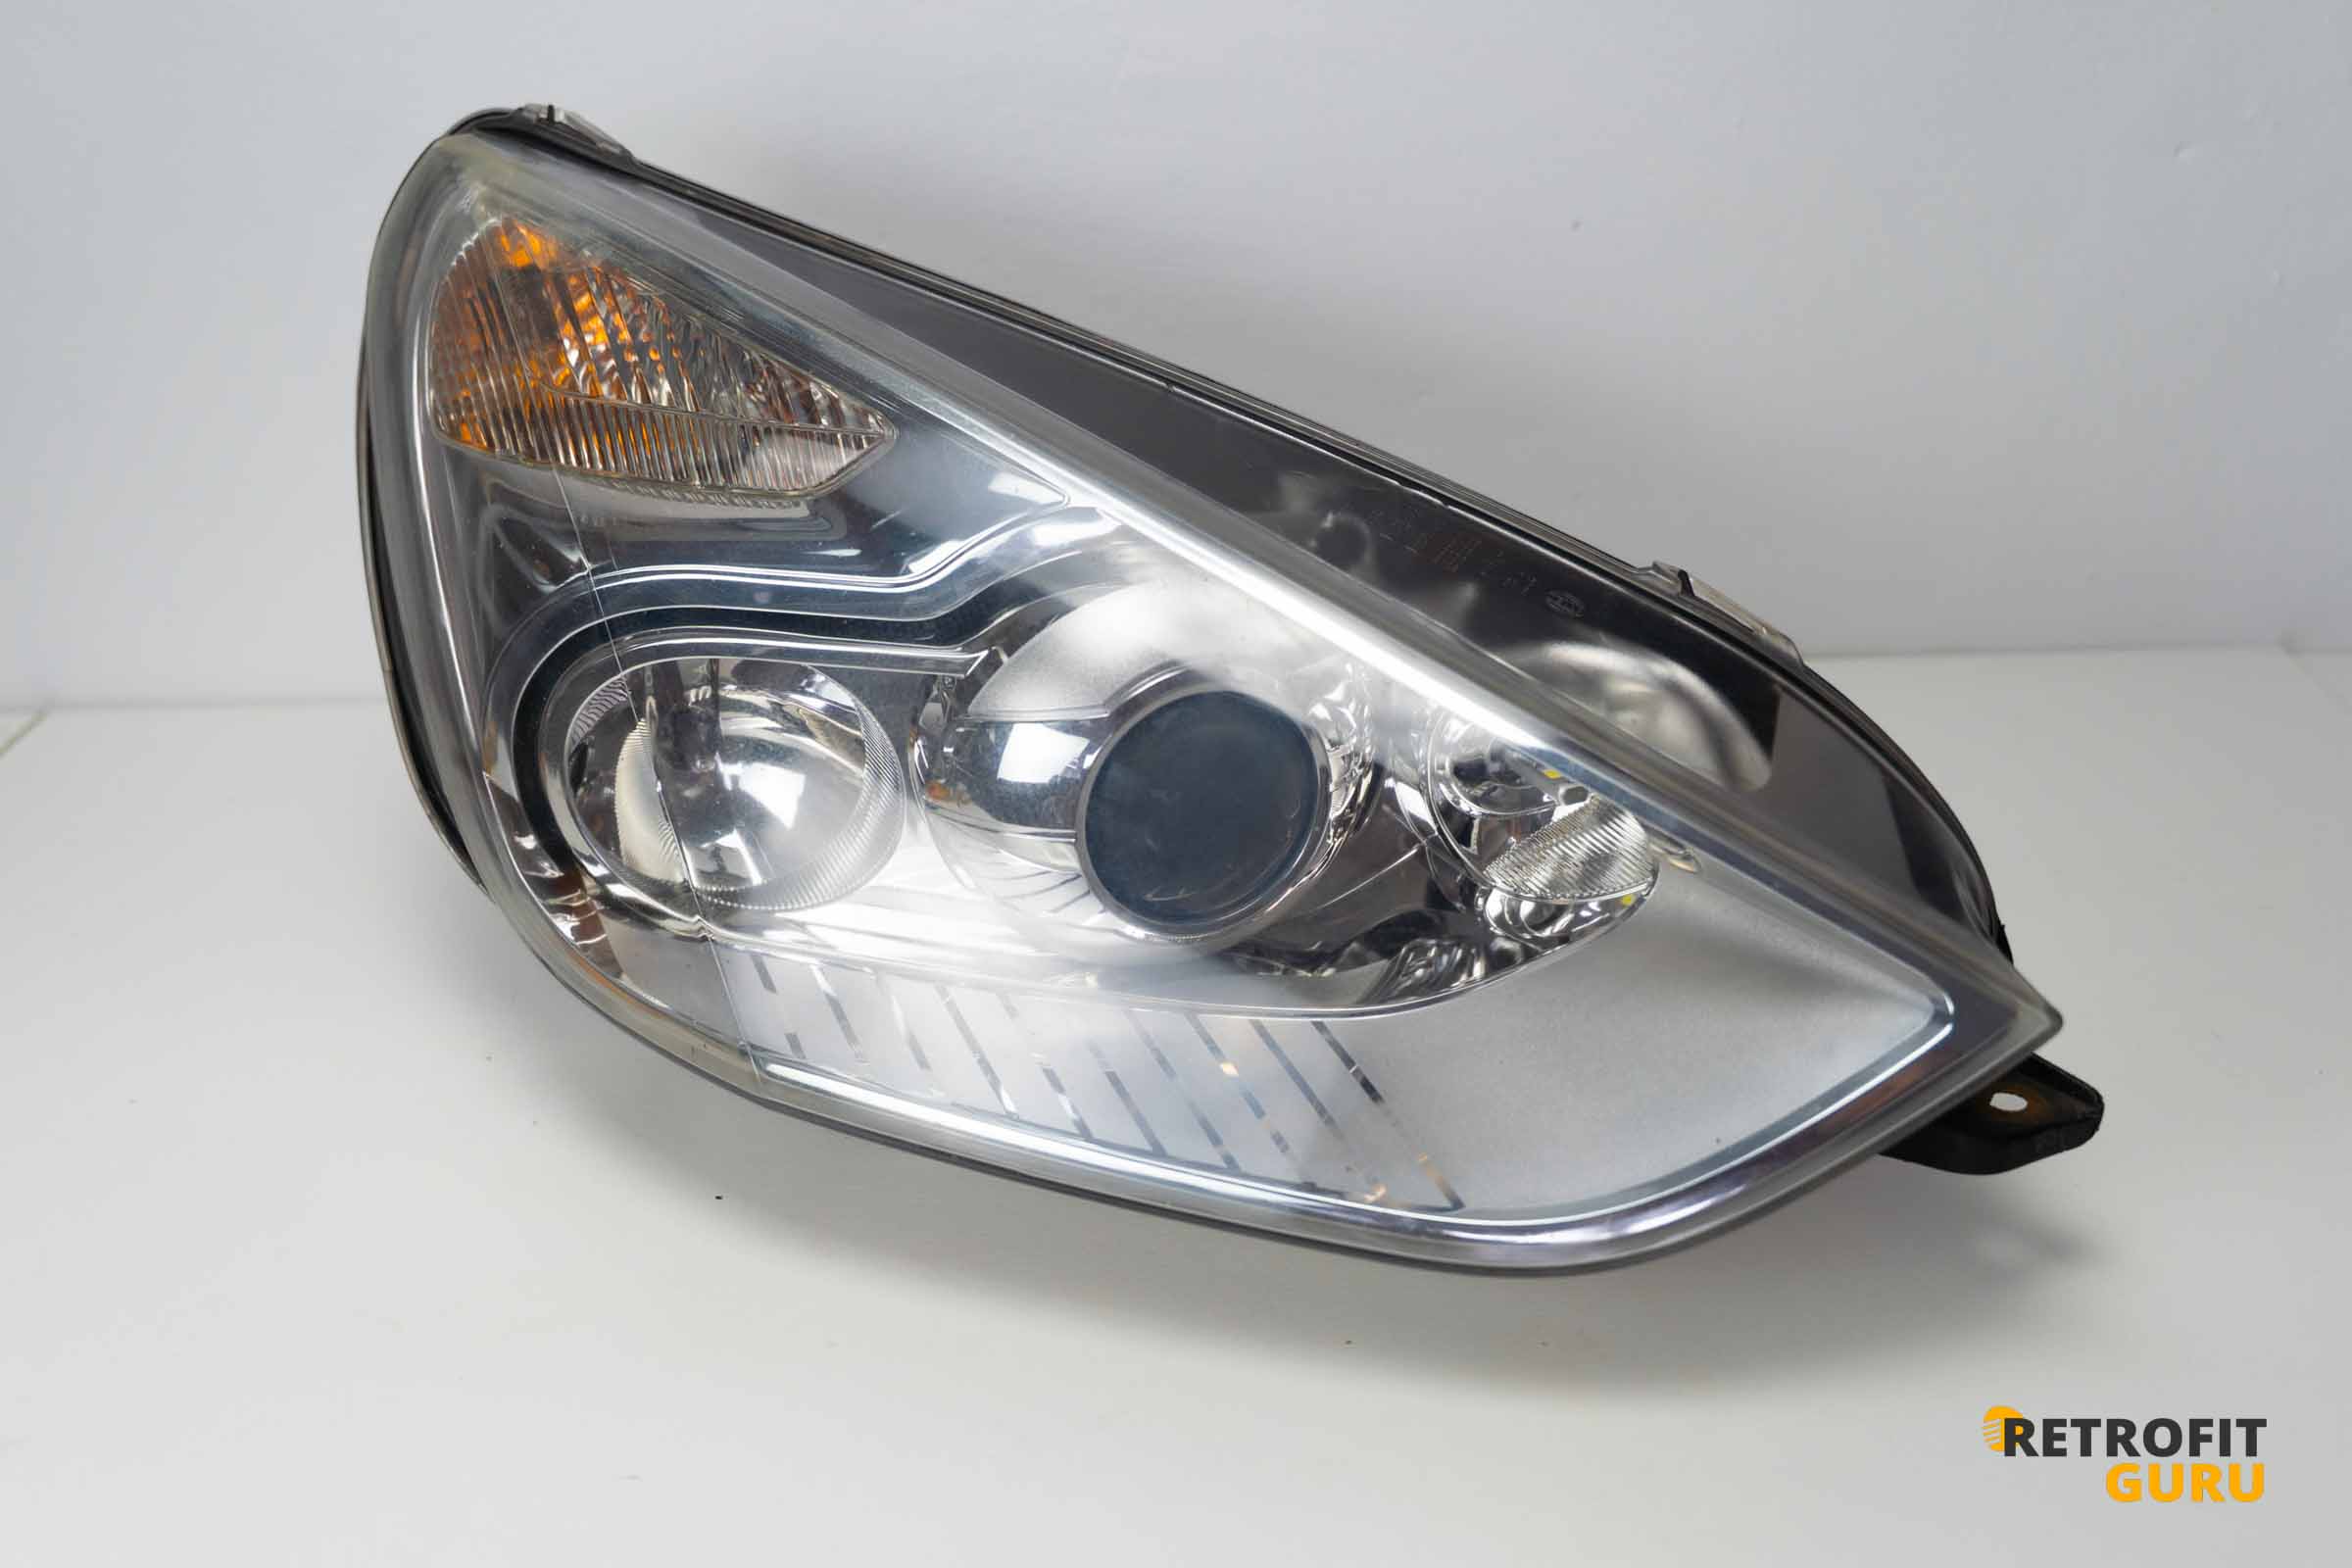
We have prepared detailed instructions for upgrading the xenon headlights on Ford Mondeo mk4 at more powerful bi-xenon projectors with our repair Plug & Play kit. The whole process is designed to be as simple as possible and did not require any modifications headlights.
Projector replacement procedure
1. Preparation
Make sure you have a complete set.
Read the instructions carefully for a smooth process.
- Prepare your basic tools — you’ll need a Torx, a Phillips screwdriver, and a socket set.
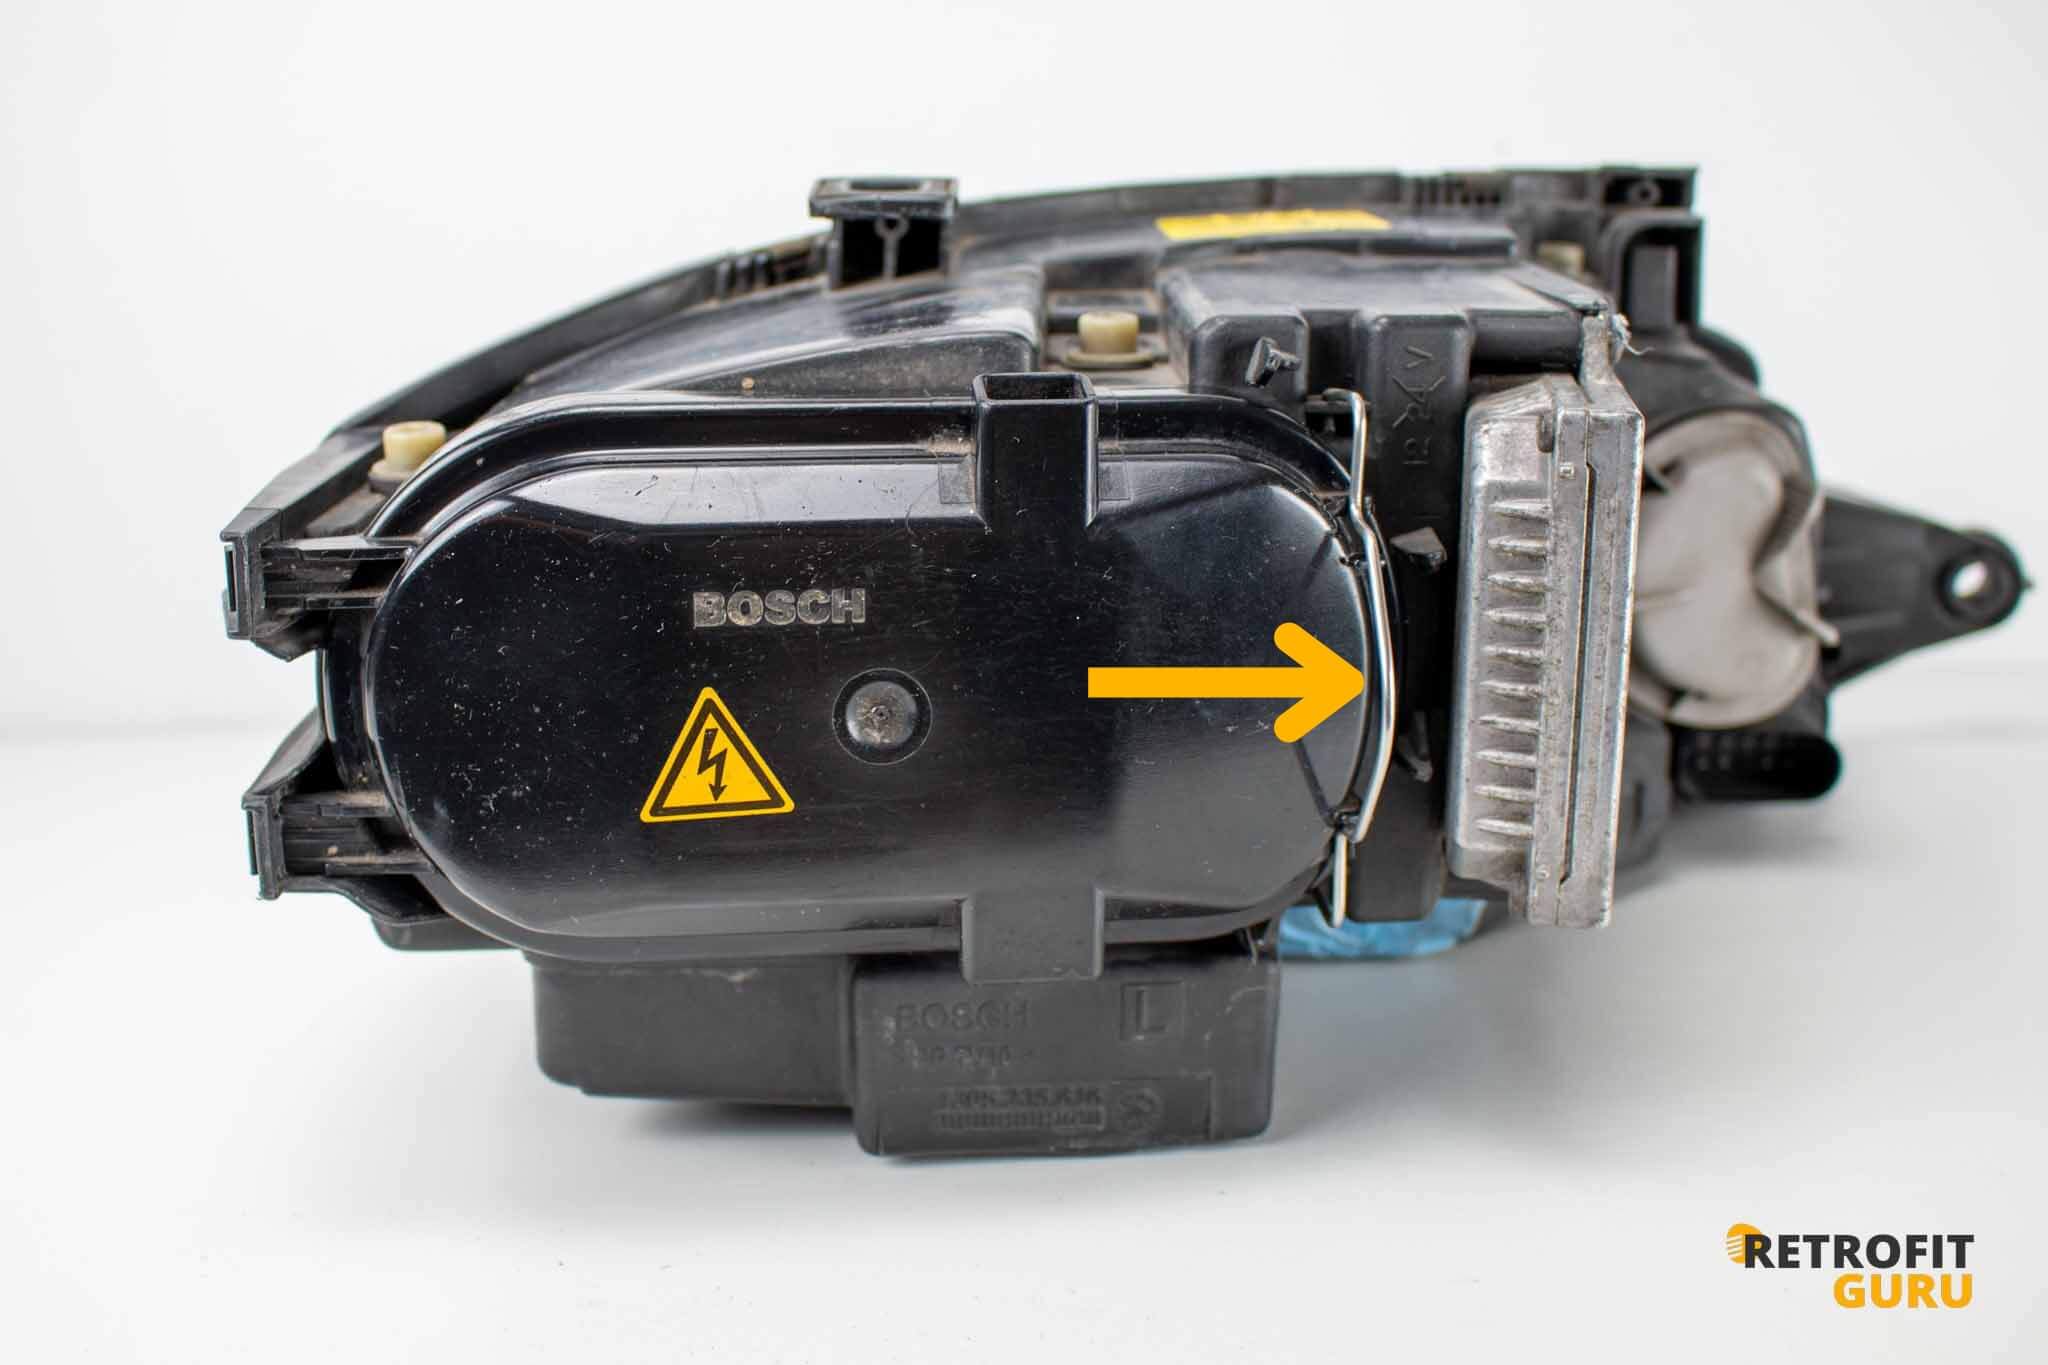
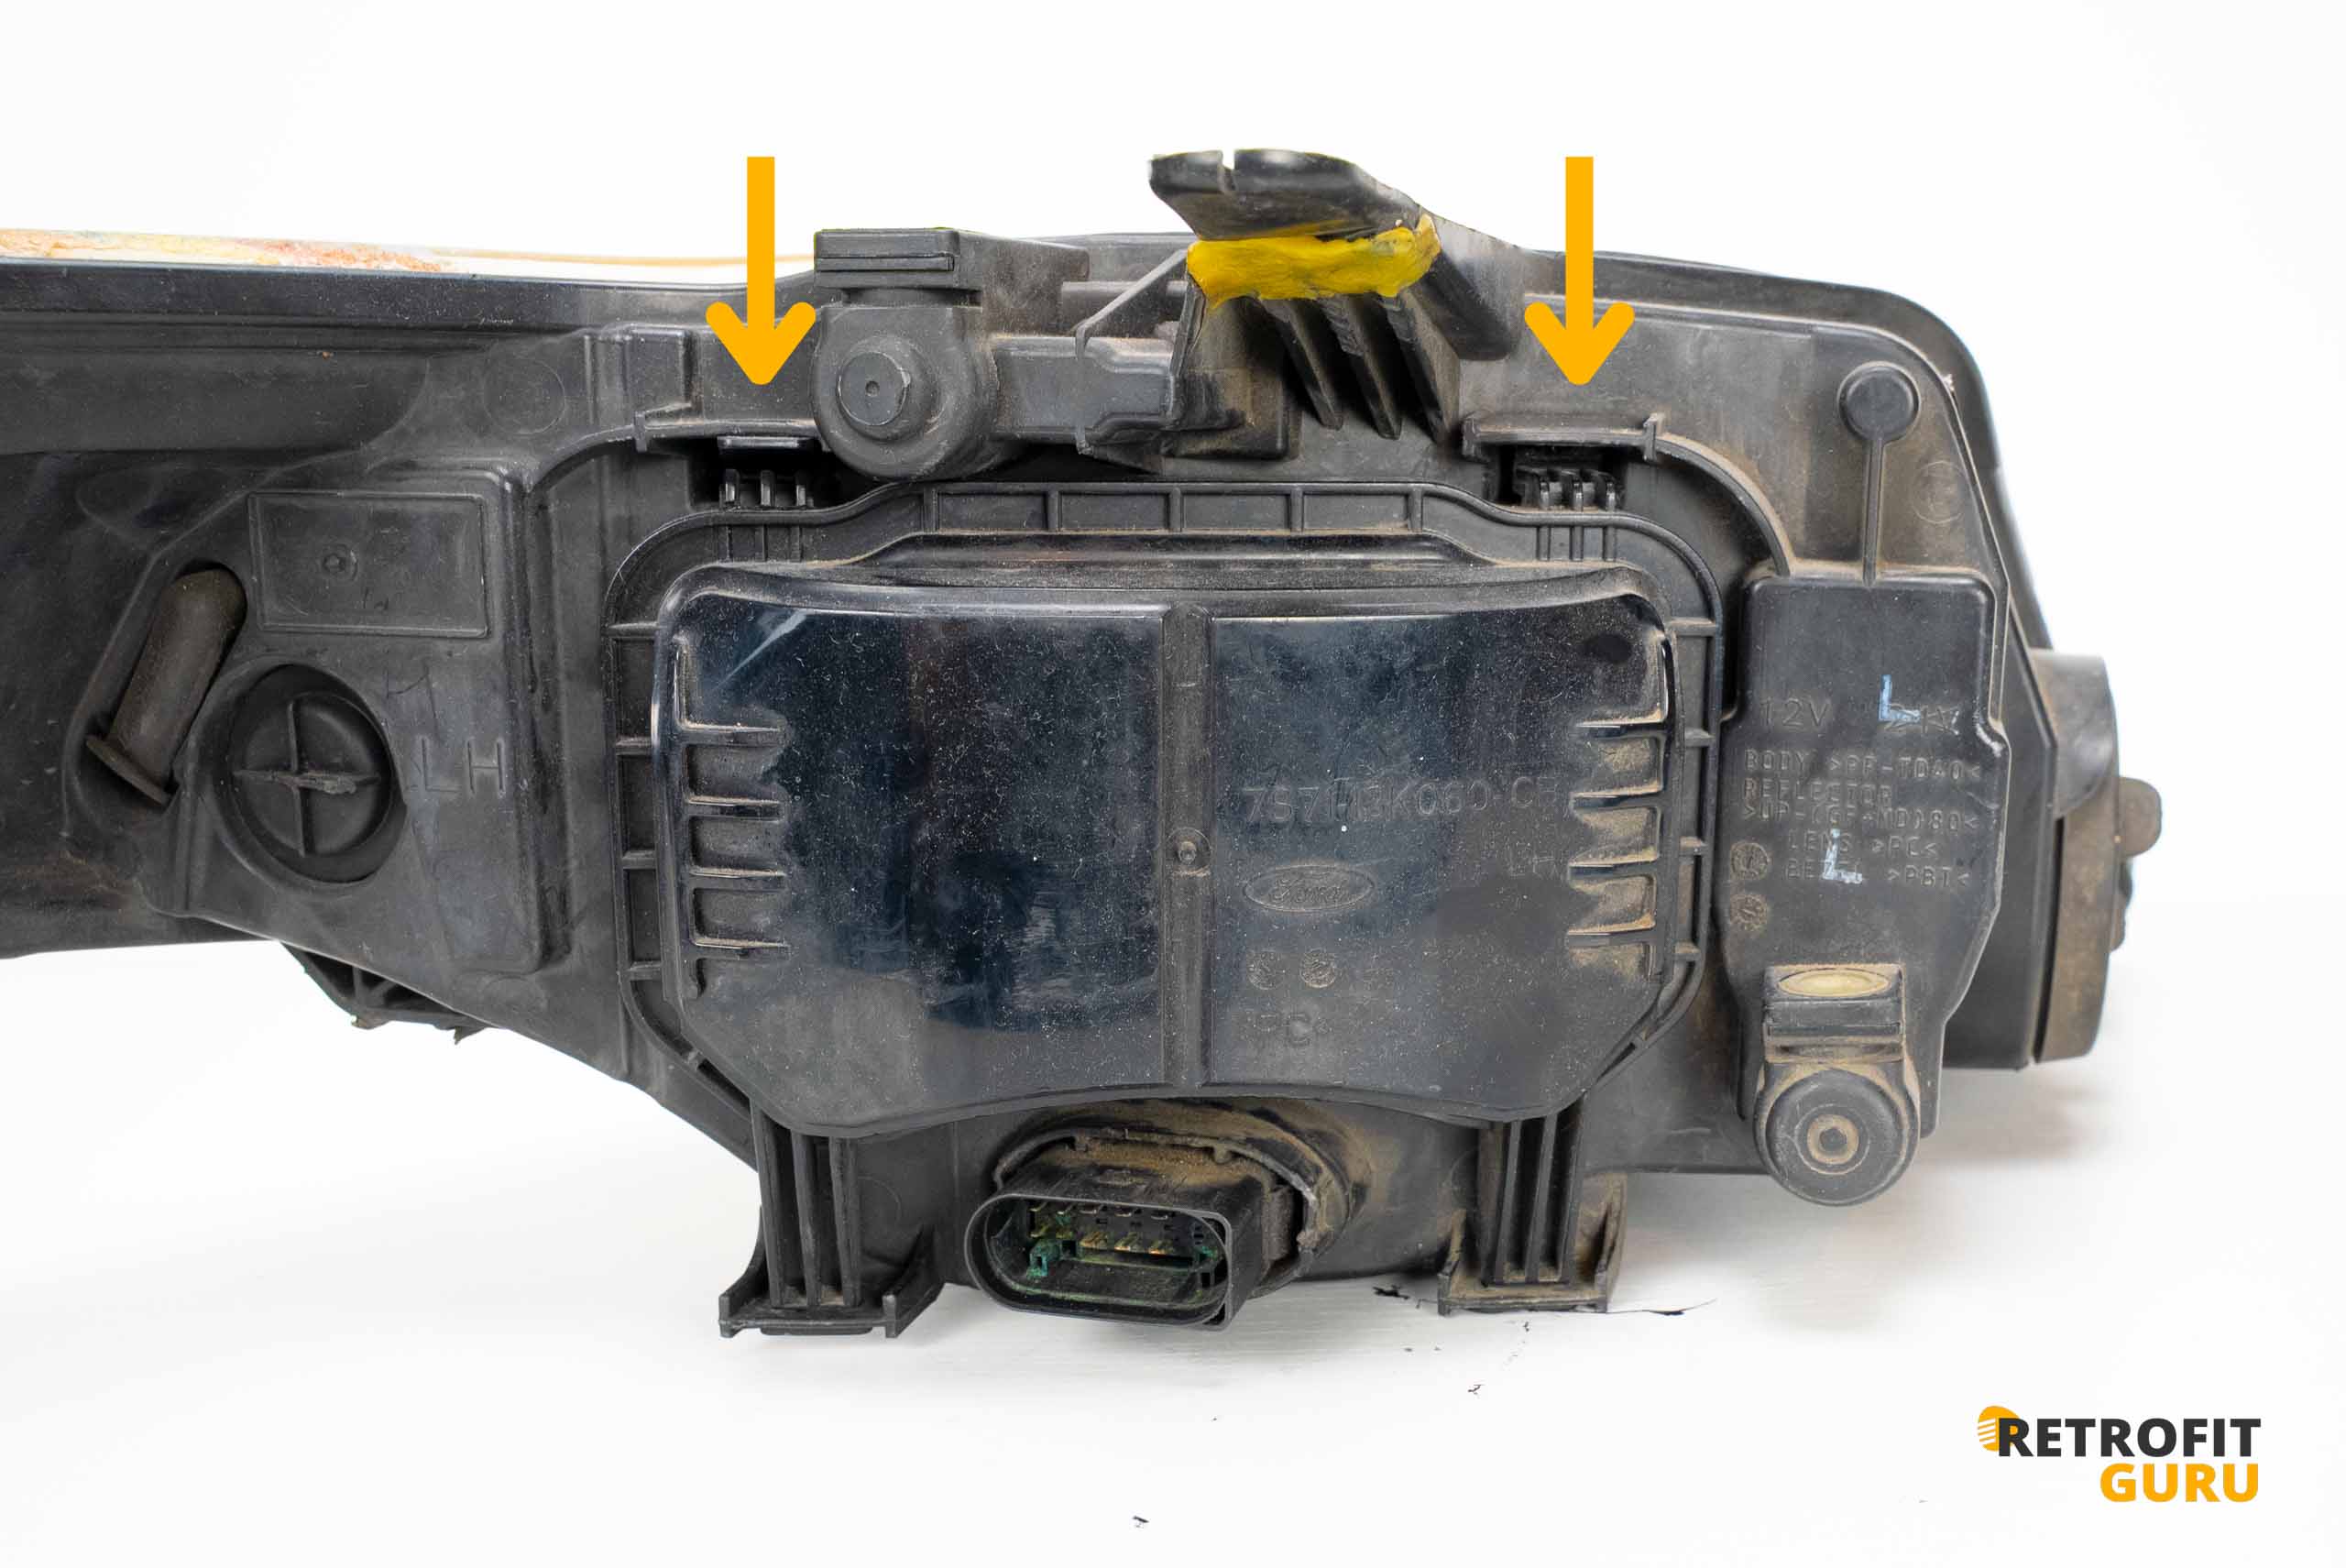
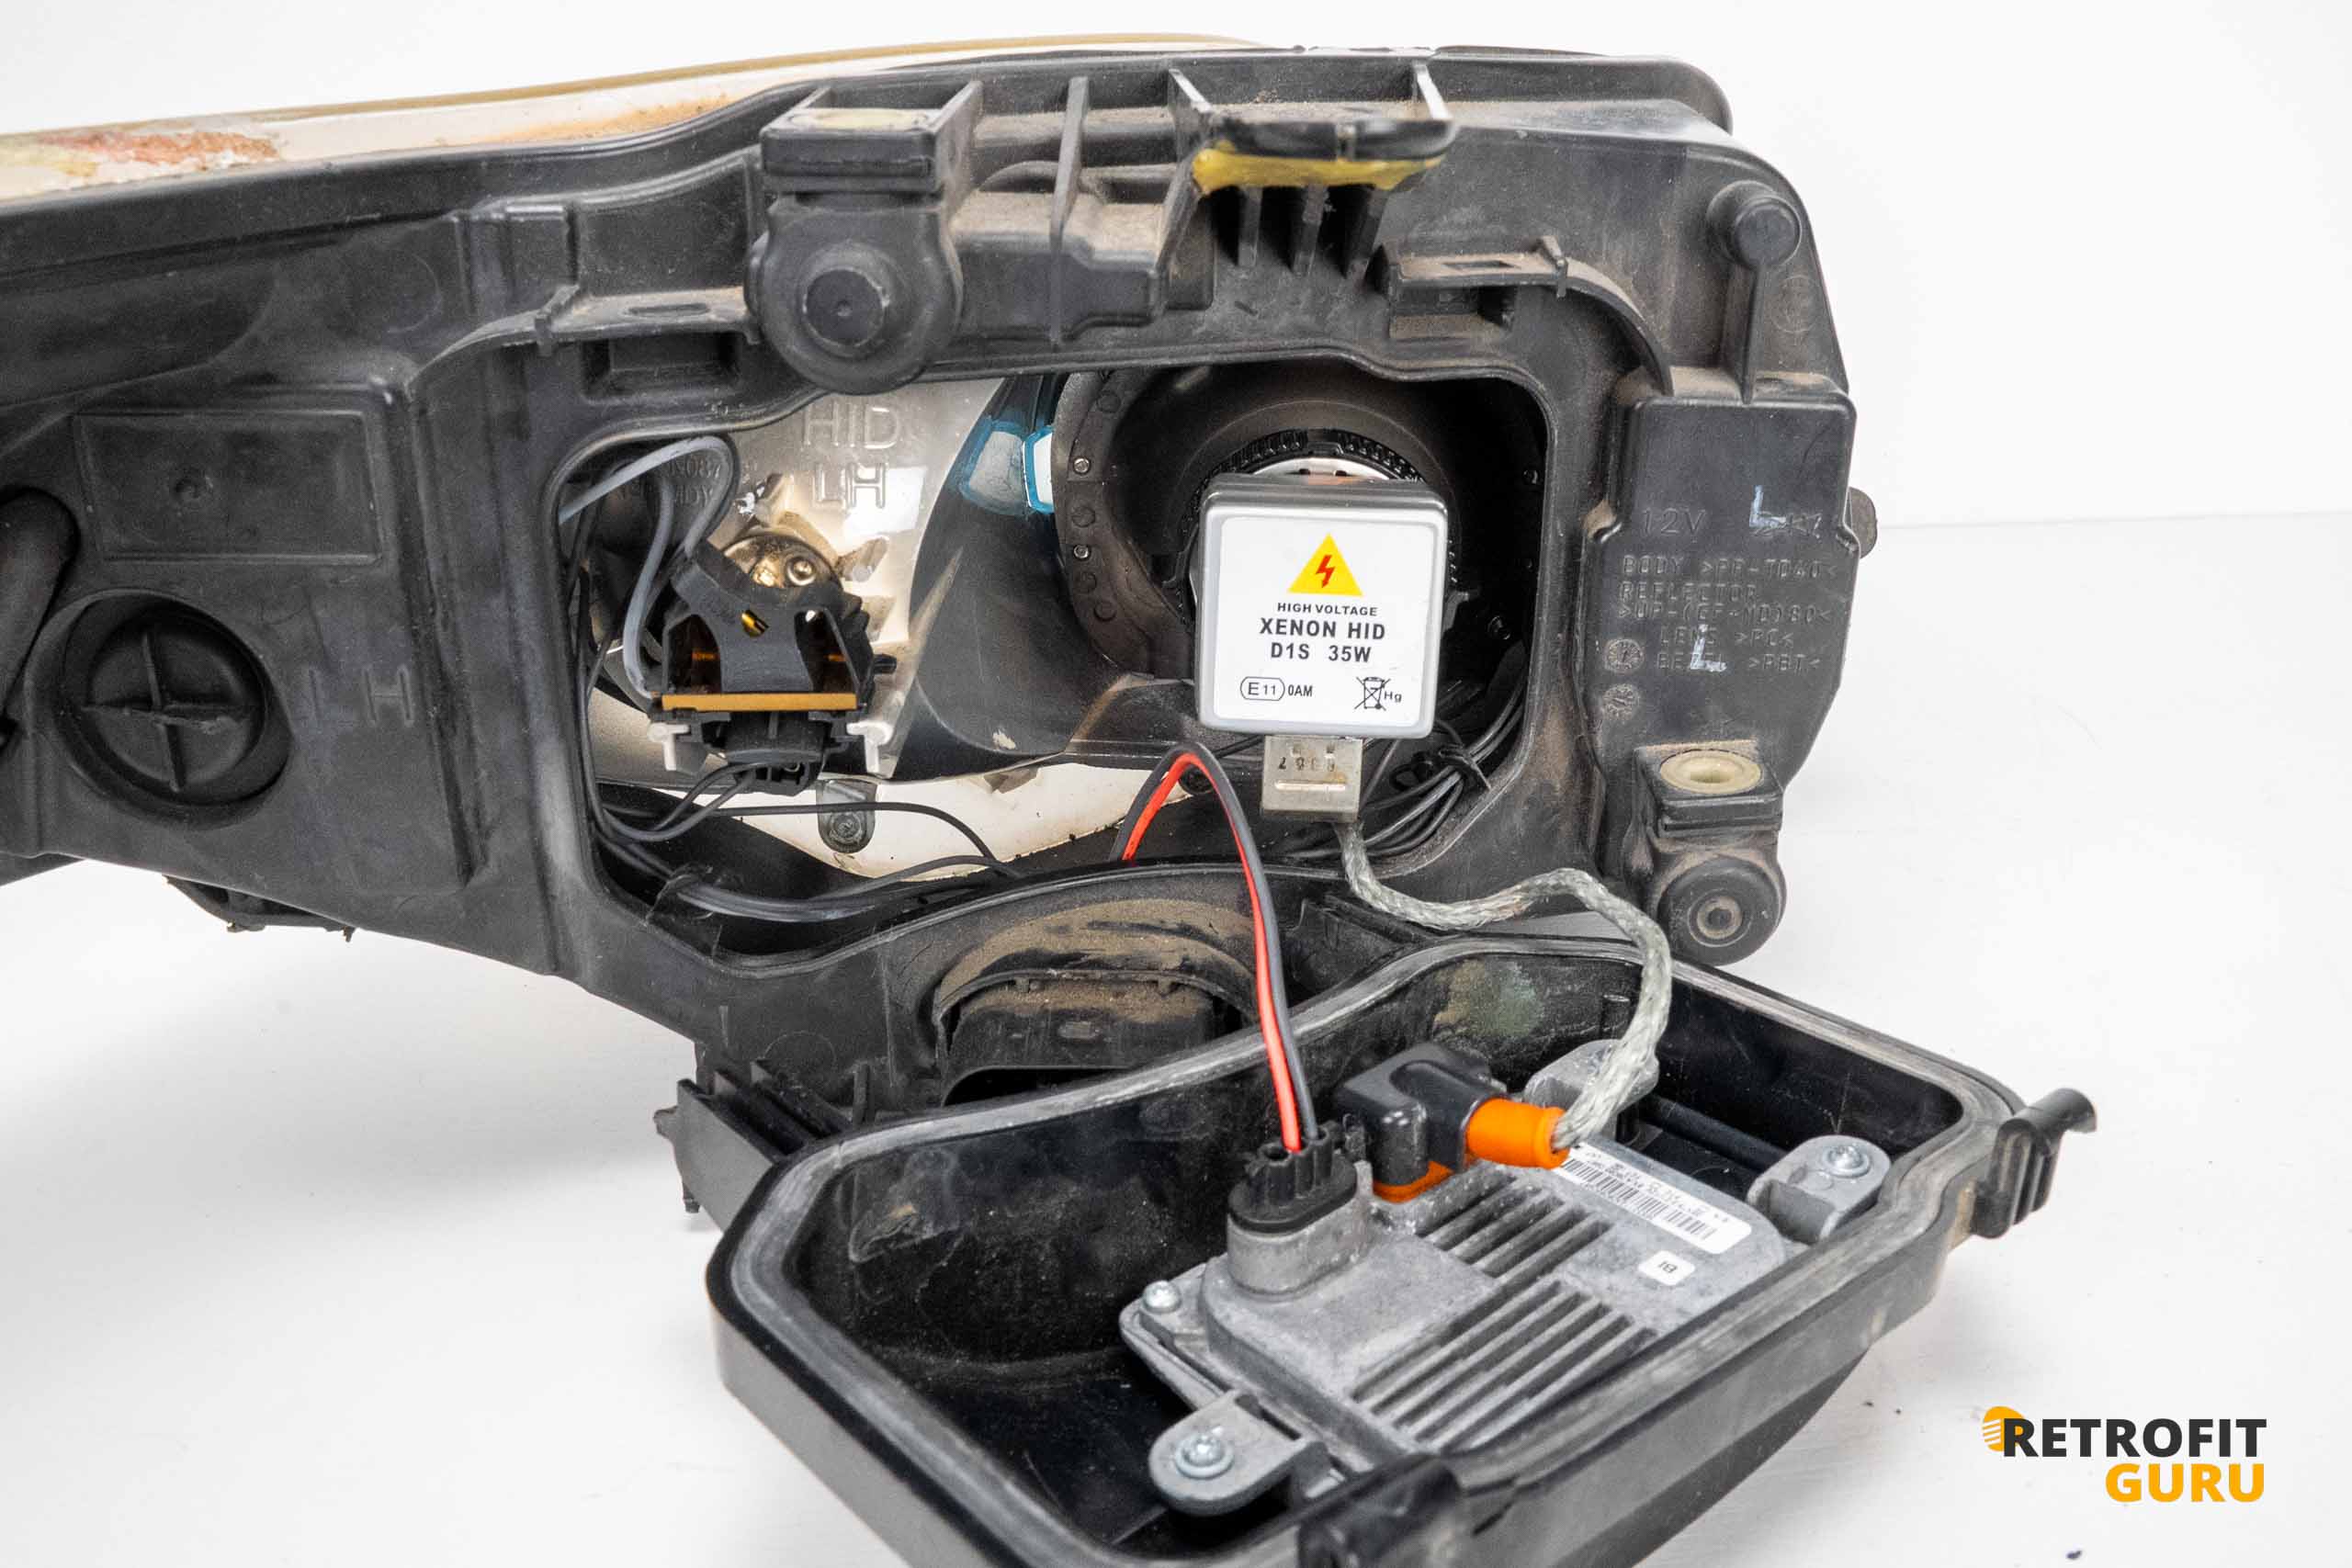
2. Removing the rear headlight cover
- Unclip the rear cover and then slide it out of the holder.

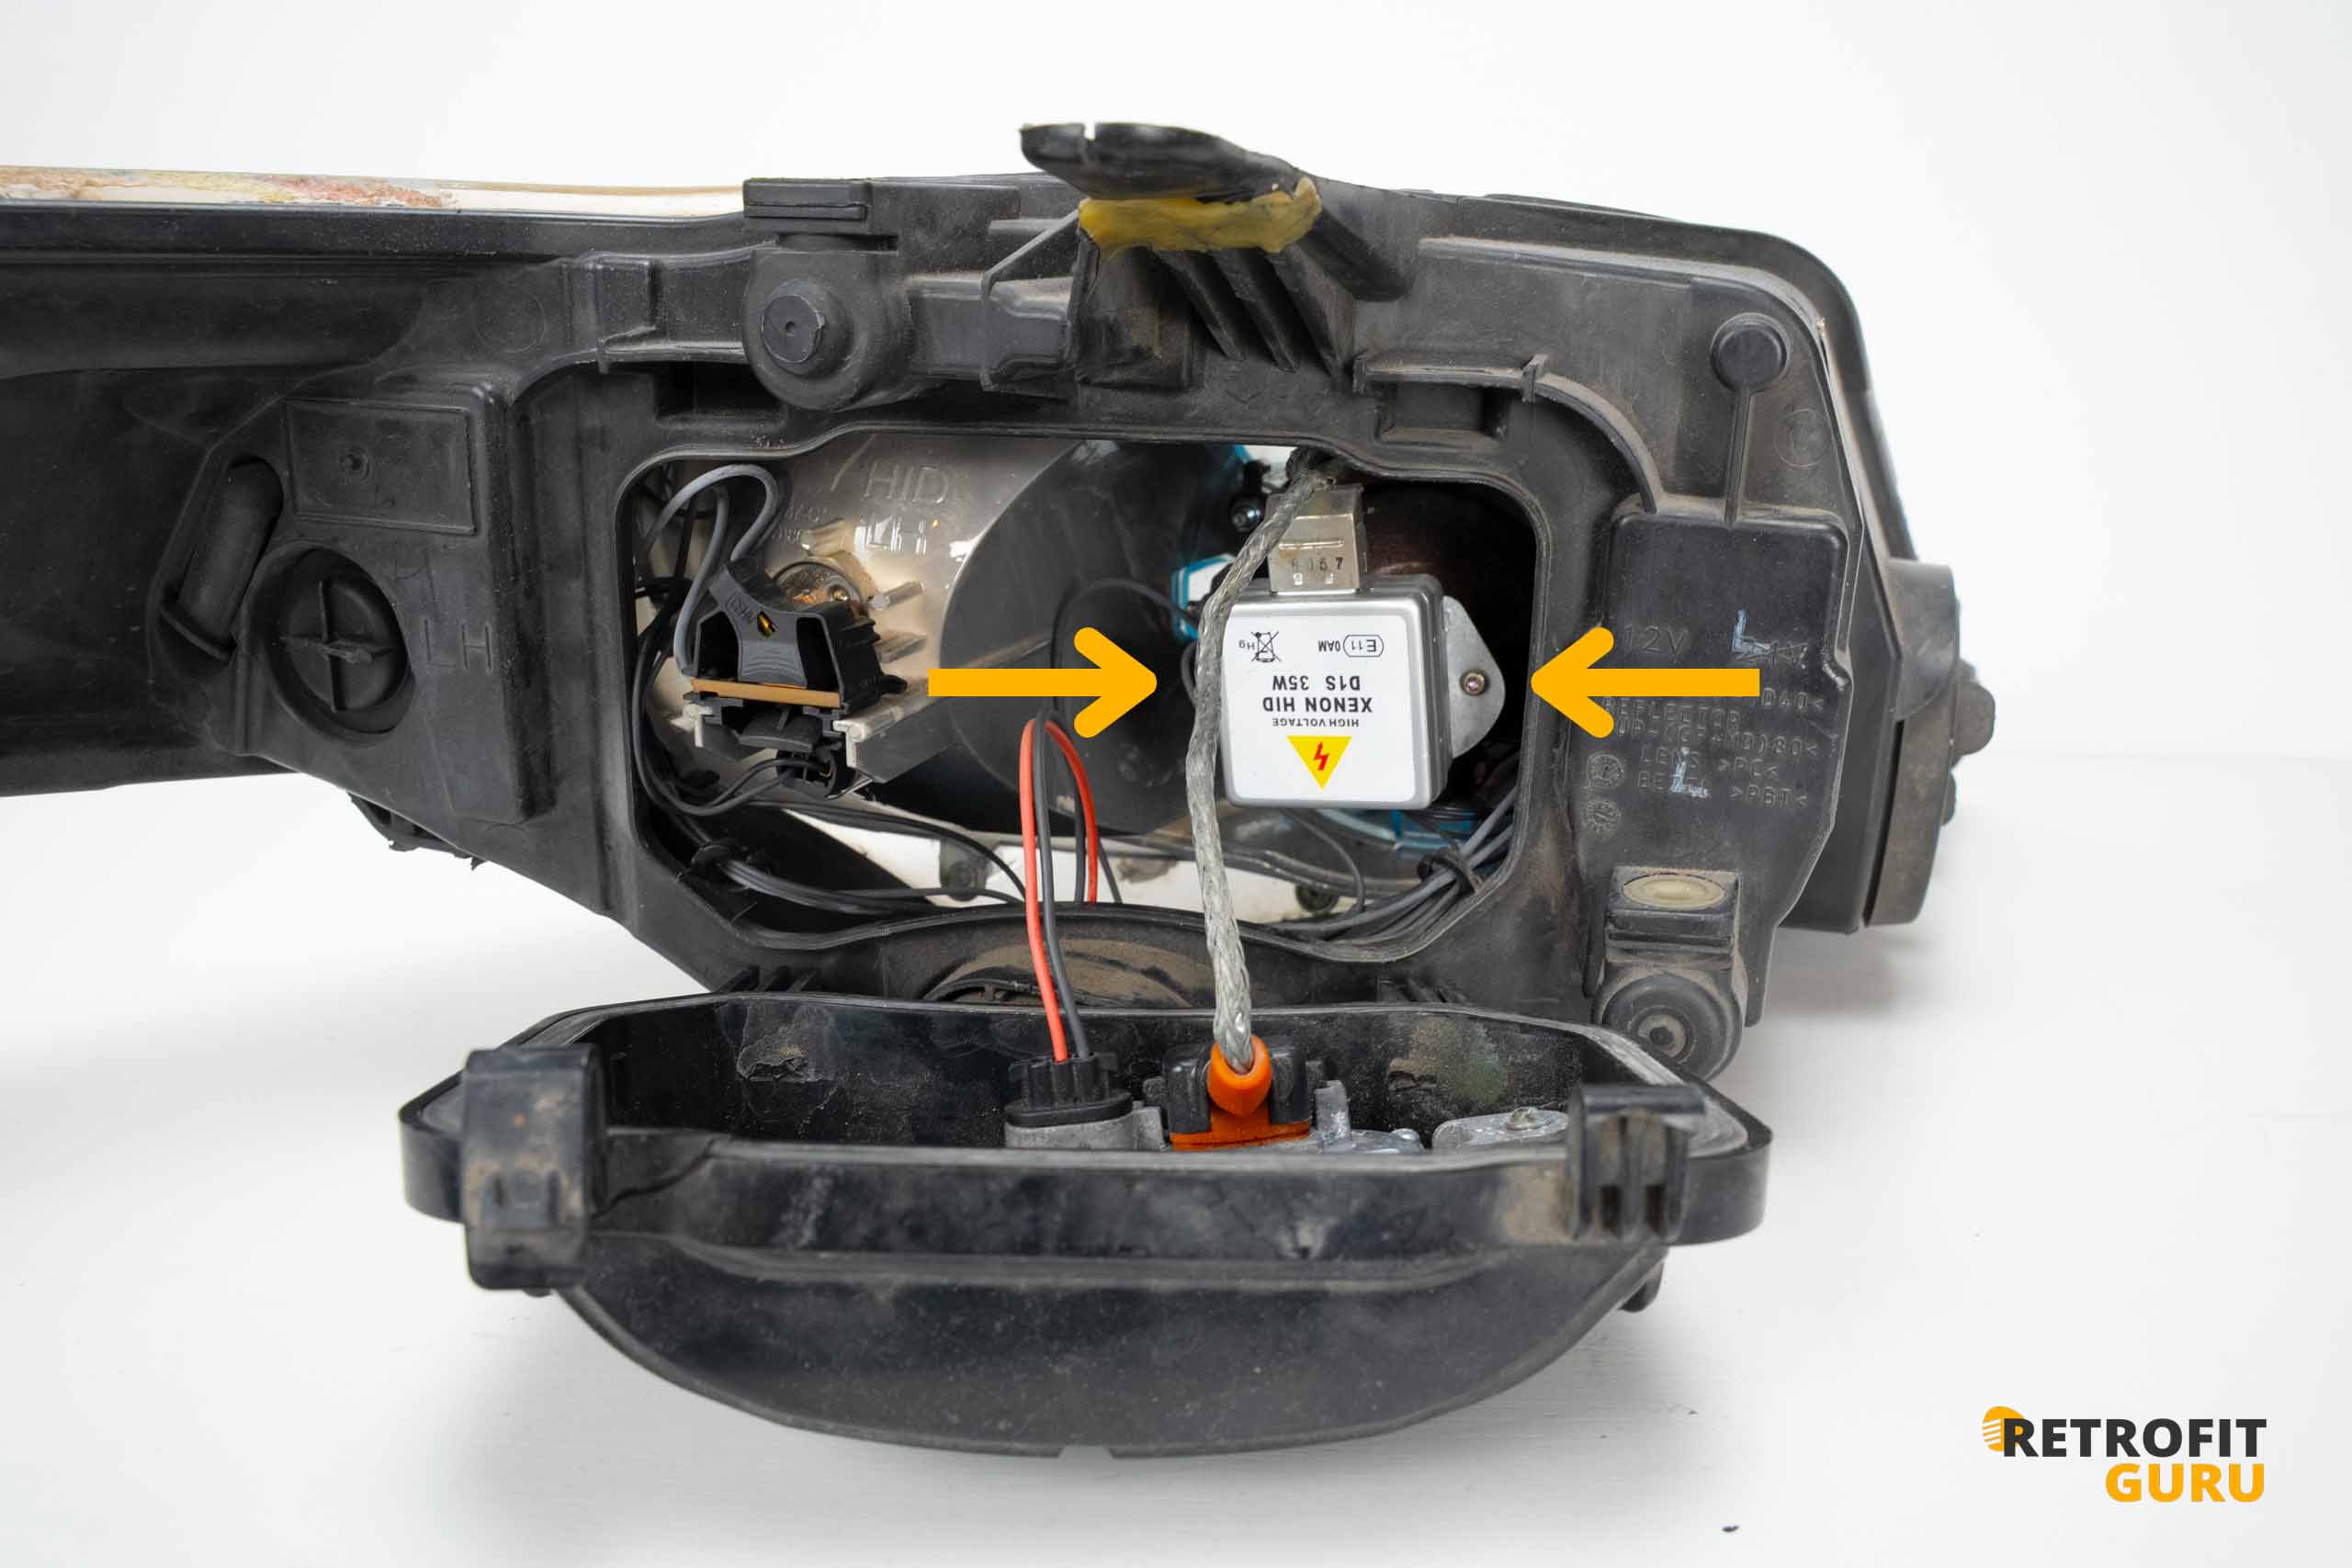
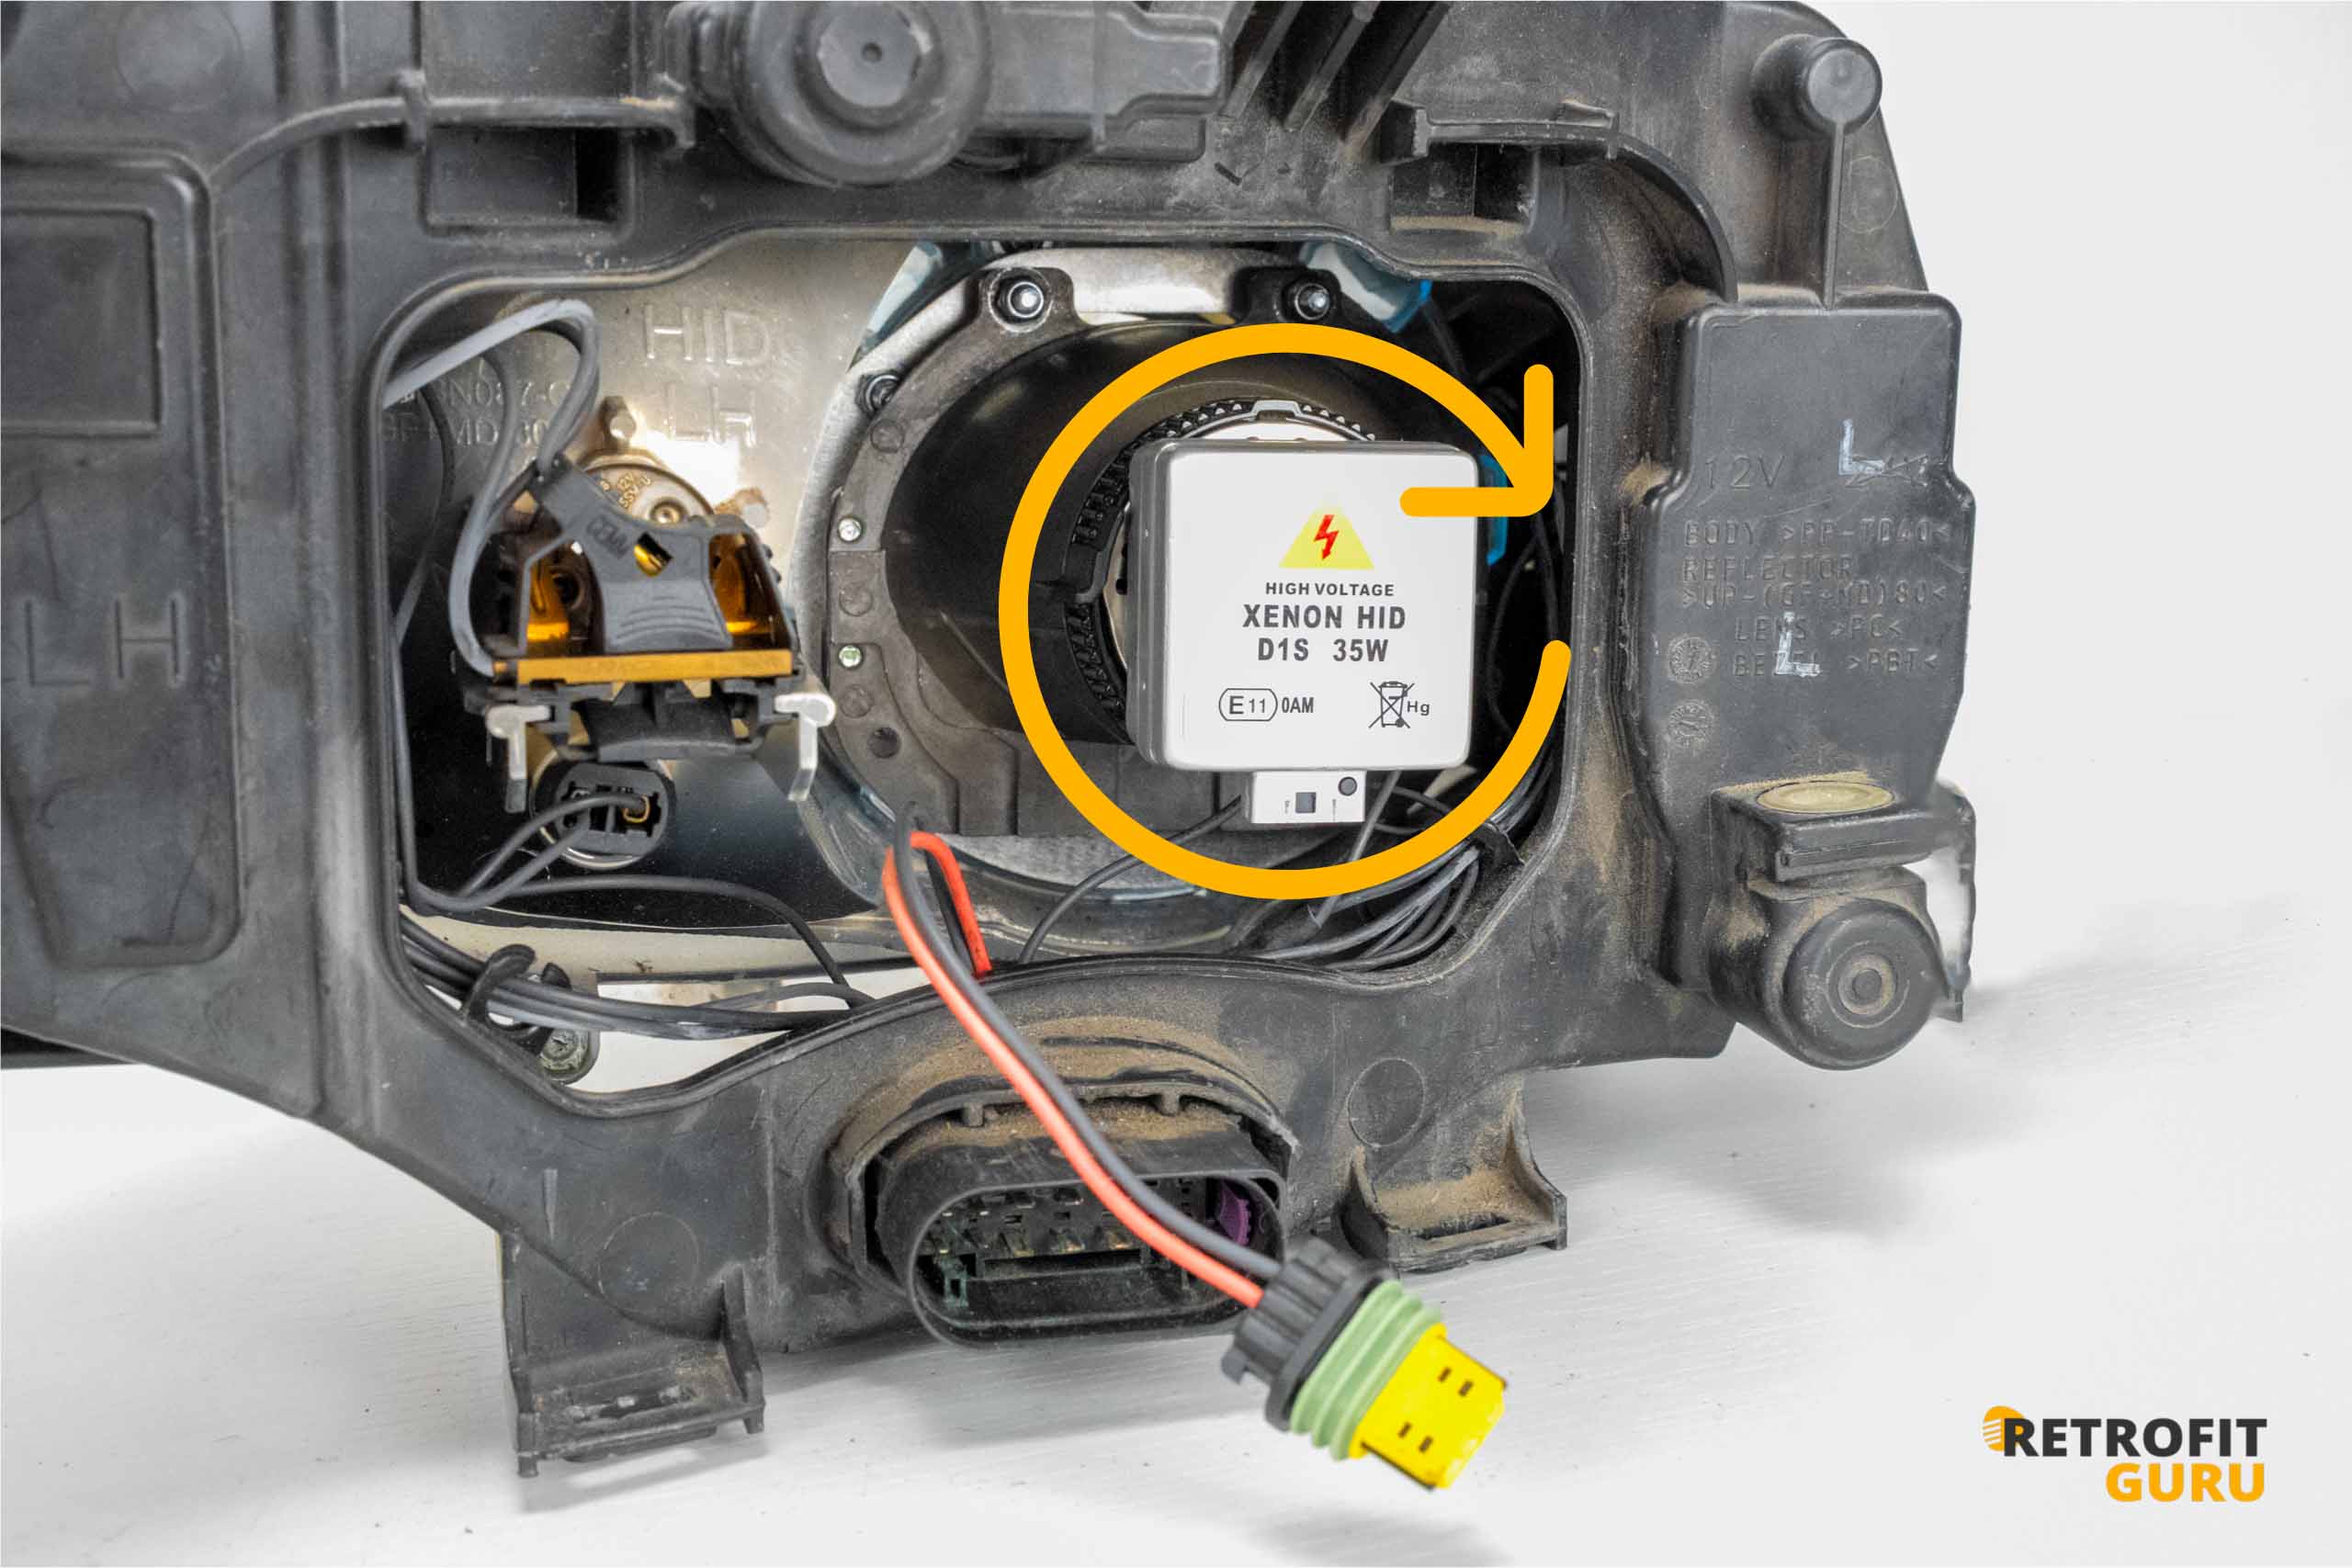
3. Bulb removal
- Using a Torx screwdriver, unscrew the two screws securing the bulb holder. Then carefully remove the bulb from the headlight.

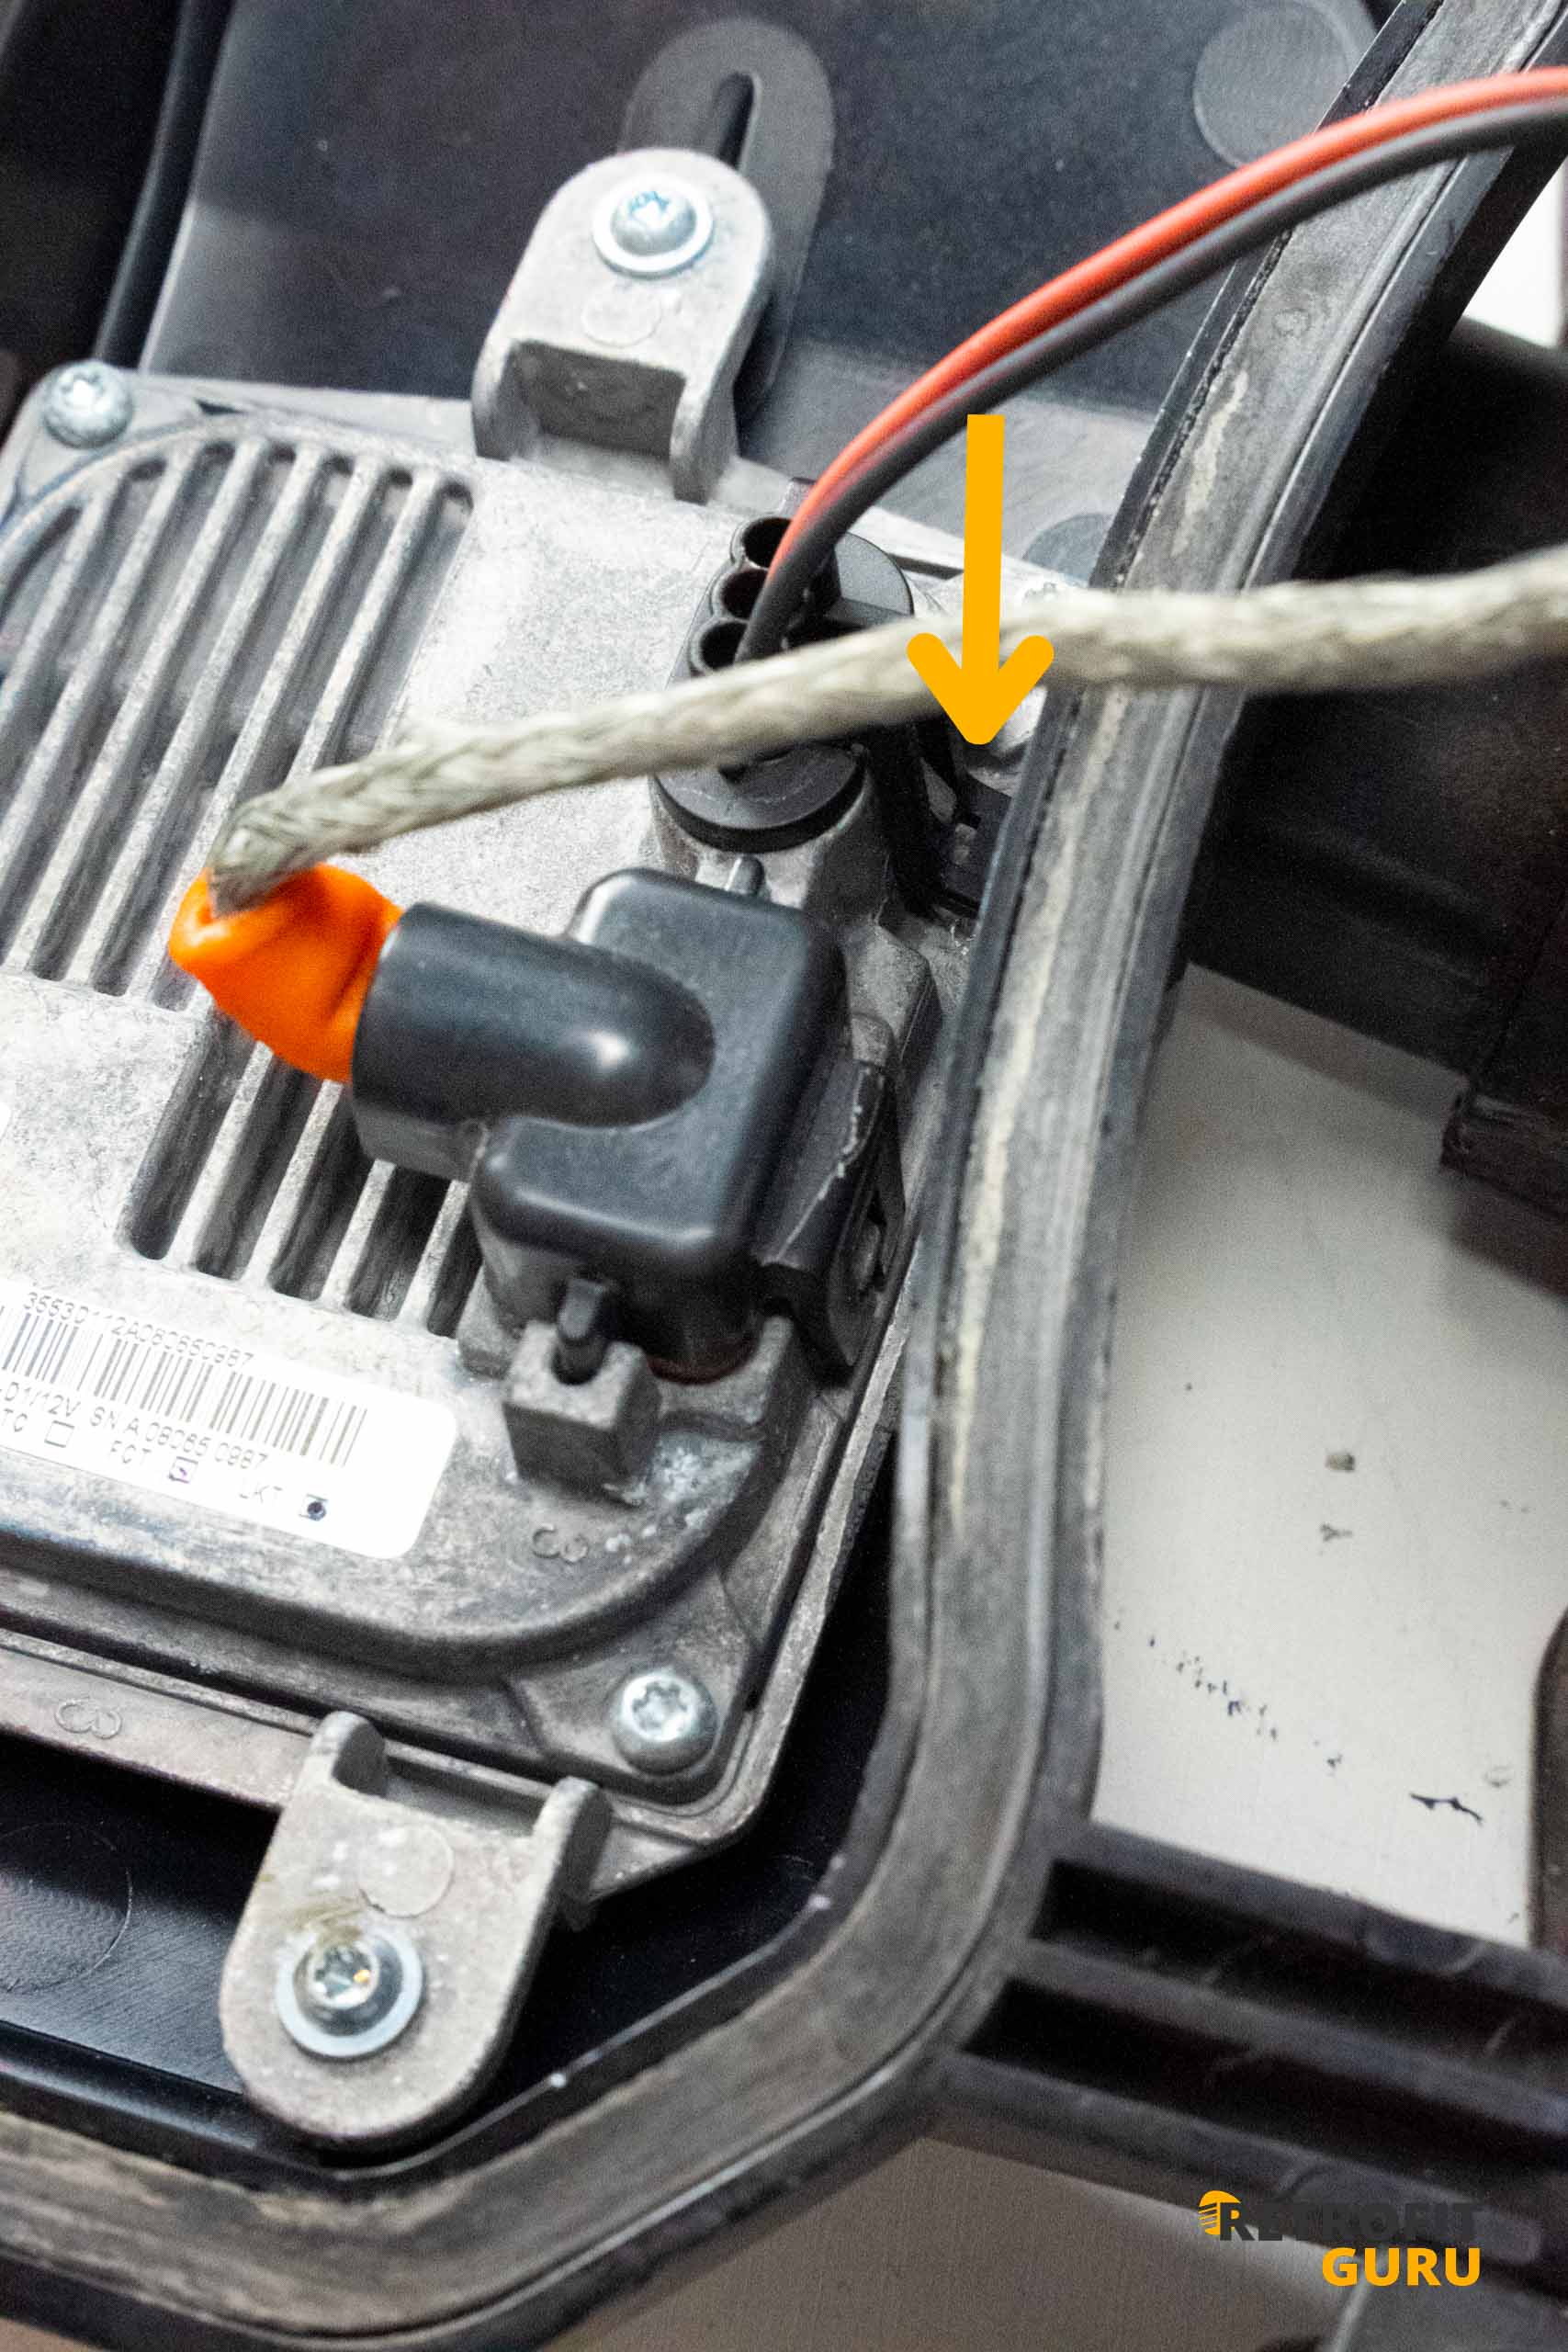
- Disconnect the cable leading from the igniter to the bulb, as well as the cable leading from the igniter to the headlight connector.

4. Removal of the projector
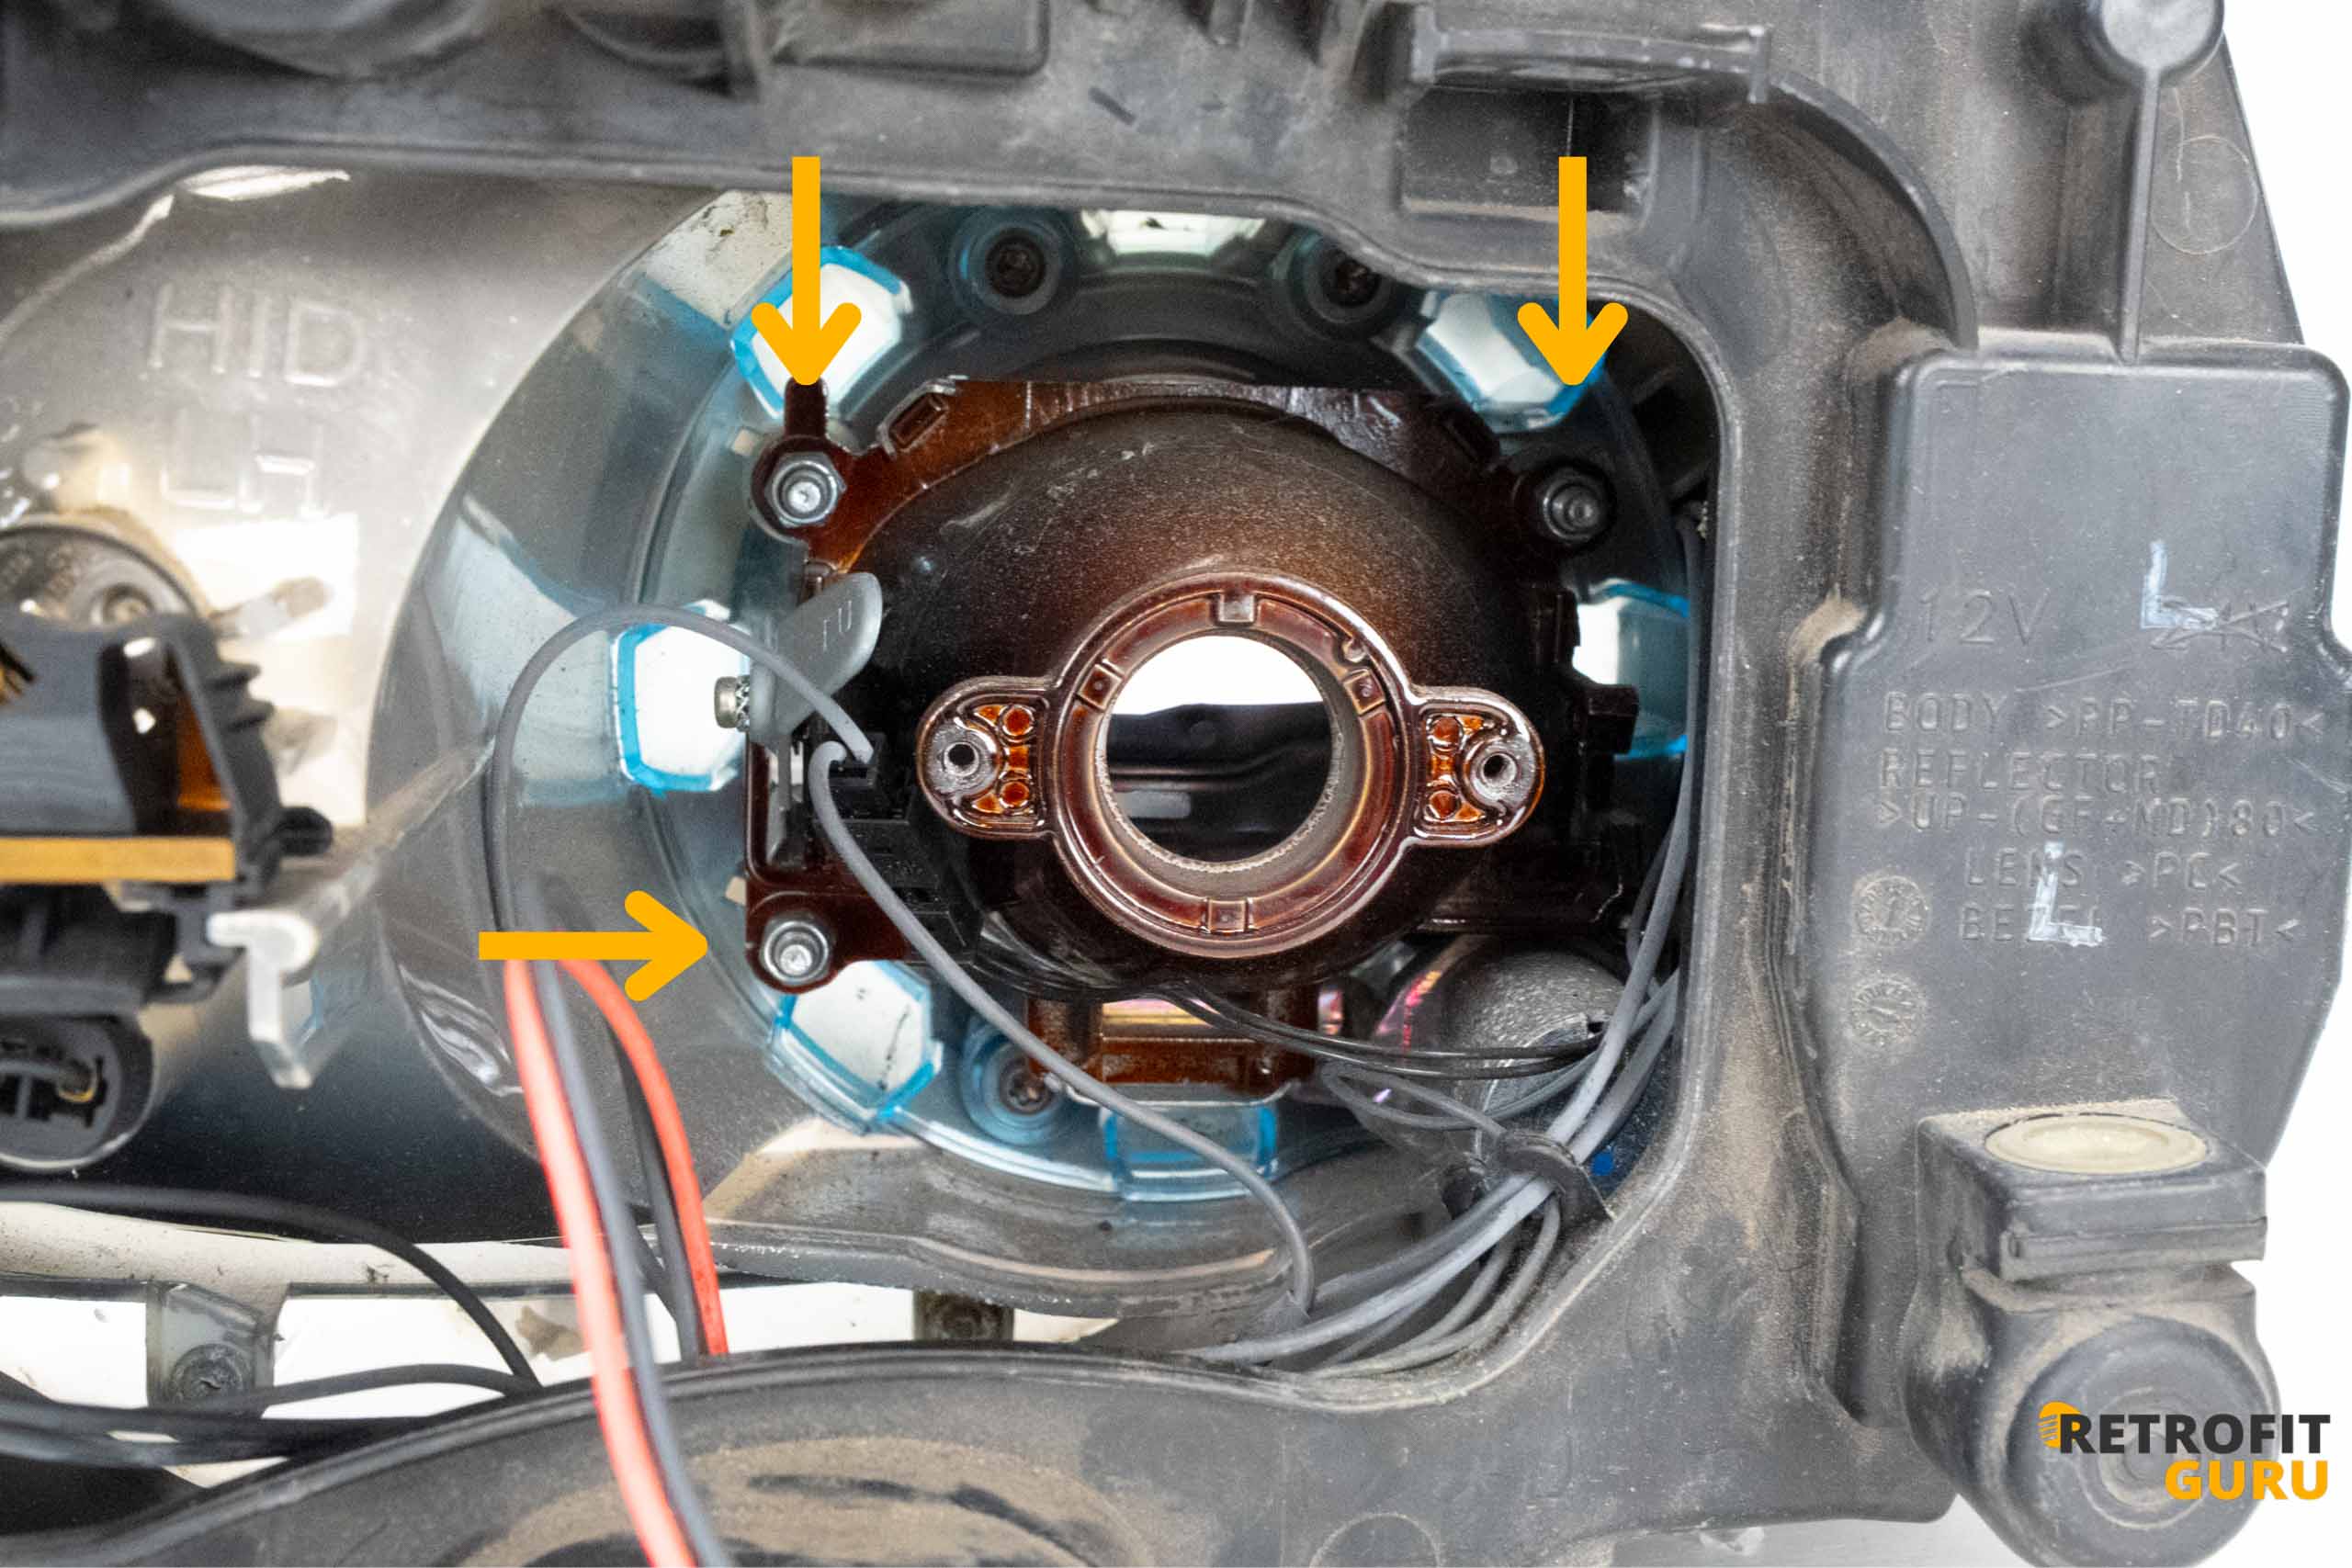
Using a socket wrench with an 8mm socket, loosen and remove the three mounting nuts that secure the projector inside the headlight. Then carefully remove the projector.
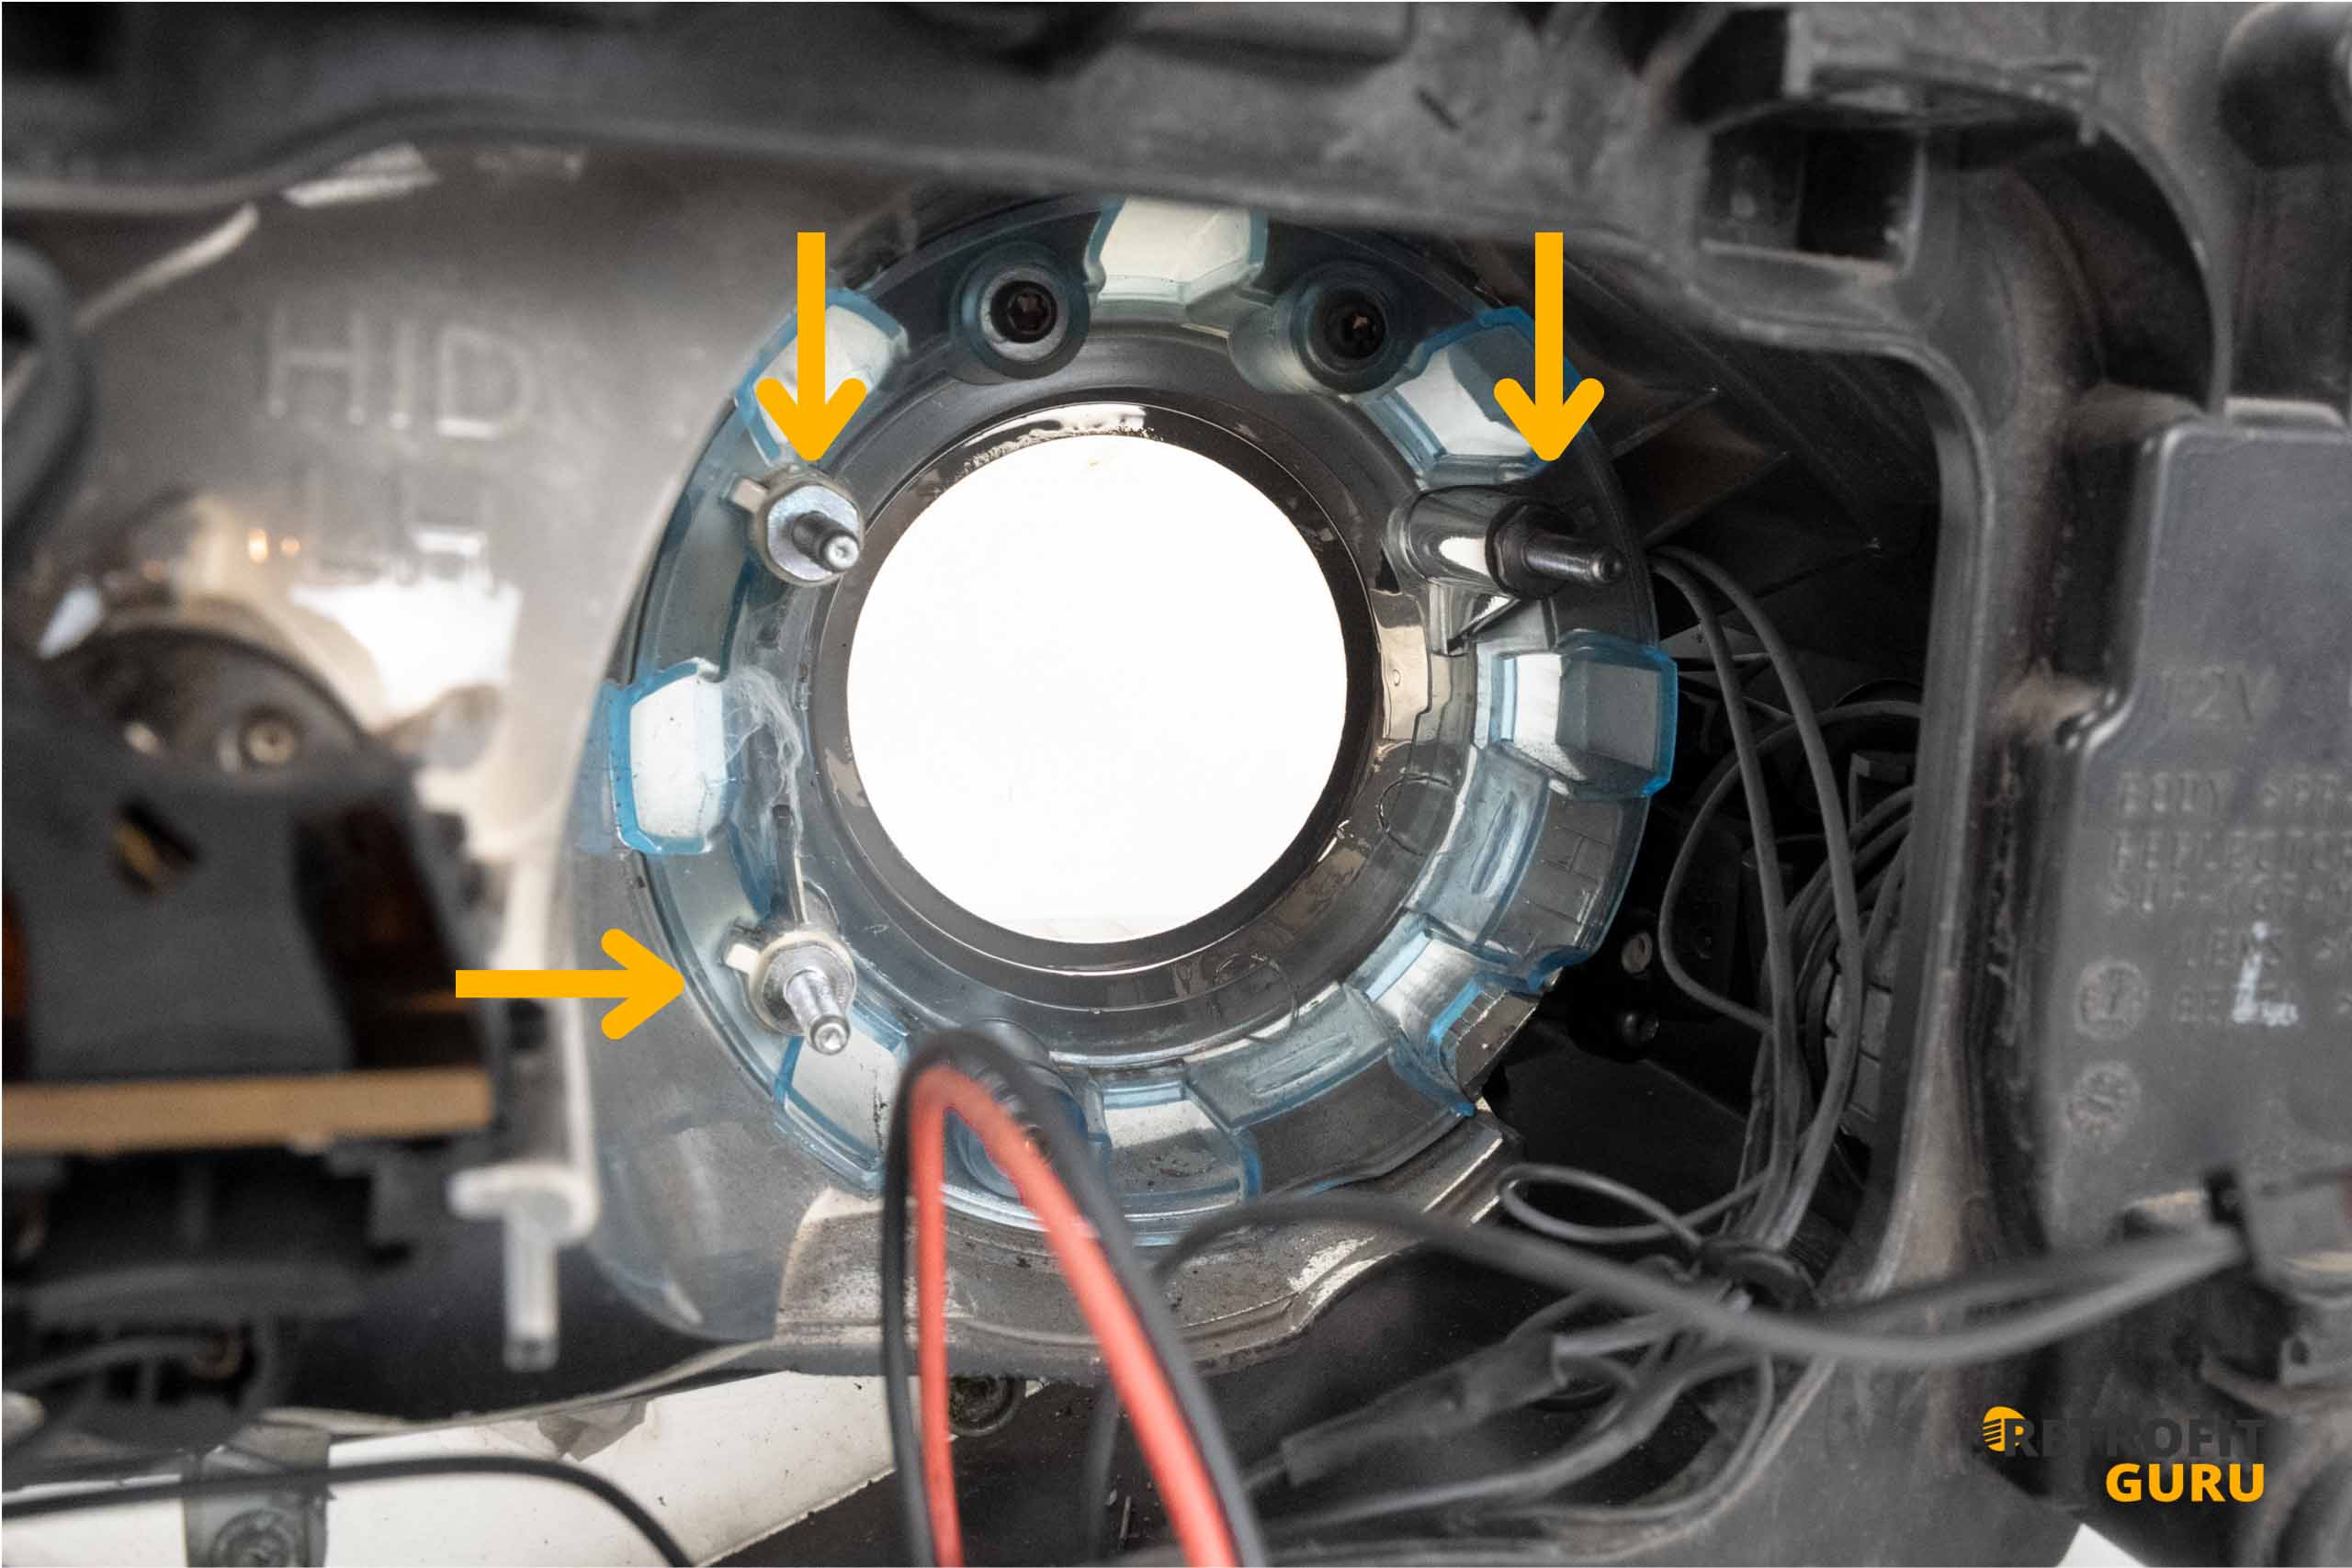
- Unscrew the original self-tapping screws and replace with new onereplace them with shorter ones. Use a 10mm wrench or a socket wrench with an extended socket for removal and installation.
5. Projector and bulb installation
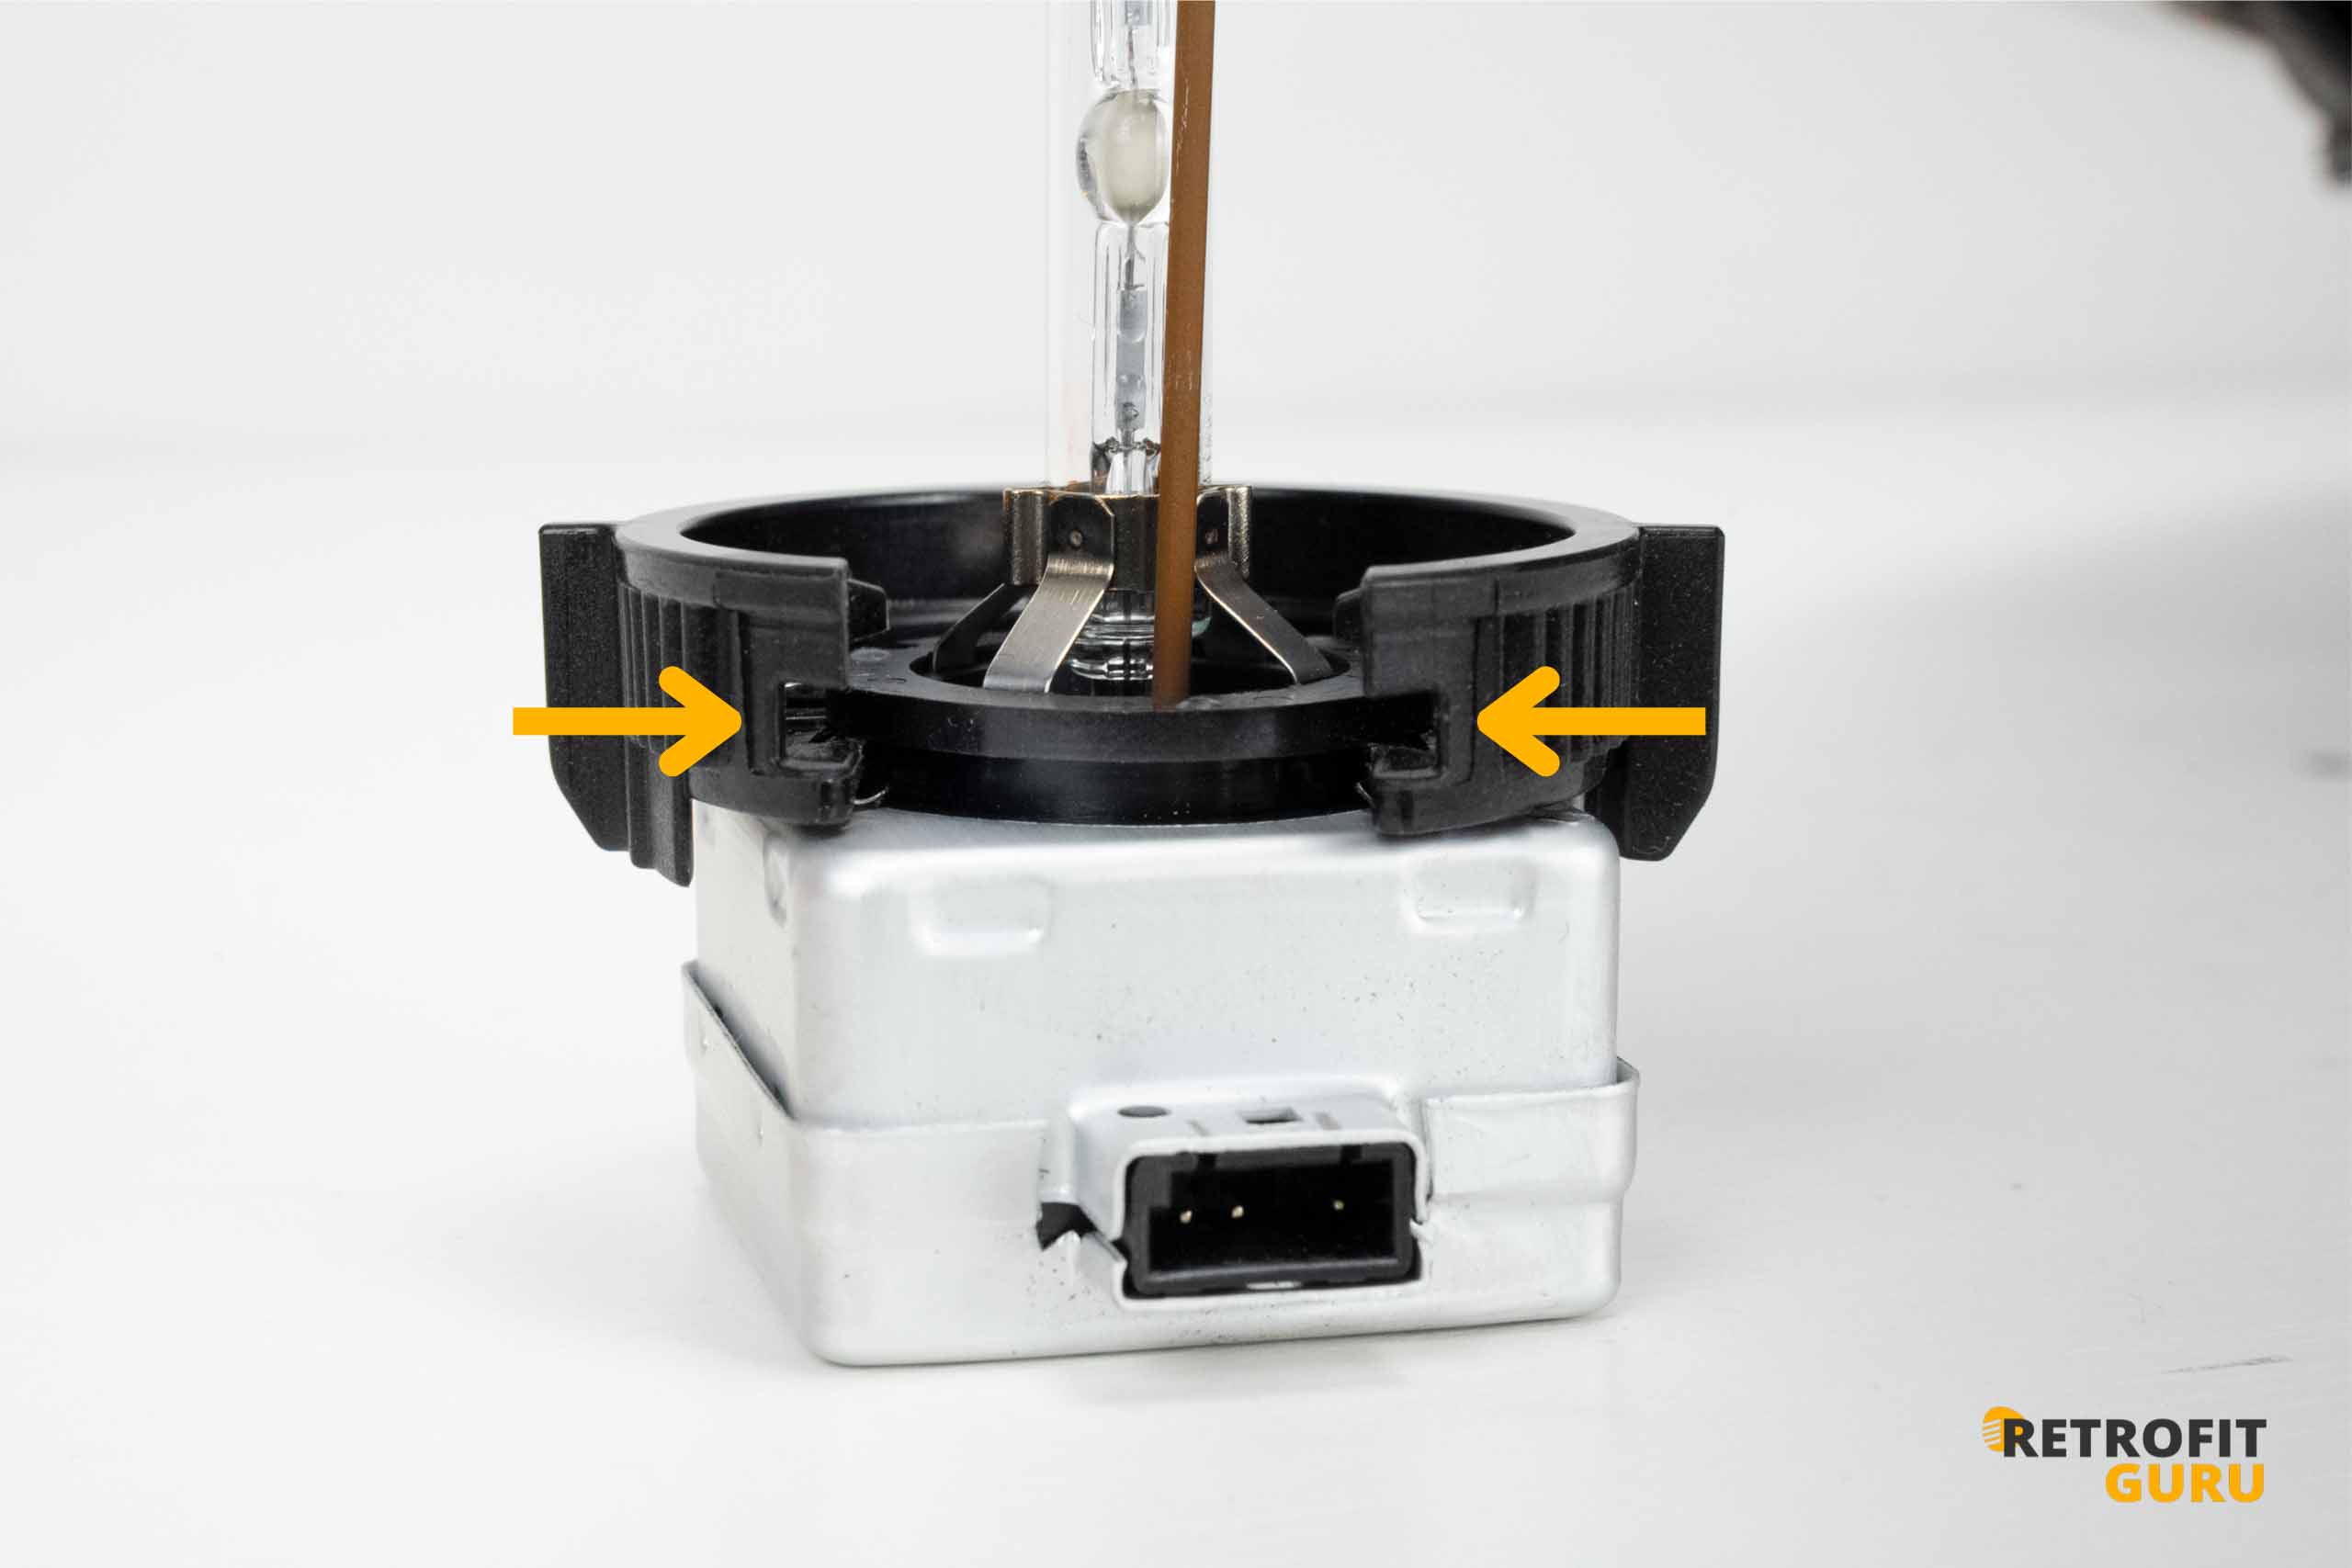
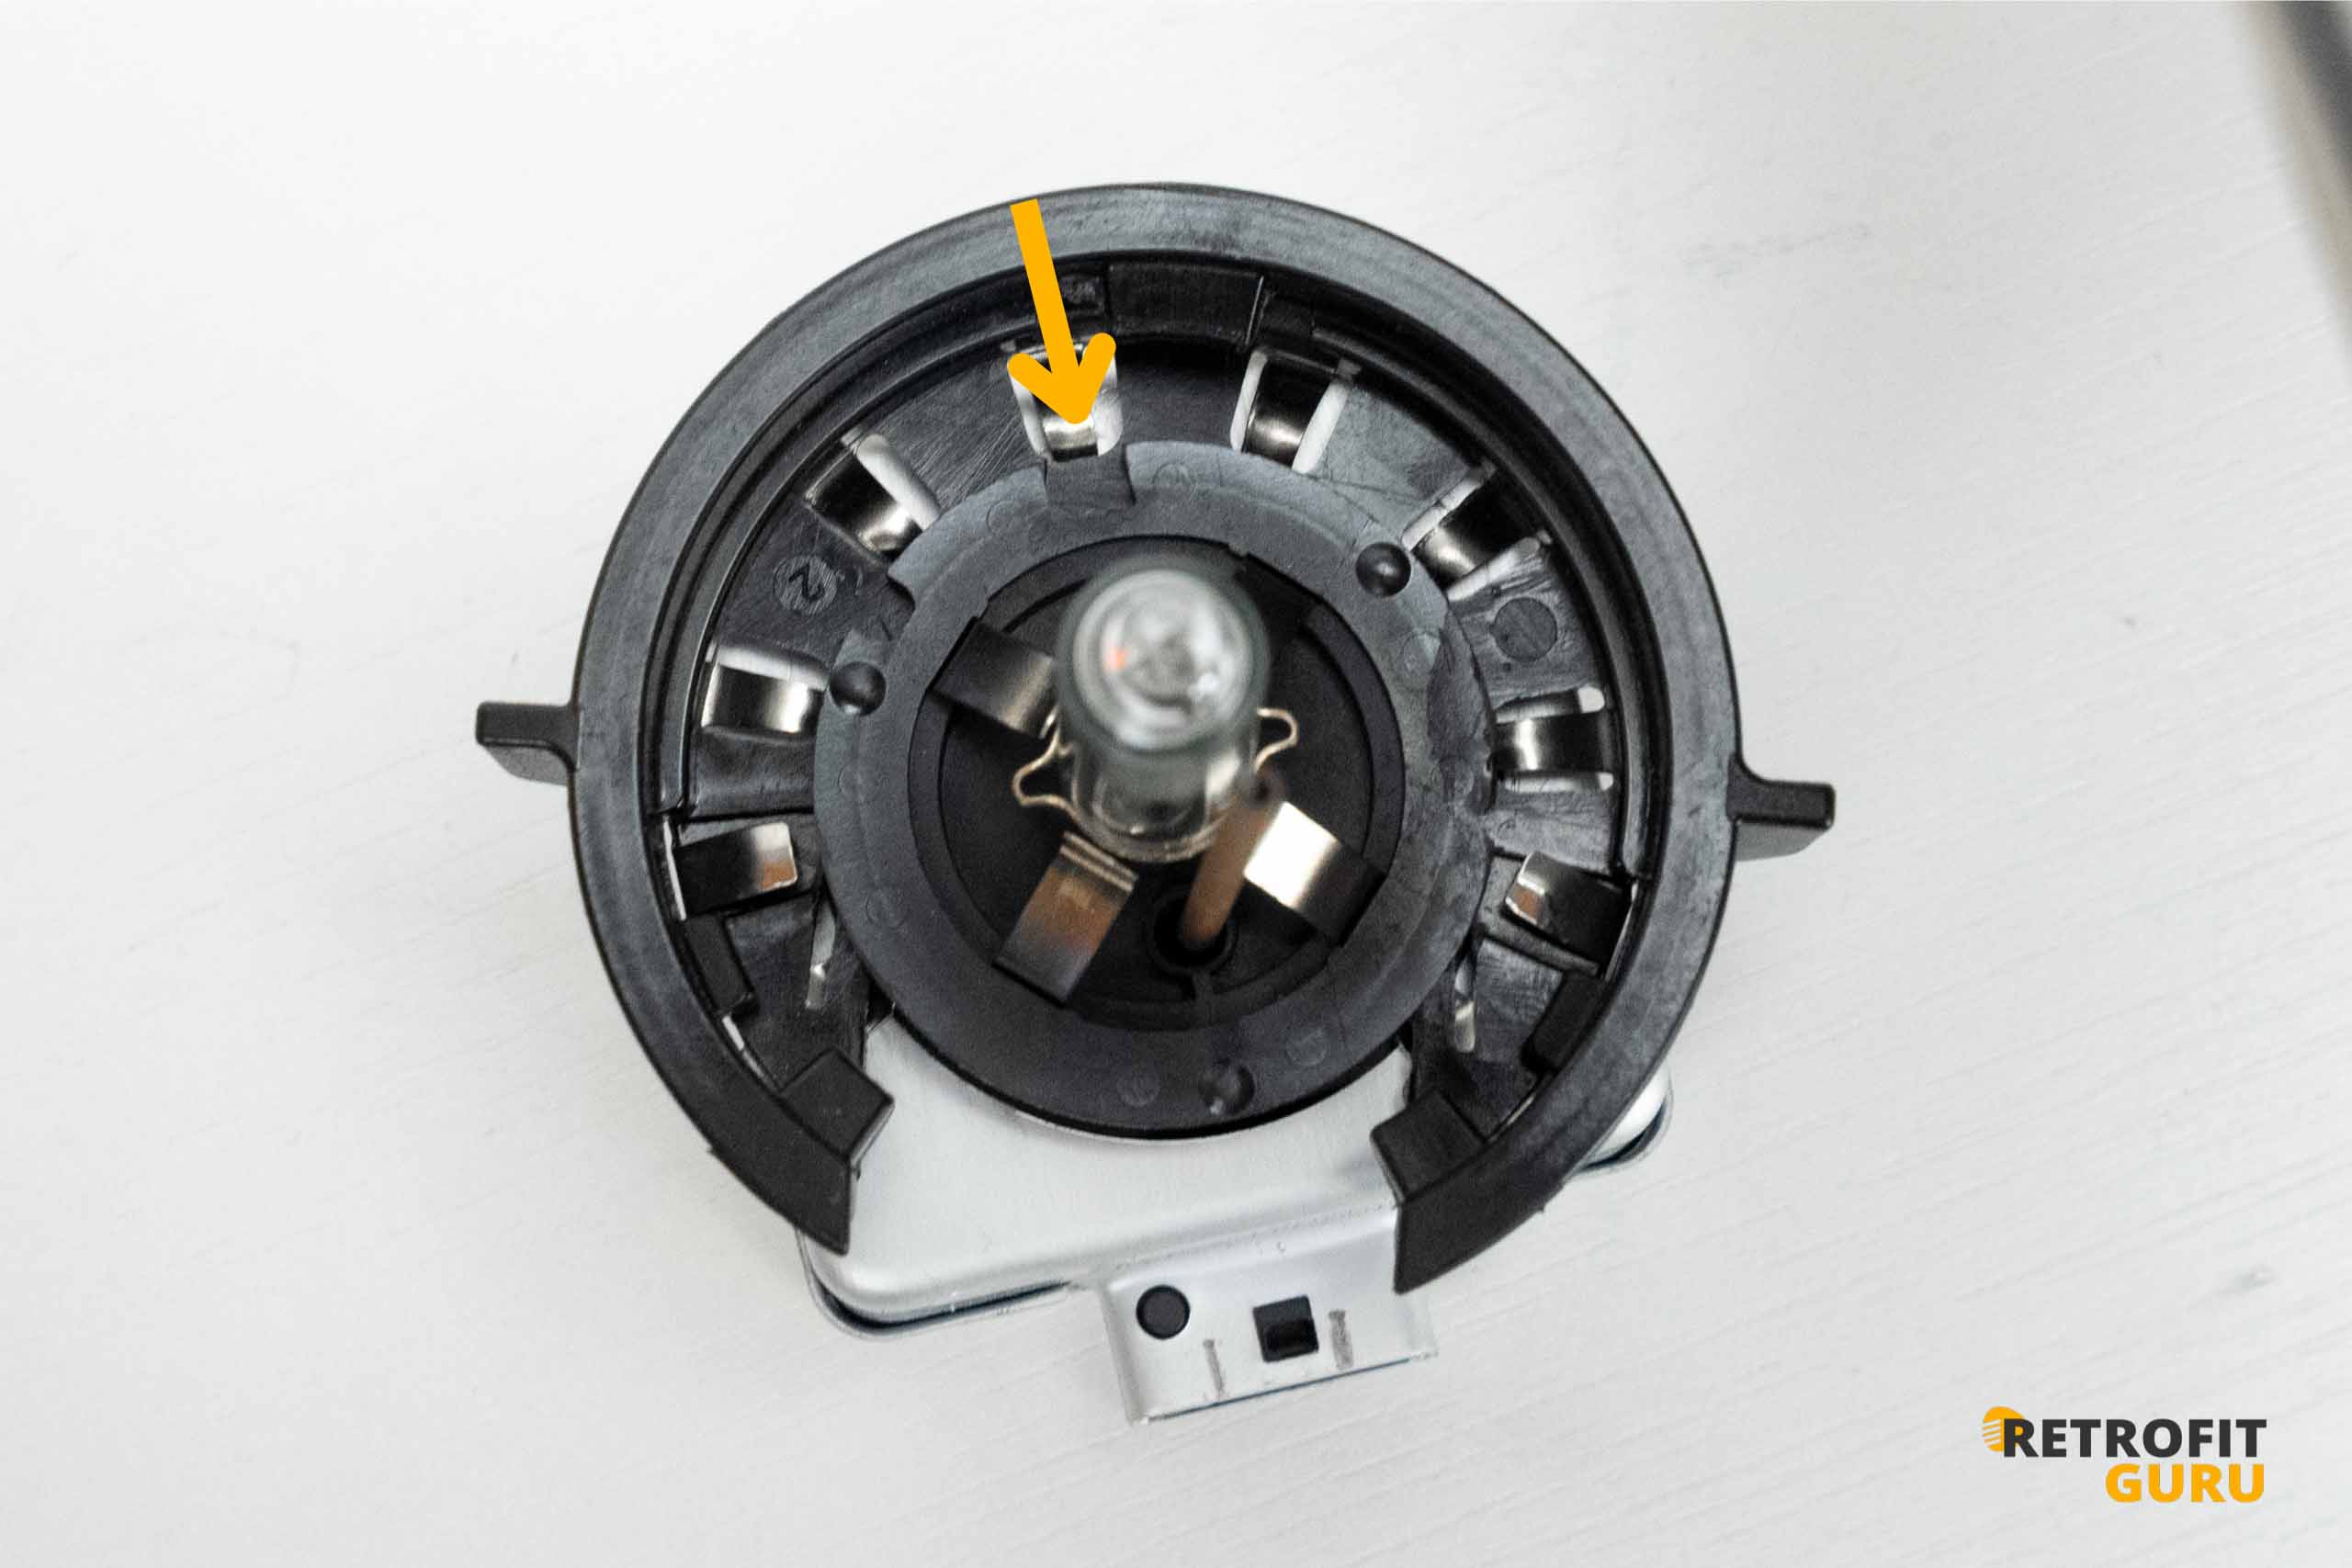
- On the part of insert the lamp into the new holder.
- Make sure that the cut-out of the lamp fits into the projector, and fix it by turning it. We recommend to preset the lamp in the holder according to the photo below.
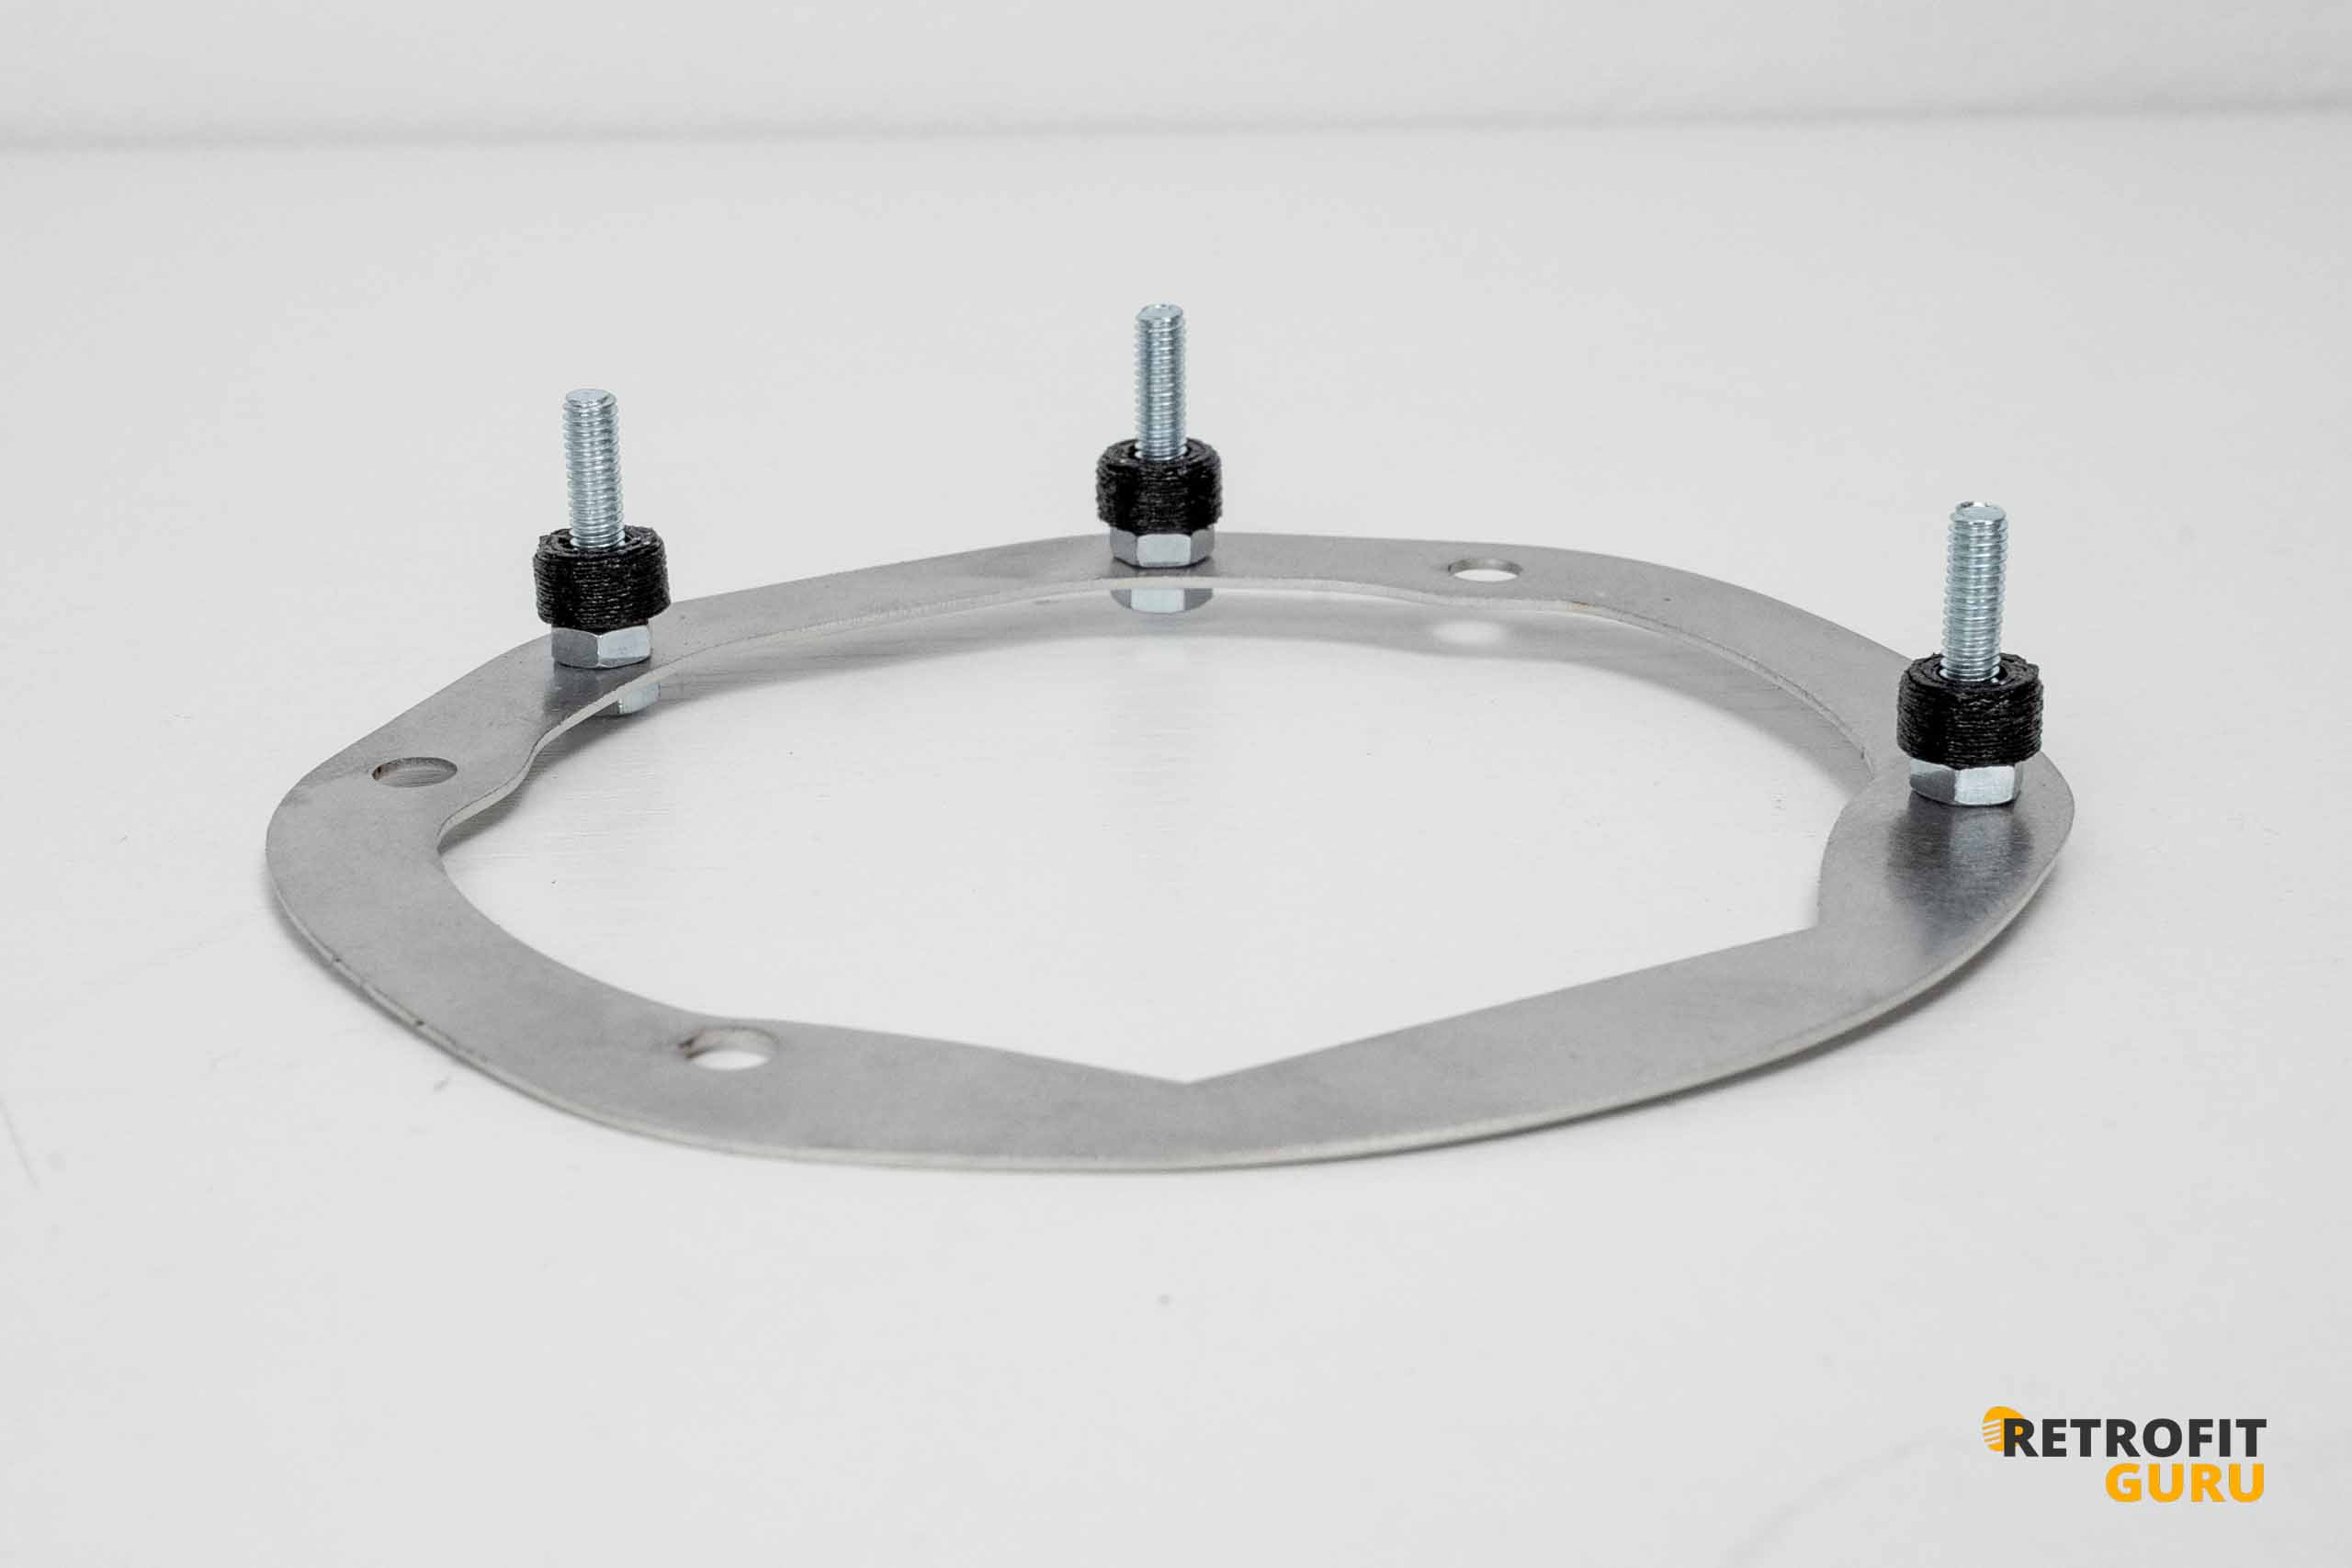
Prepare the mounting adapter in the following configuration. Make sure all components are correctly oriented and securely fastened so the adapter can be easily fitted into the headlight. The mounting adapter must be installed in a mirrored orientation depending on the side of the headlight. For the left headlight, the adapter logo should face outward (visible), while for the right headlight, it should face inward.
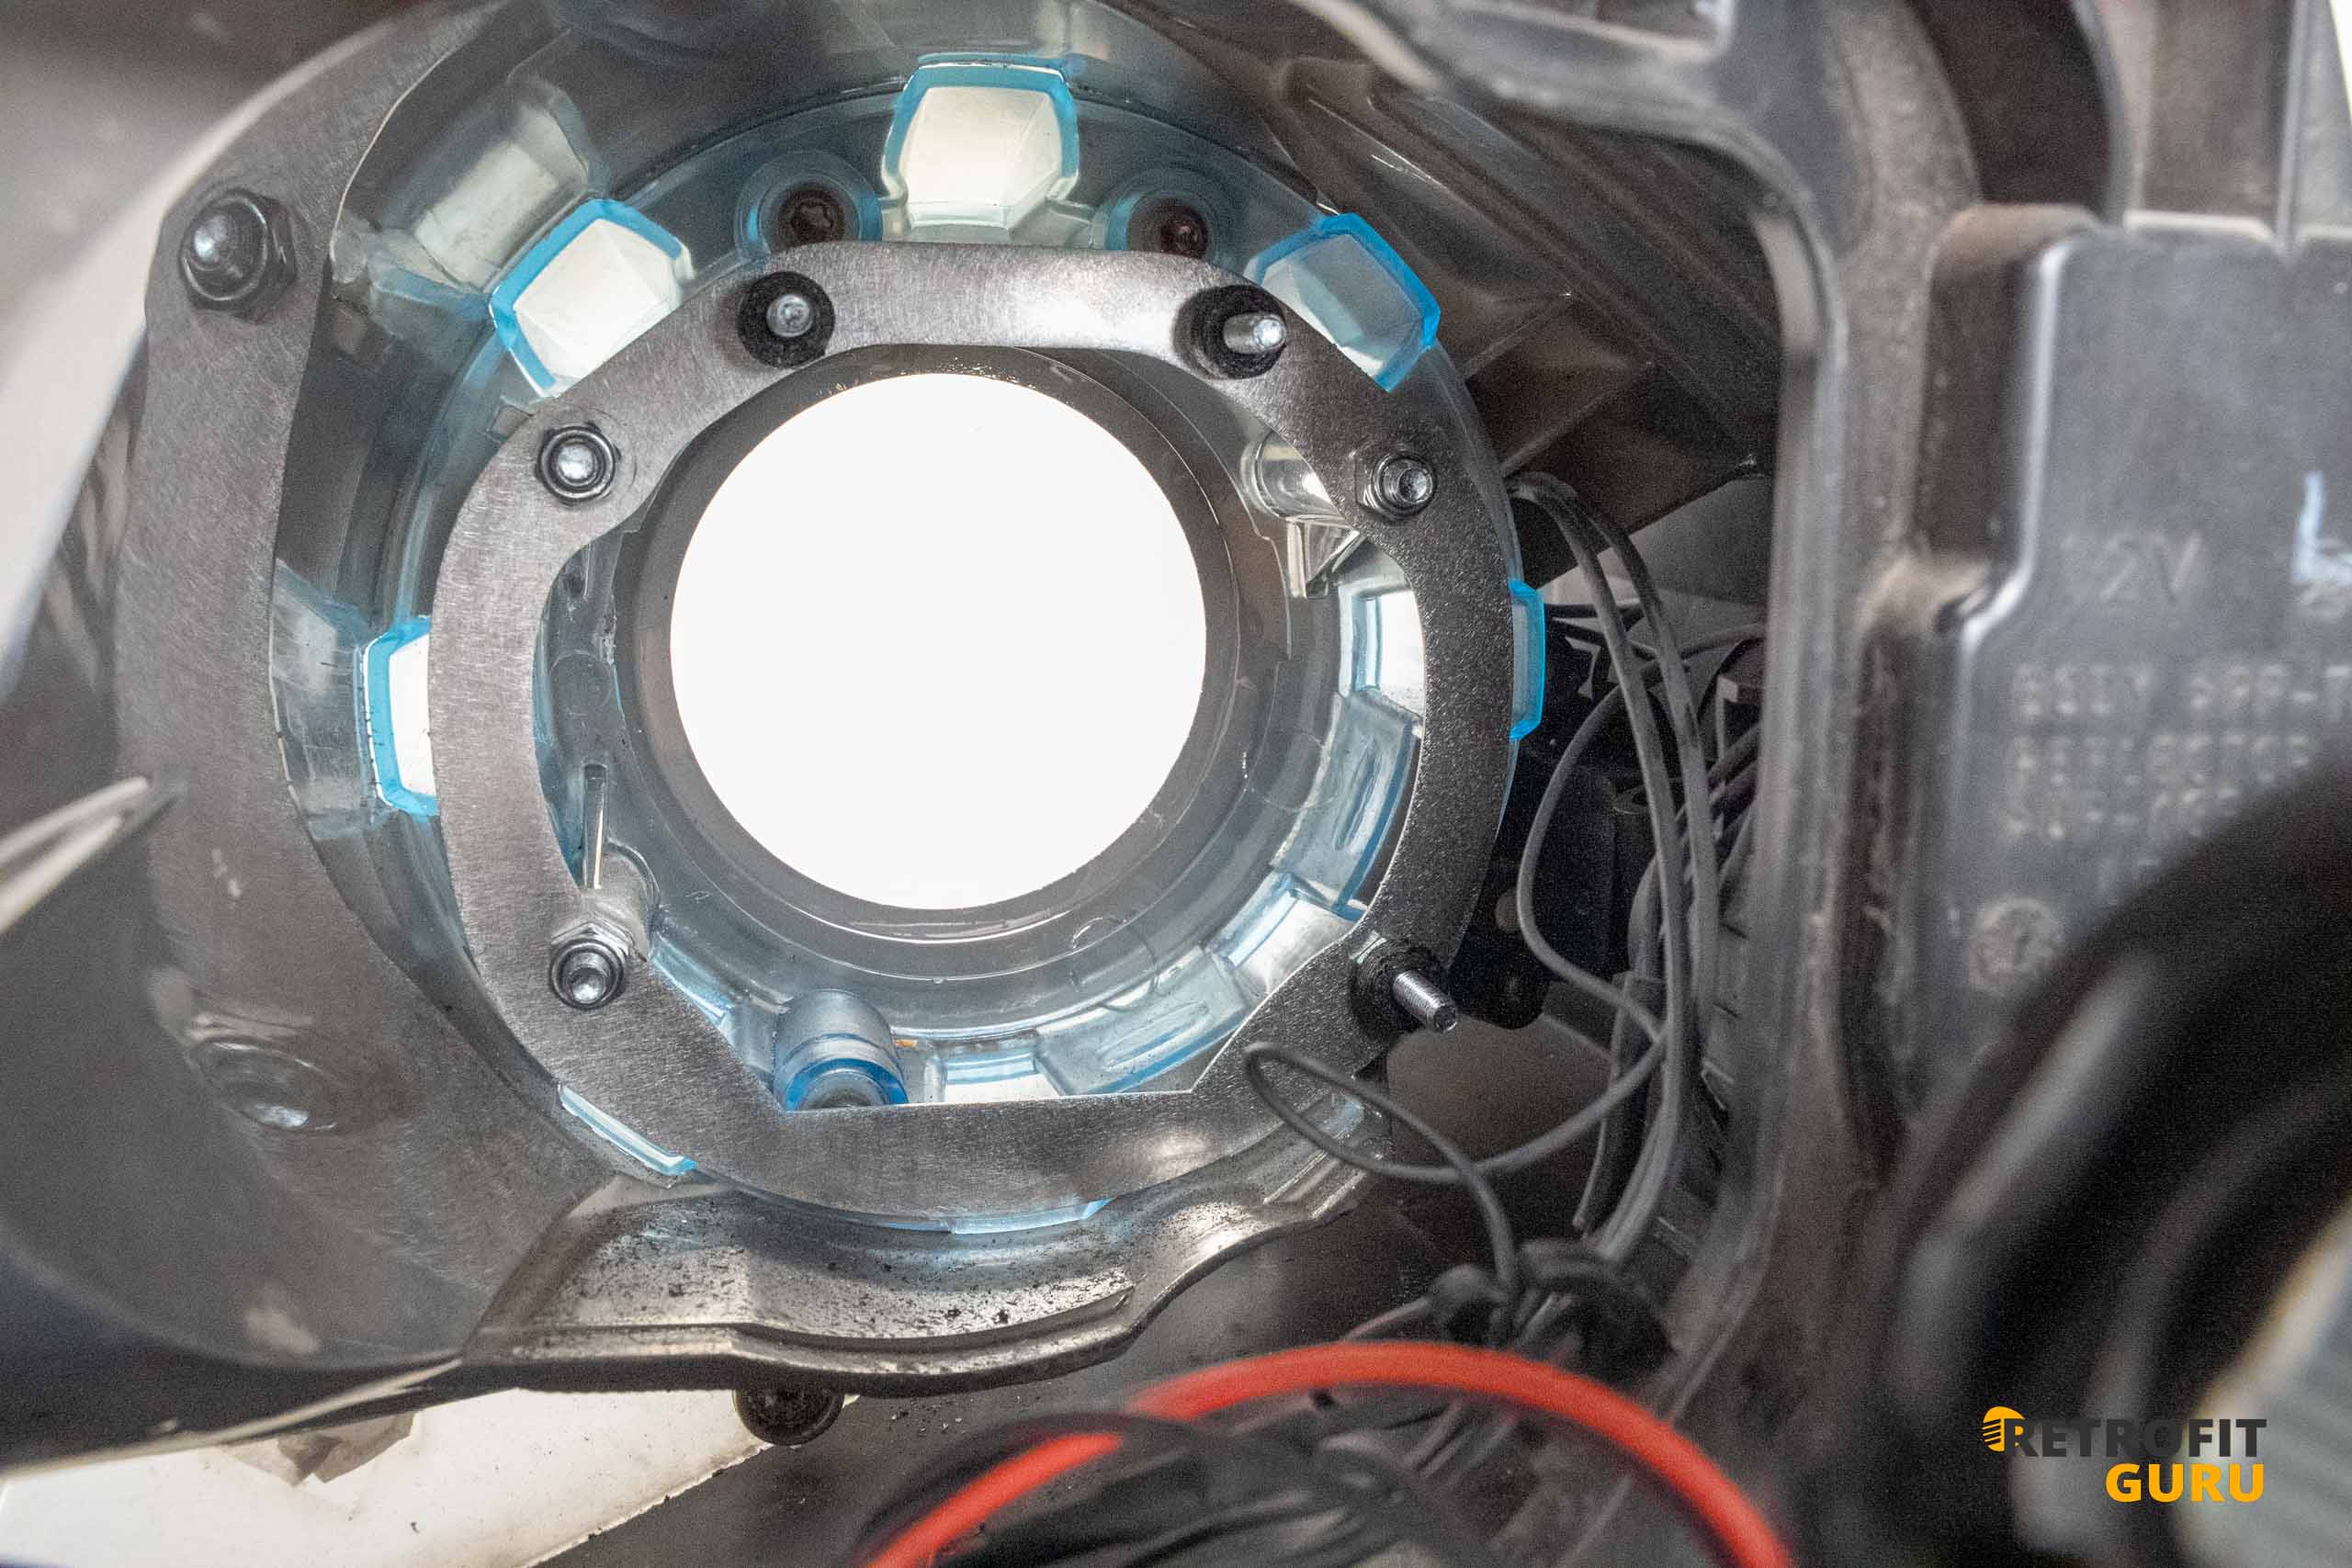
Insert the prepared mounting adapter into the headlight and seat it in the original mounting position. Make sure the adapter fits precisely on the contact surfaces and is neither twisted nor under tension to ensure the correct projector alignment after installation. Once the adapter is seated, secure it using the nuts provided in the mounting kit. Tighten the nuts evenly, without excessive torque, to avoid damaging the plastic parts of the headlight.
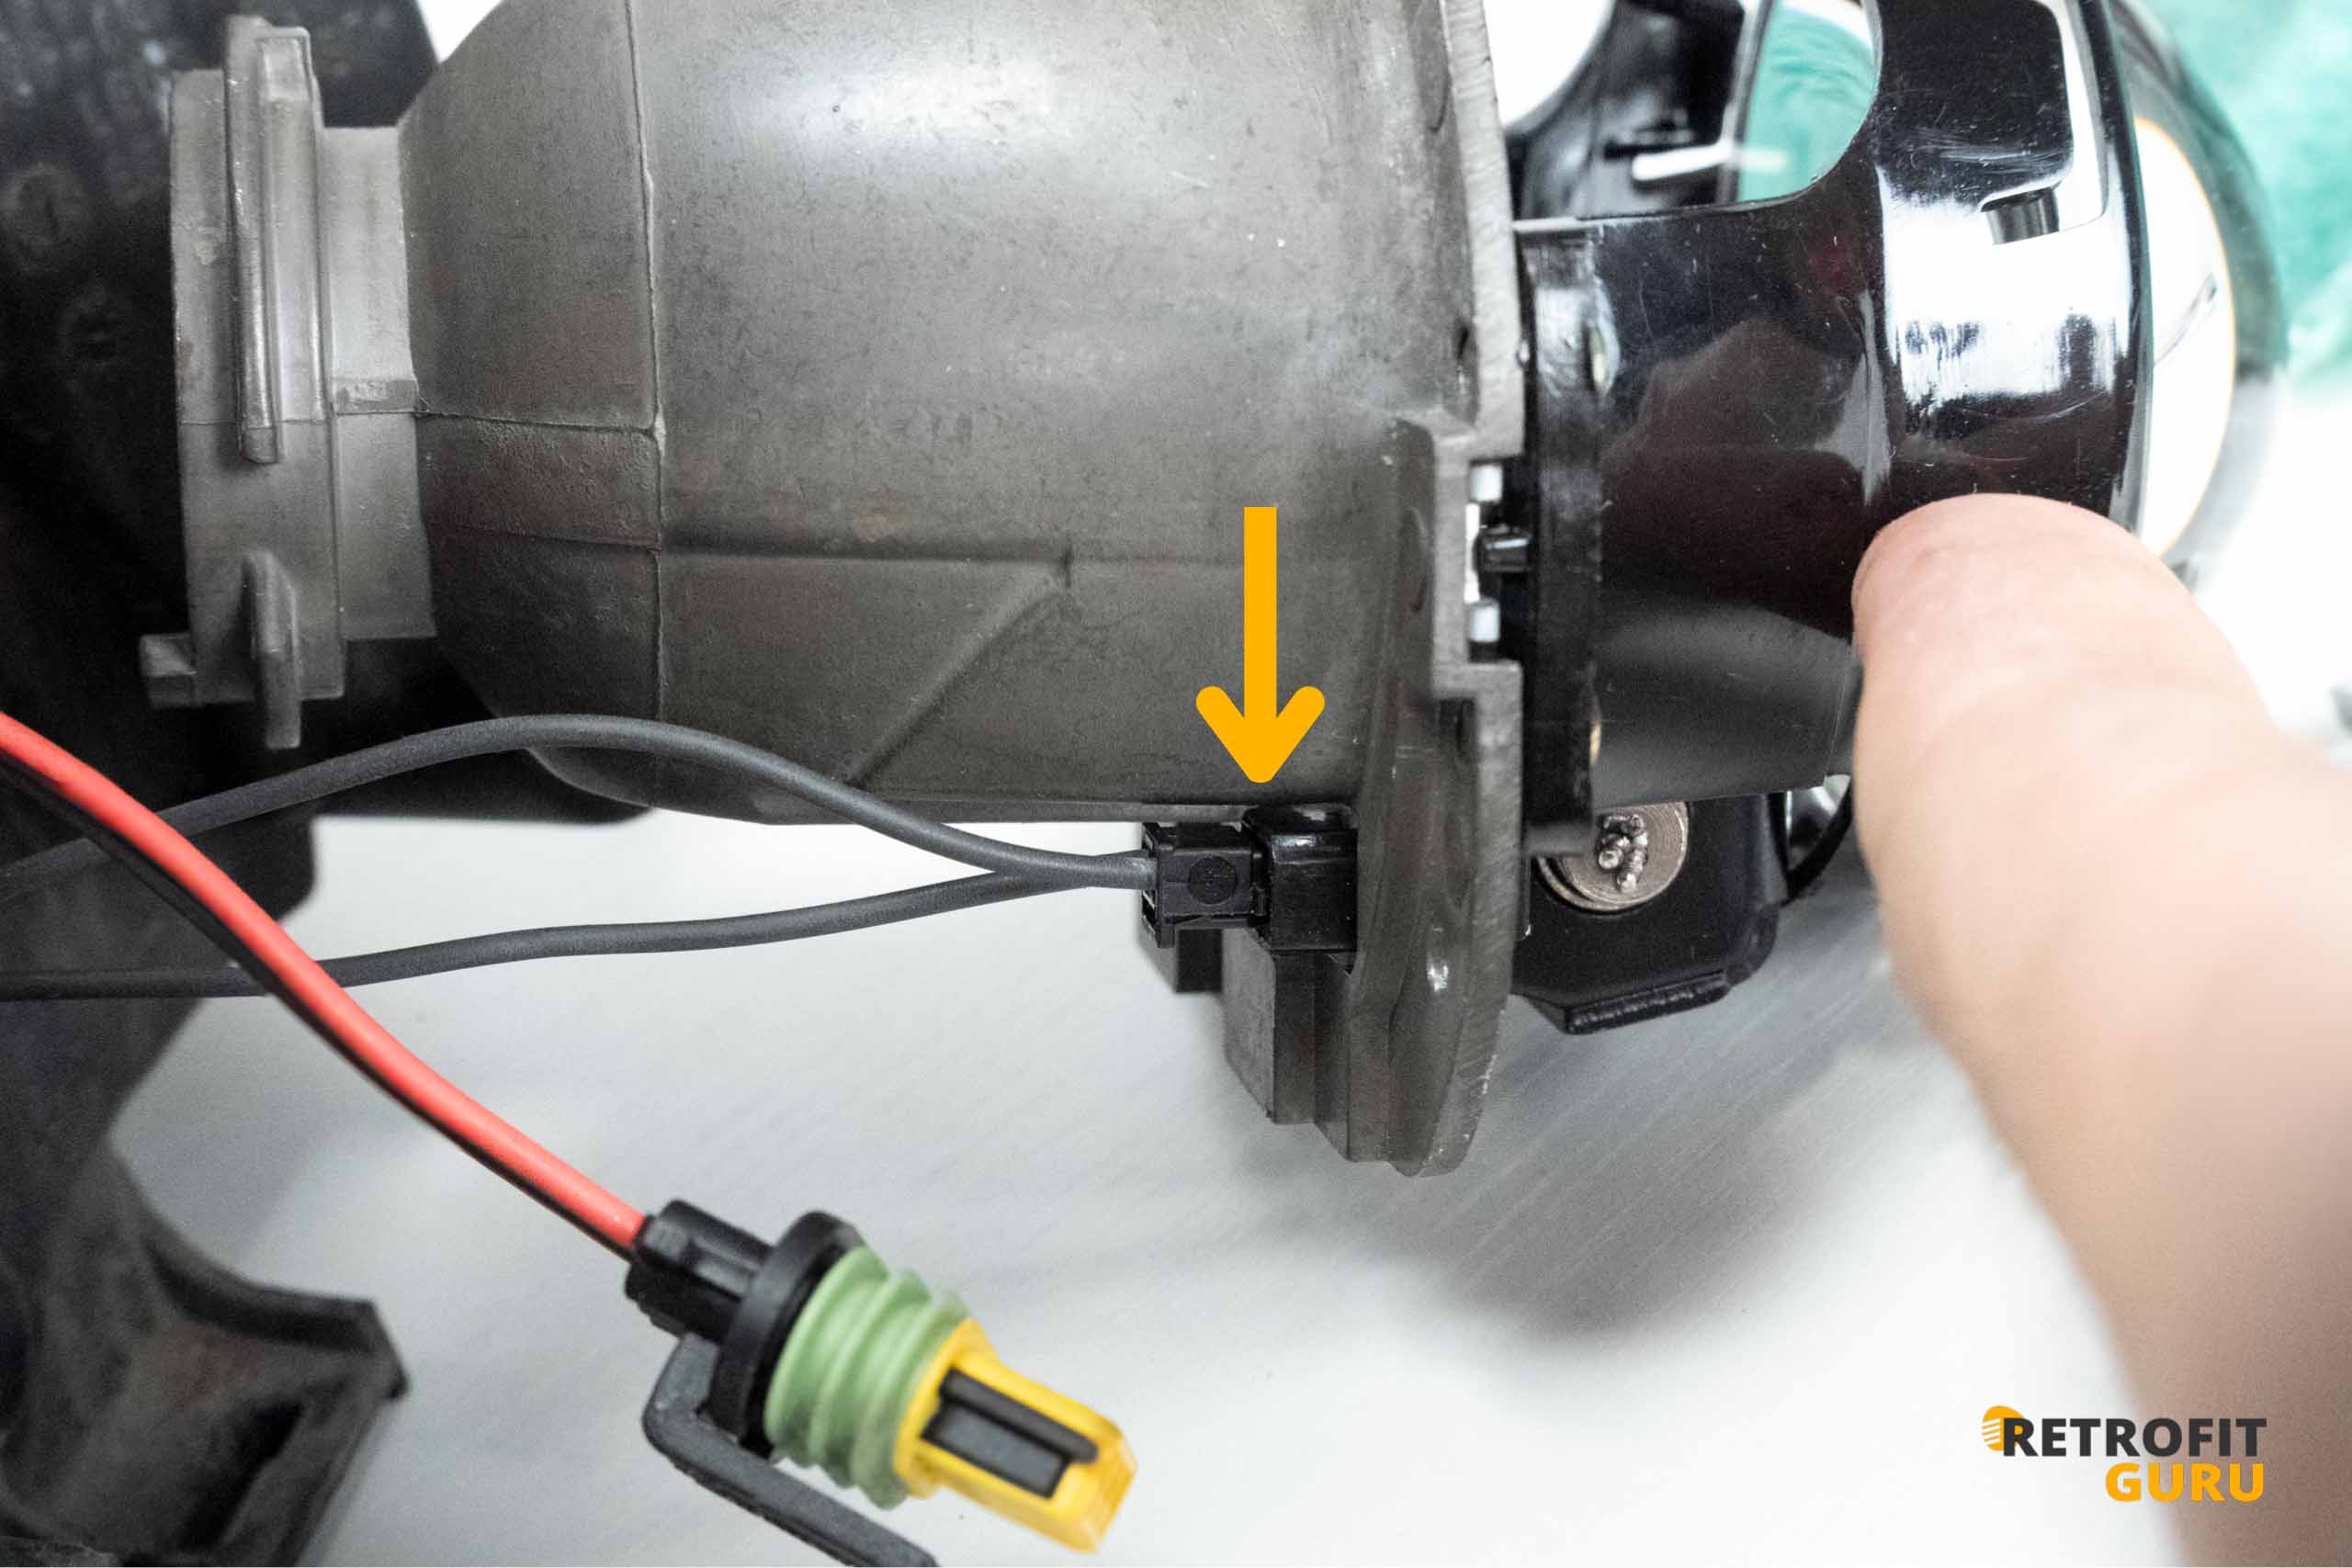
- Connect the control cable of the electromagnetic shutter to the corresponding connector on the projector. This cable enables the switching function between low and high beams. Make sure the connector is firmly inserted and secured to prevent it from coming loose during headlight operation.
- Připojte ovládací kabel elektromagnetické clony k příslušnému konektoru na projektoru. Tento kabel zajišťuje funkci přepínání mezi potkávacími a dálkovými světly. Ujistěte se, že konektor je pevně zasunut a zajištěn proti uvolnění během provozu světlometu.
- Insert the bulb into the projector opening so that its locking notch fits into the corresponding slot in the projector. Once properly seated, gently rotate the bulb clockwise until it is firmly secured.
- Connect the power cables between the igniter and the bulb according to the original wiring. Make sure all connectors are firmly inserted and secured against loosening. After completing the wiring, reinstall and secure the rear cover of the headlight to ensure proper sealing and protection against moisture and dust.

Done!
Now all that's left is to reinstall the headlights on the car and have them properly aligned — this is done using the original adjustment points on the headlight units.
The result is significantly improved visibility while driving, without dazzling other drivers.
If you want to do the retrofit yourself, you can find the complete Plug & Play kit here: Bi-xenon kit for Ford Mondeo mk4 – RetrofitGuru.com
To achieve optimal brightness and even light distribution, we recommend checking the condition of the clear headlight covers. If they are damaged or have lost transparency, it is advisable to replace them. We also offer new headlight covers, which you can find in our selection. here.
You don’t have to worry about the installation – each kit comes with a detailed guide and technical support. If you’re unsure about anything, we’ll be happy to help!